Microbit Guideline
The BBC micro:bit is a small, kid-friendly circuit board that makes learning to code fun and creative. It comes with cool features like a 5x5 LED display, two buttons, and a motion sensor. You can connect it to XRCC to build exciting projects that blend coding with the real world!
Getting Started
1. Install microbit HEX example file
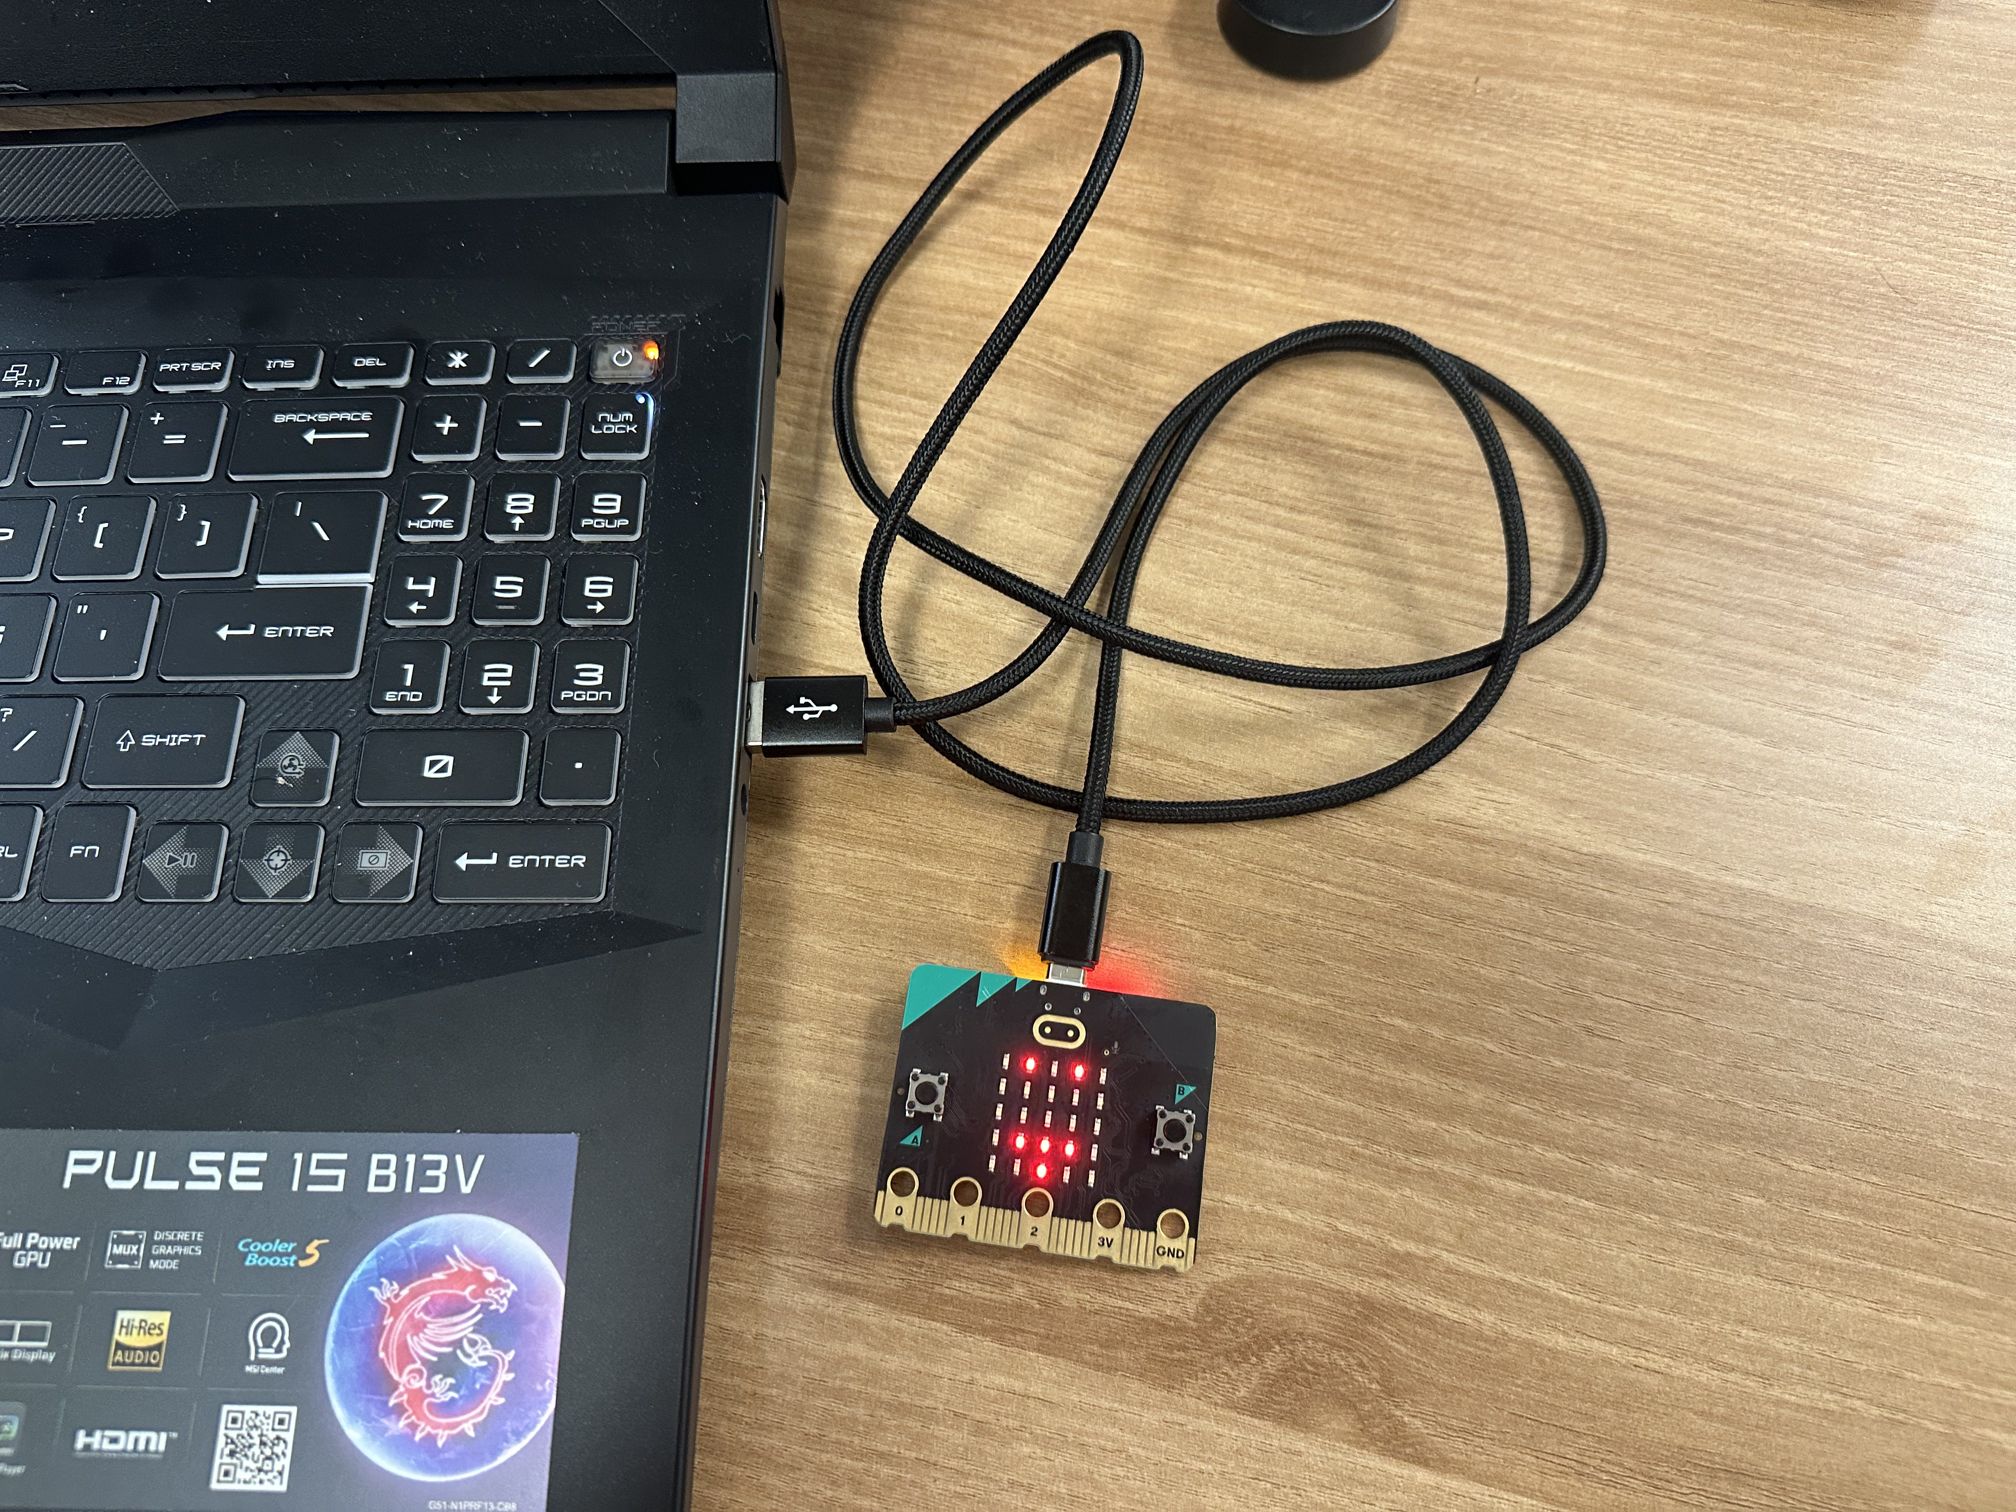
- Connect a microbit to your computer with a USB cable.
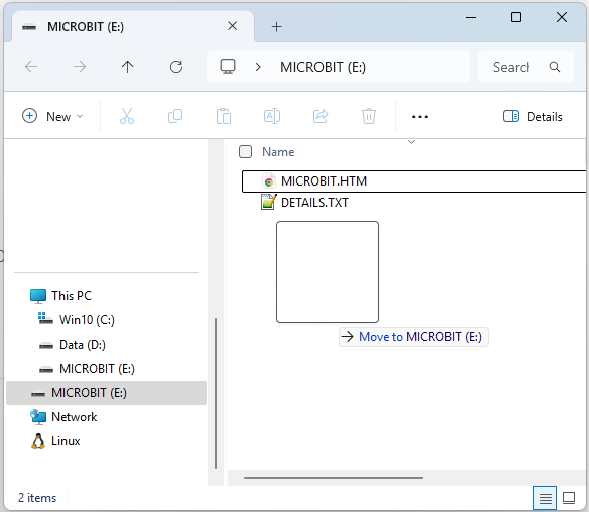
- Download the microbit HEX example file
- Drag and drop the HEX file onto your micro:bit.
2. Connect to Microbit in XRCC Edit Mode
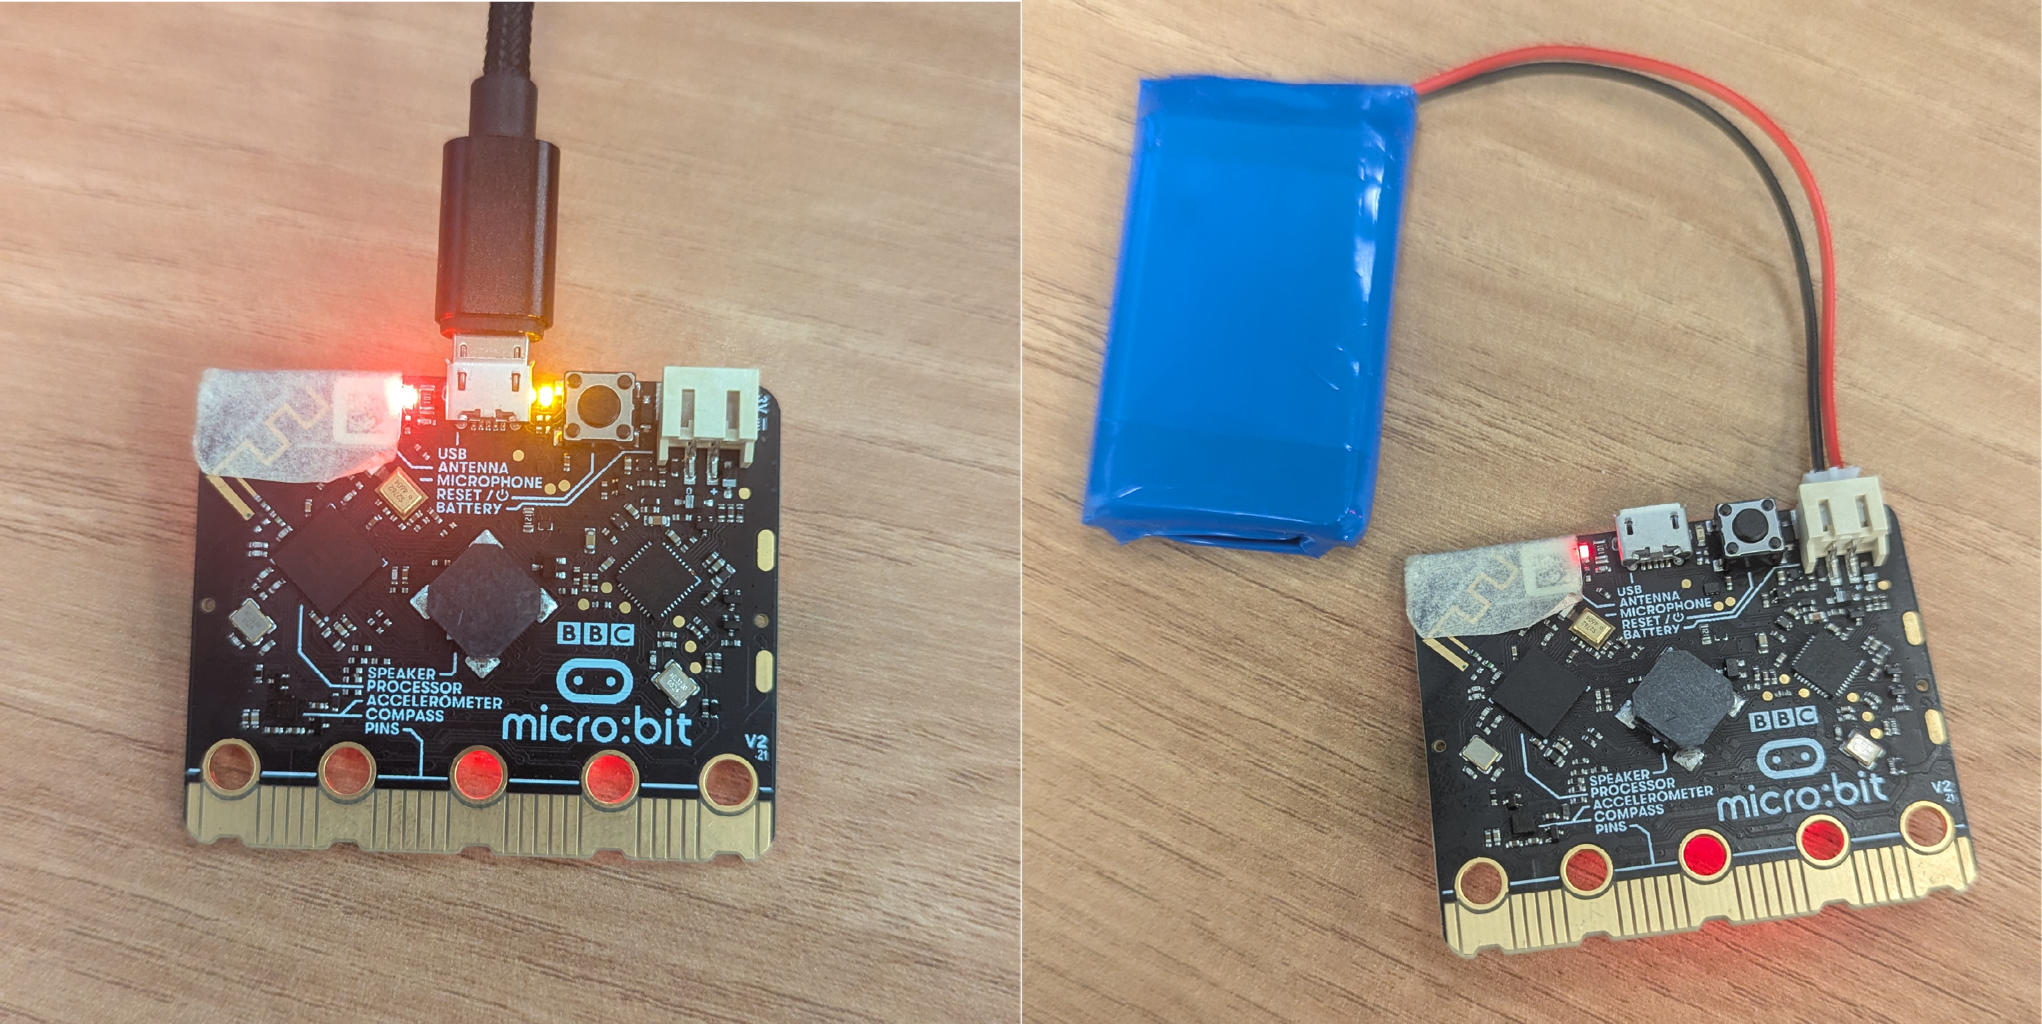
- Power your micro:bit with USB or a battery pack.
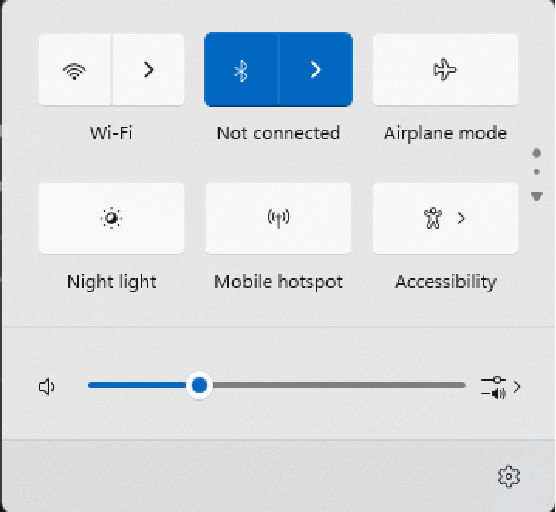
- Open the bluetooth of your device.
- Open a XRCC project and go to behaviour Panel.
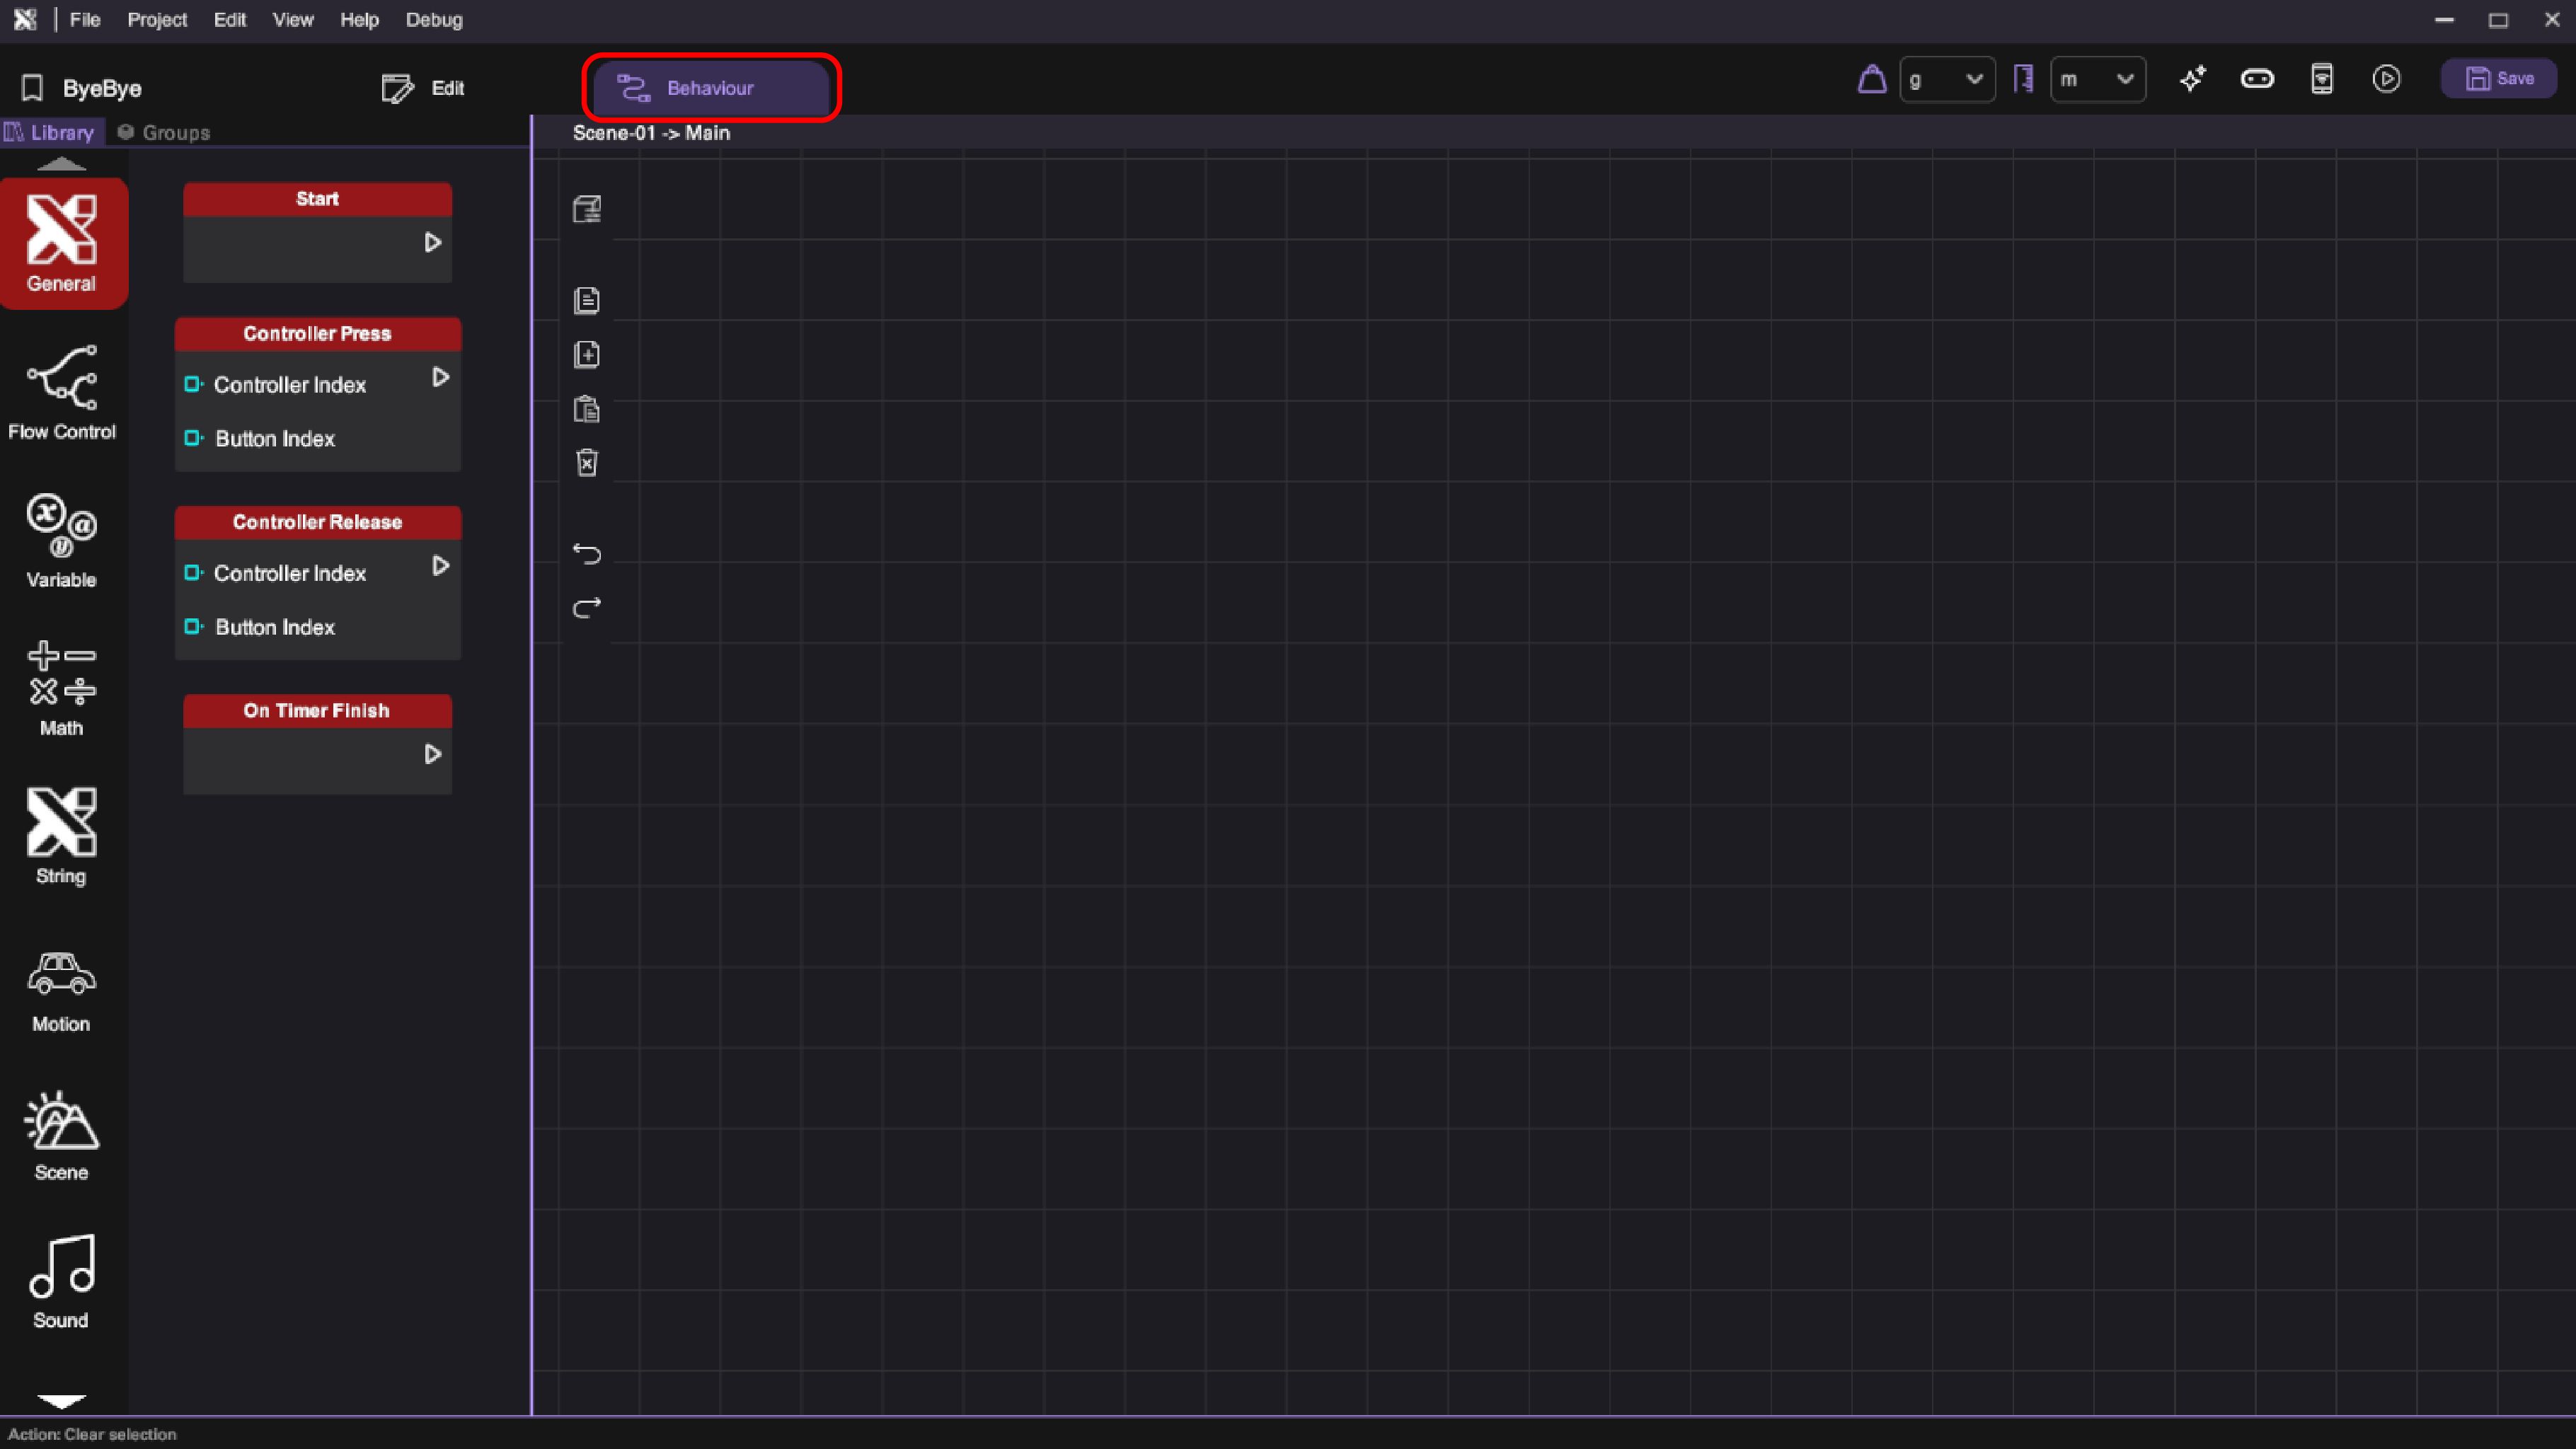
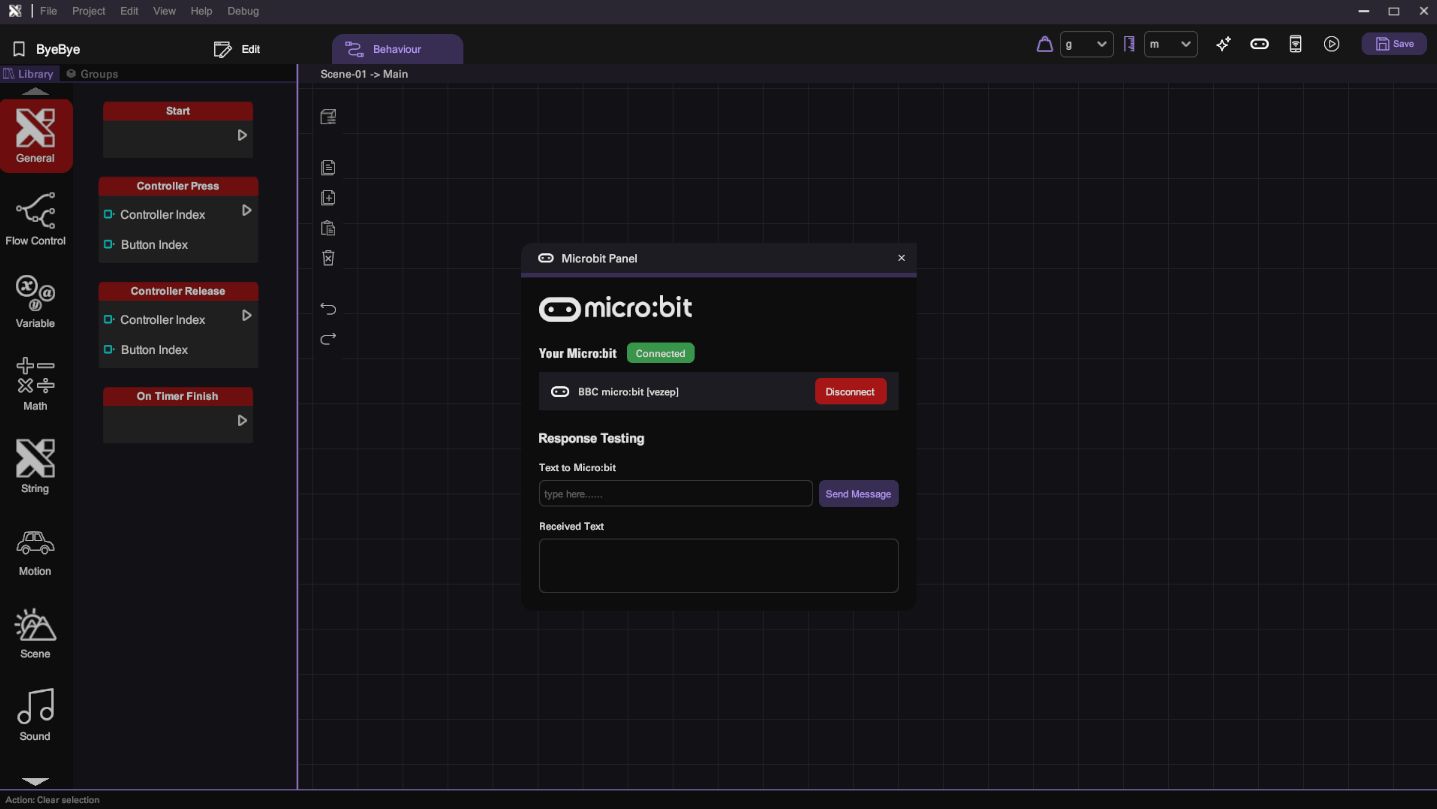
- Open the microbit panel.
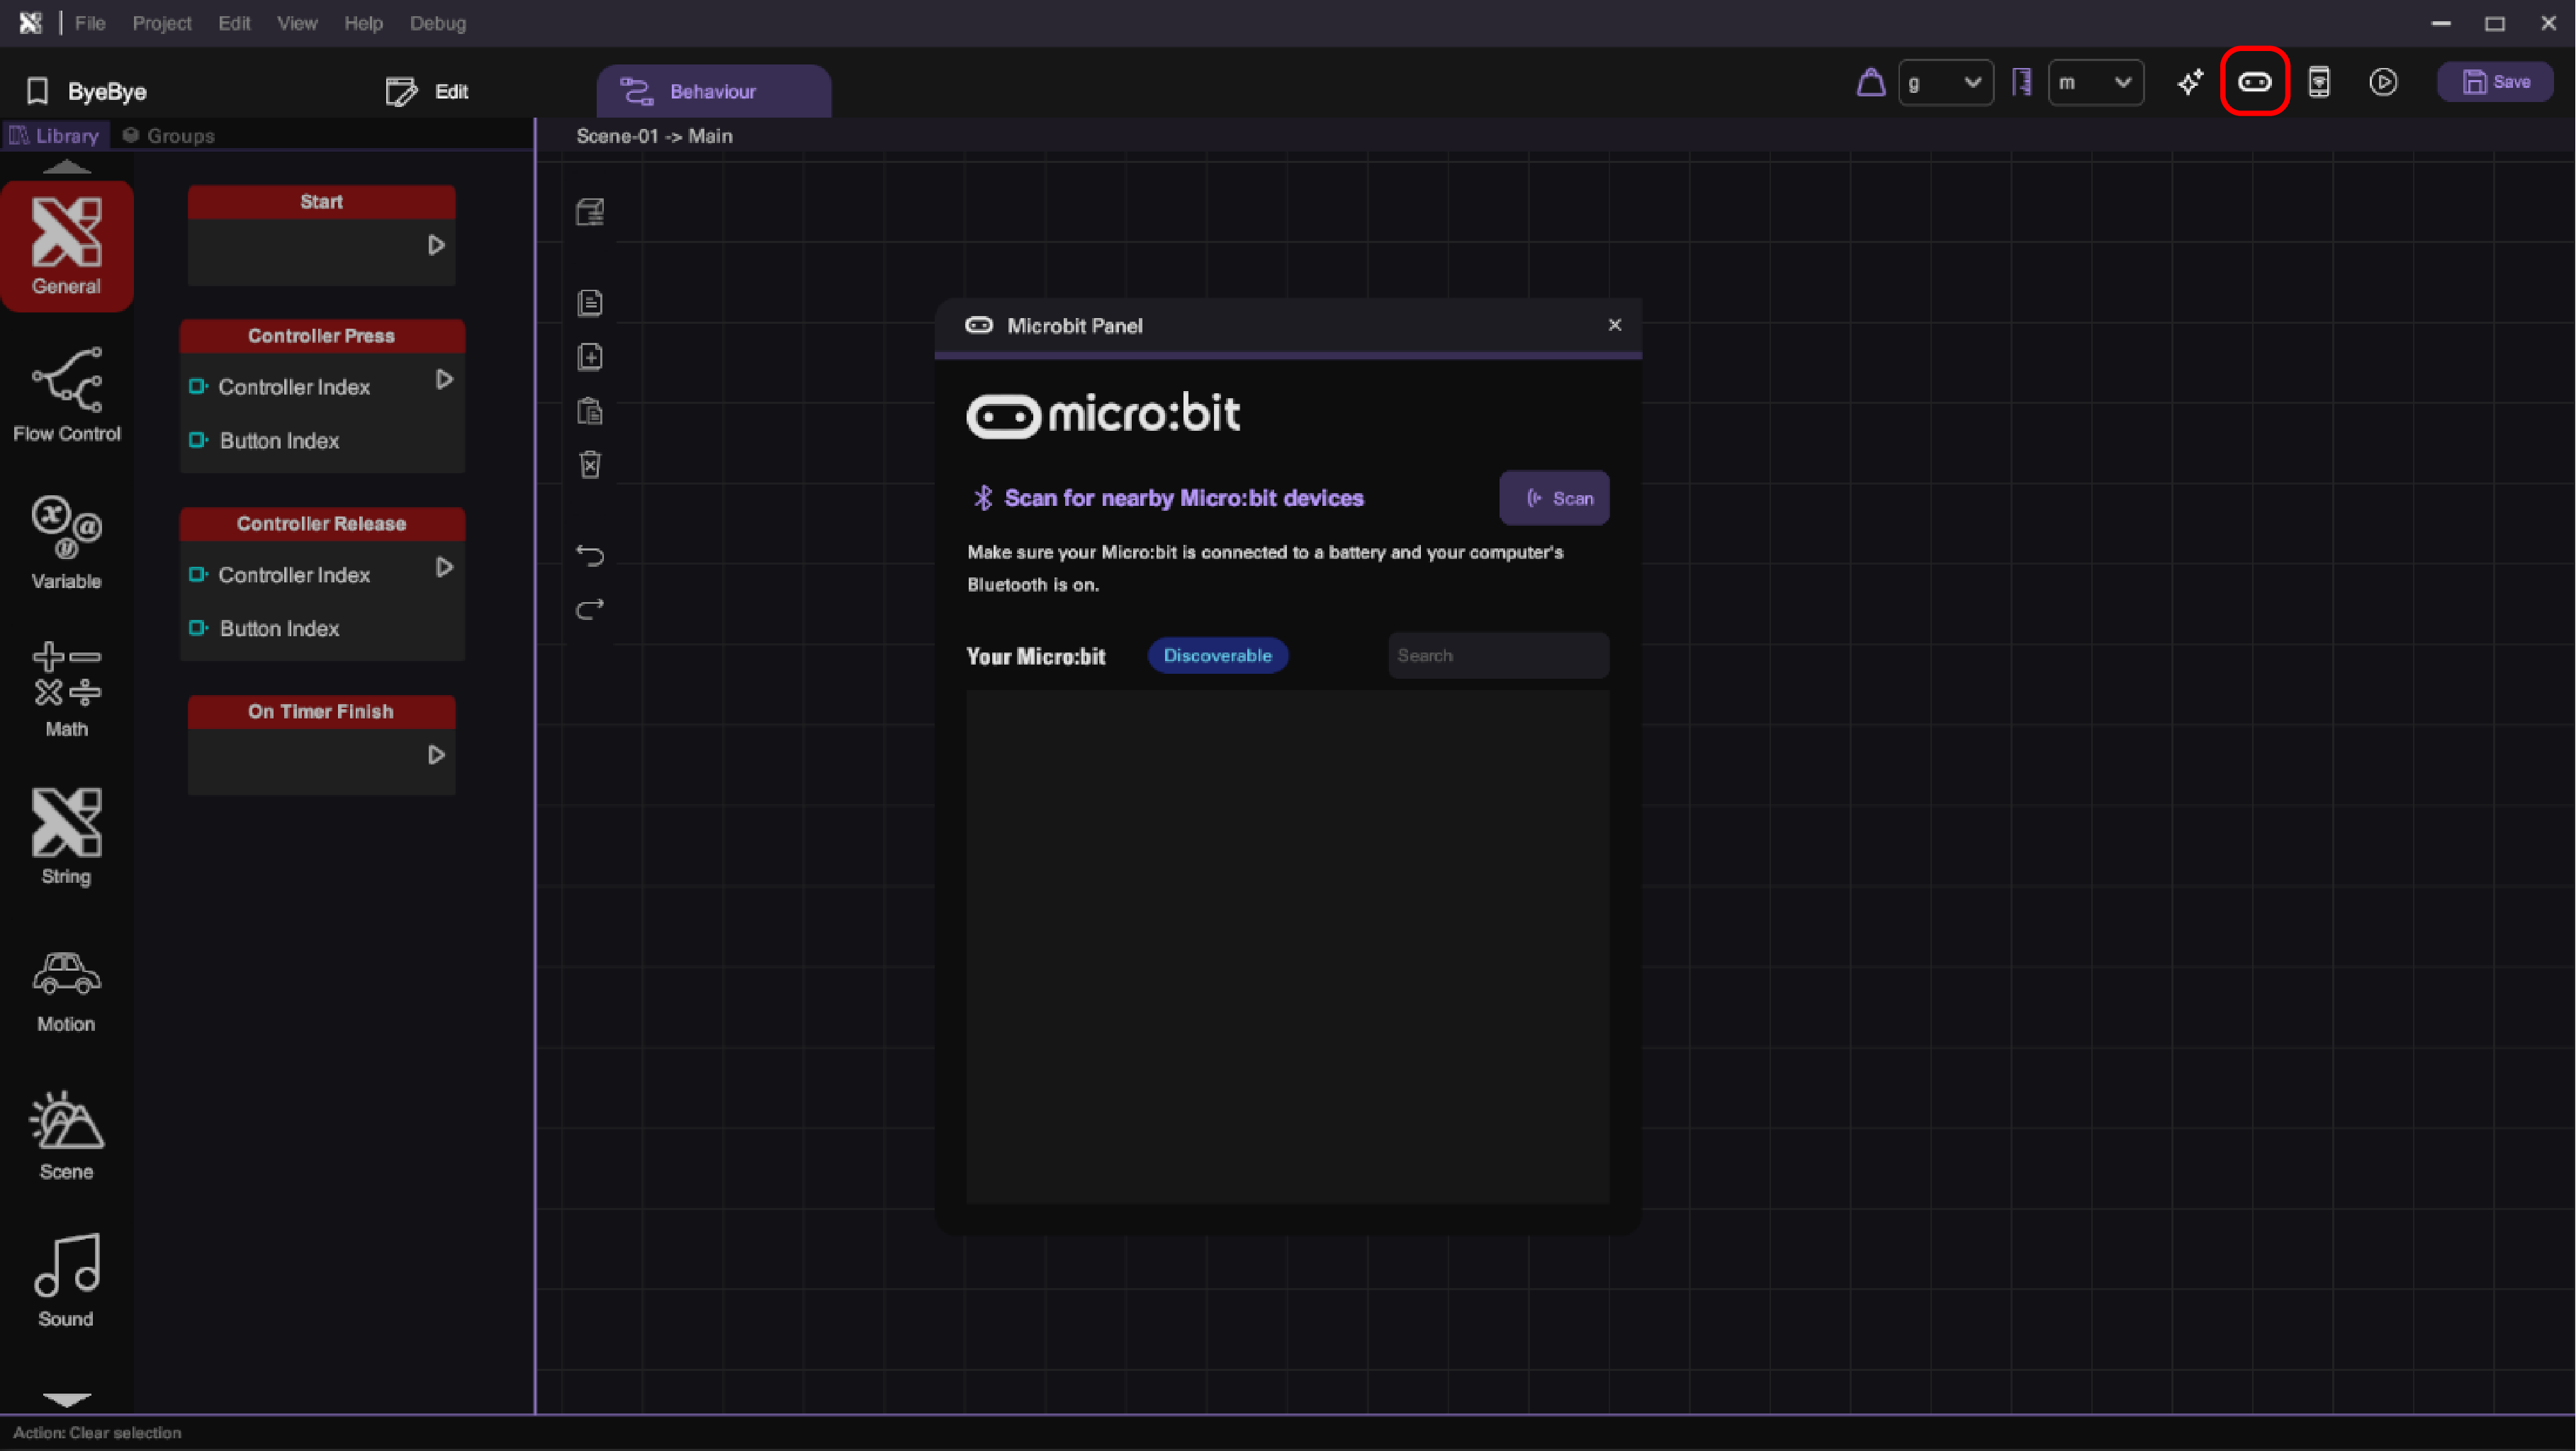
- Scan the device.
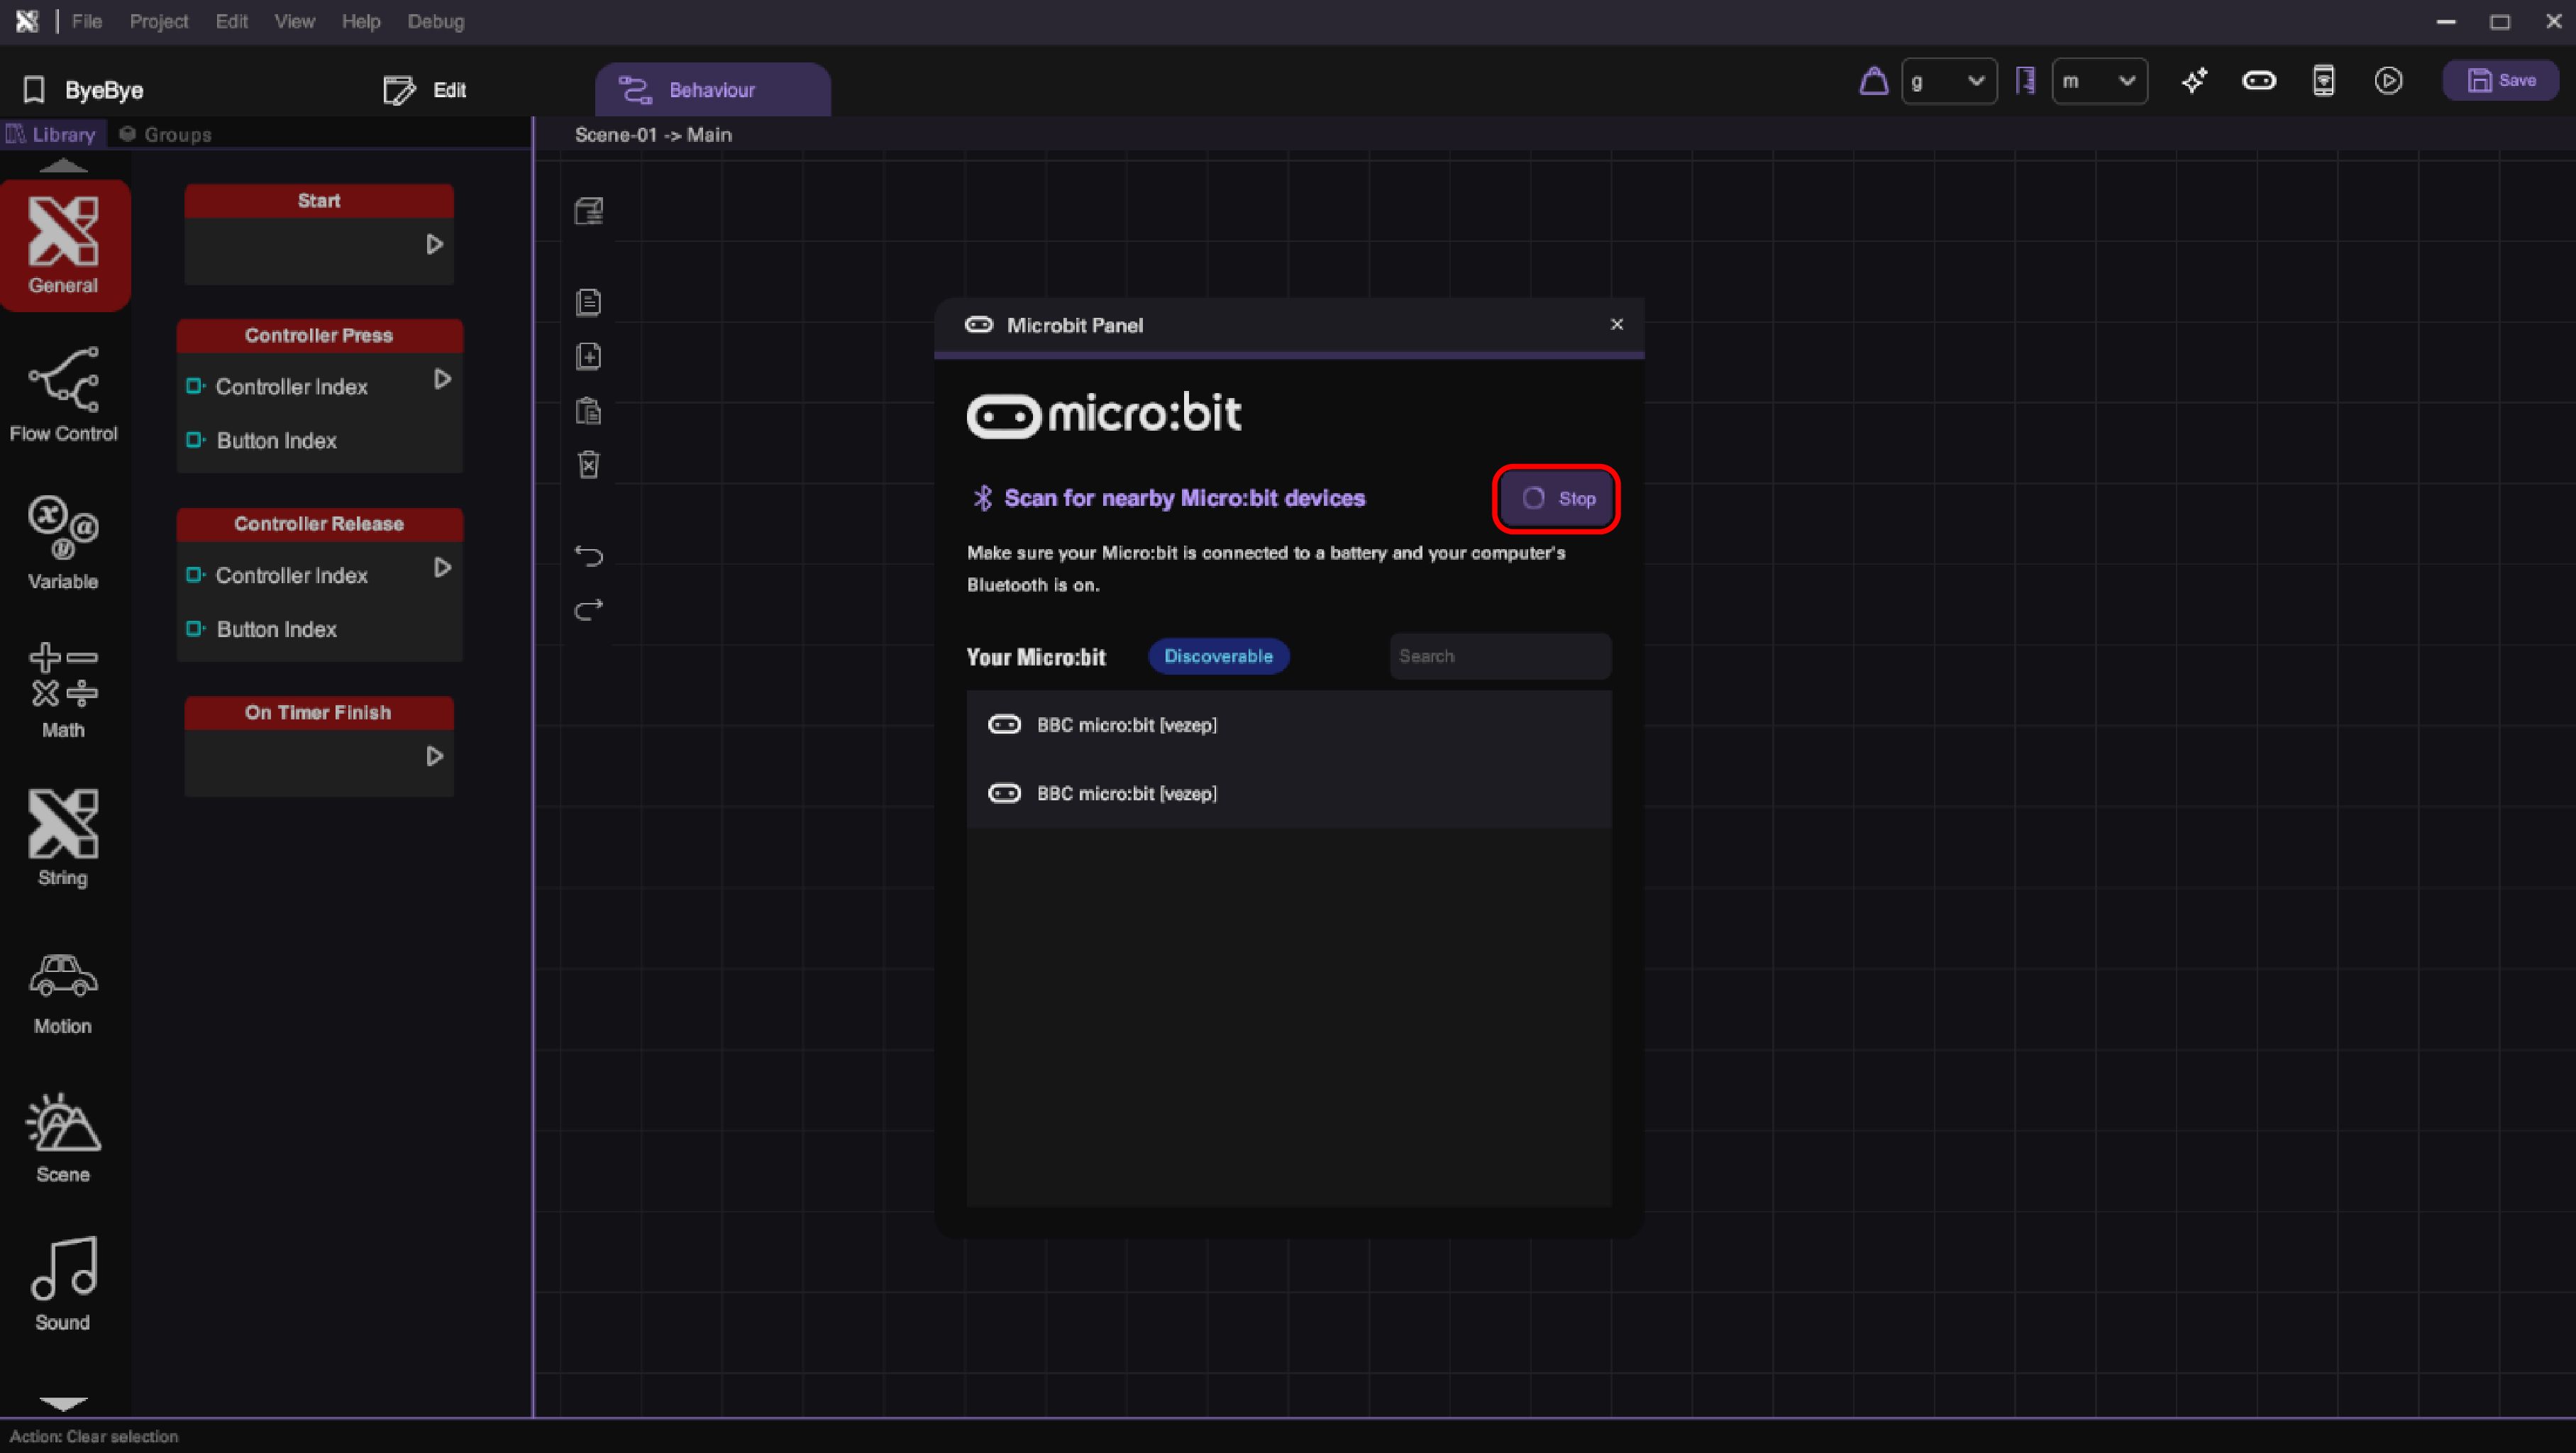
- Connect the device.
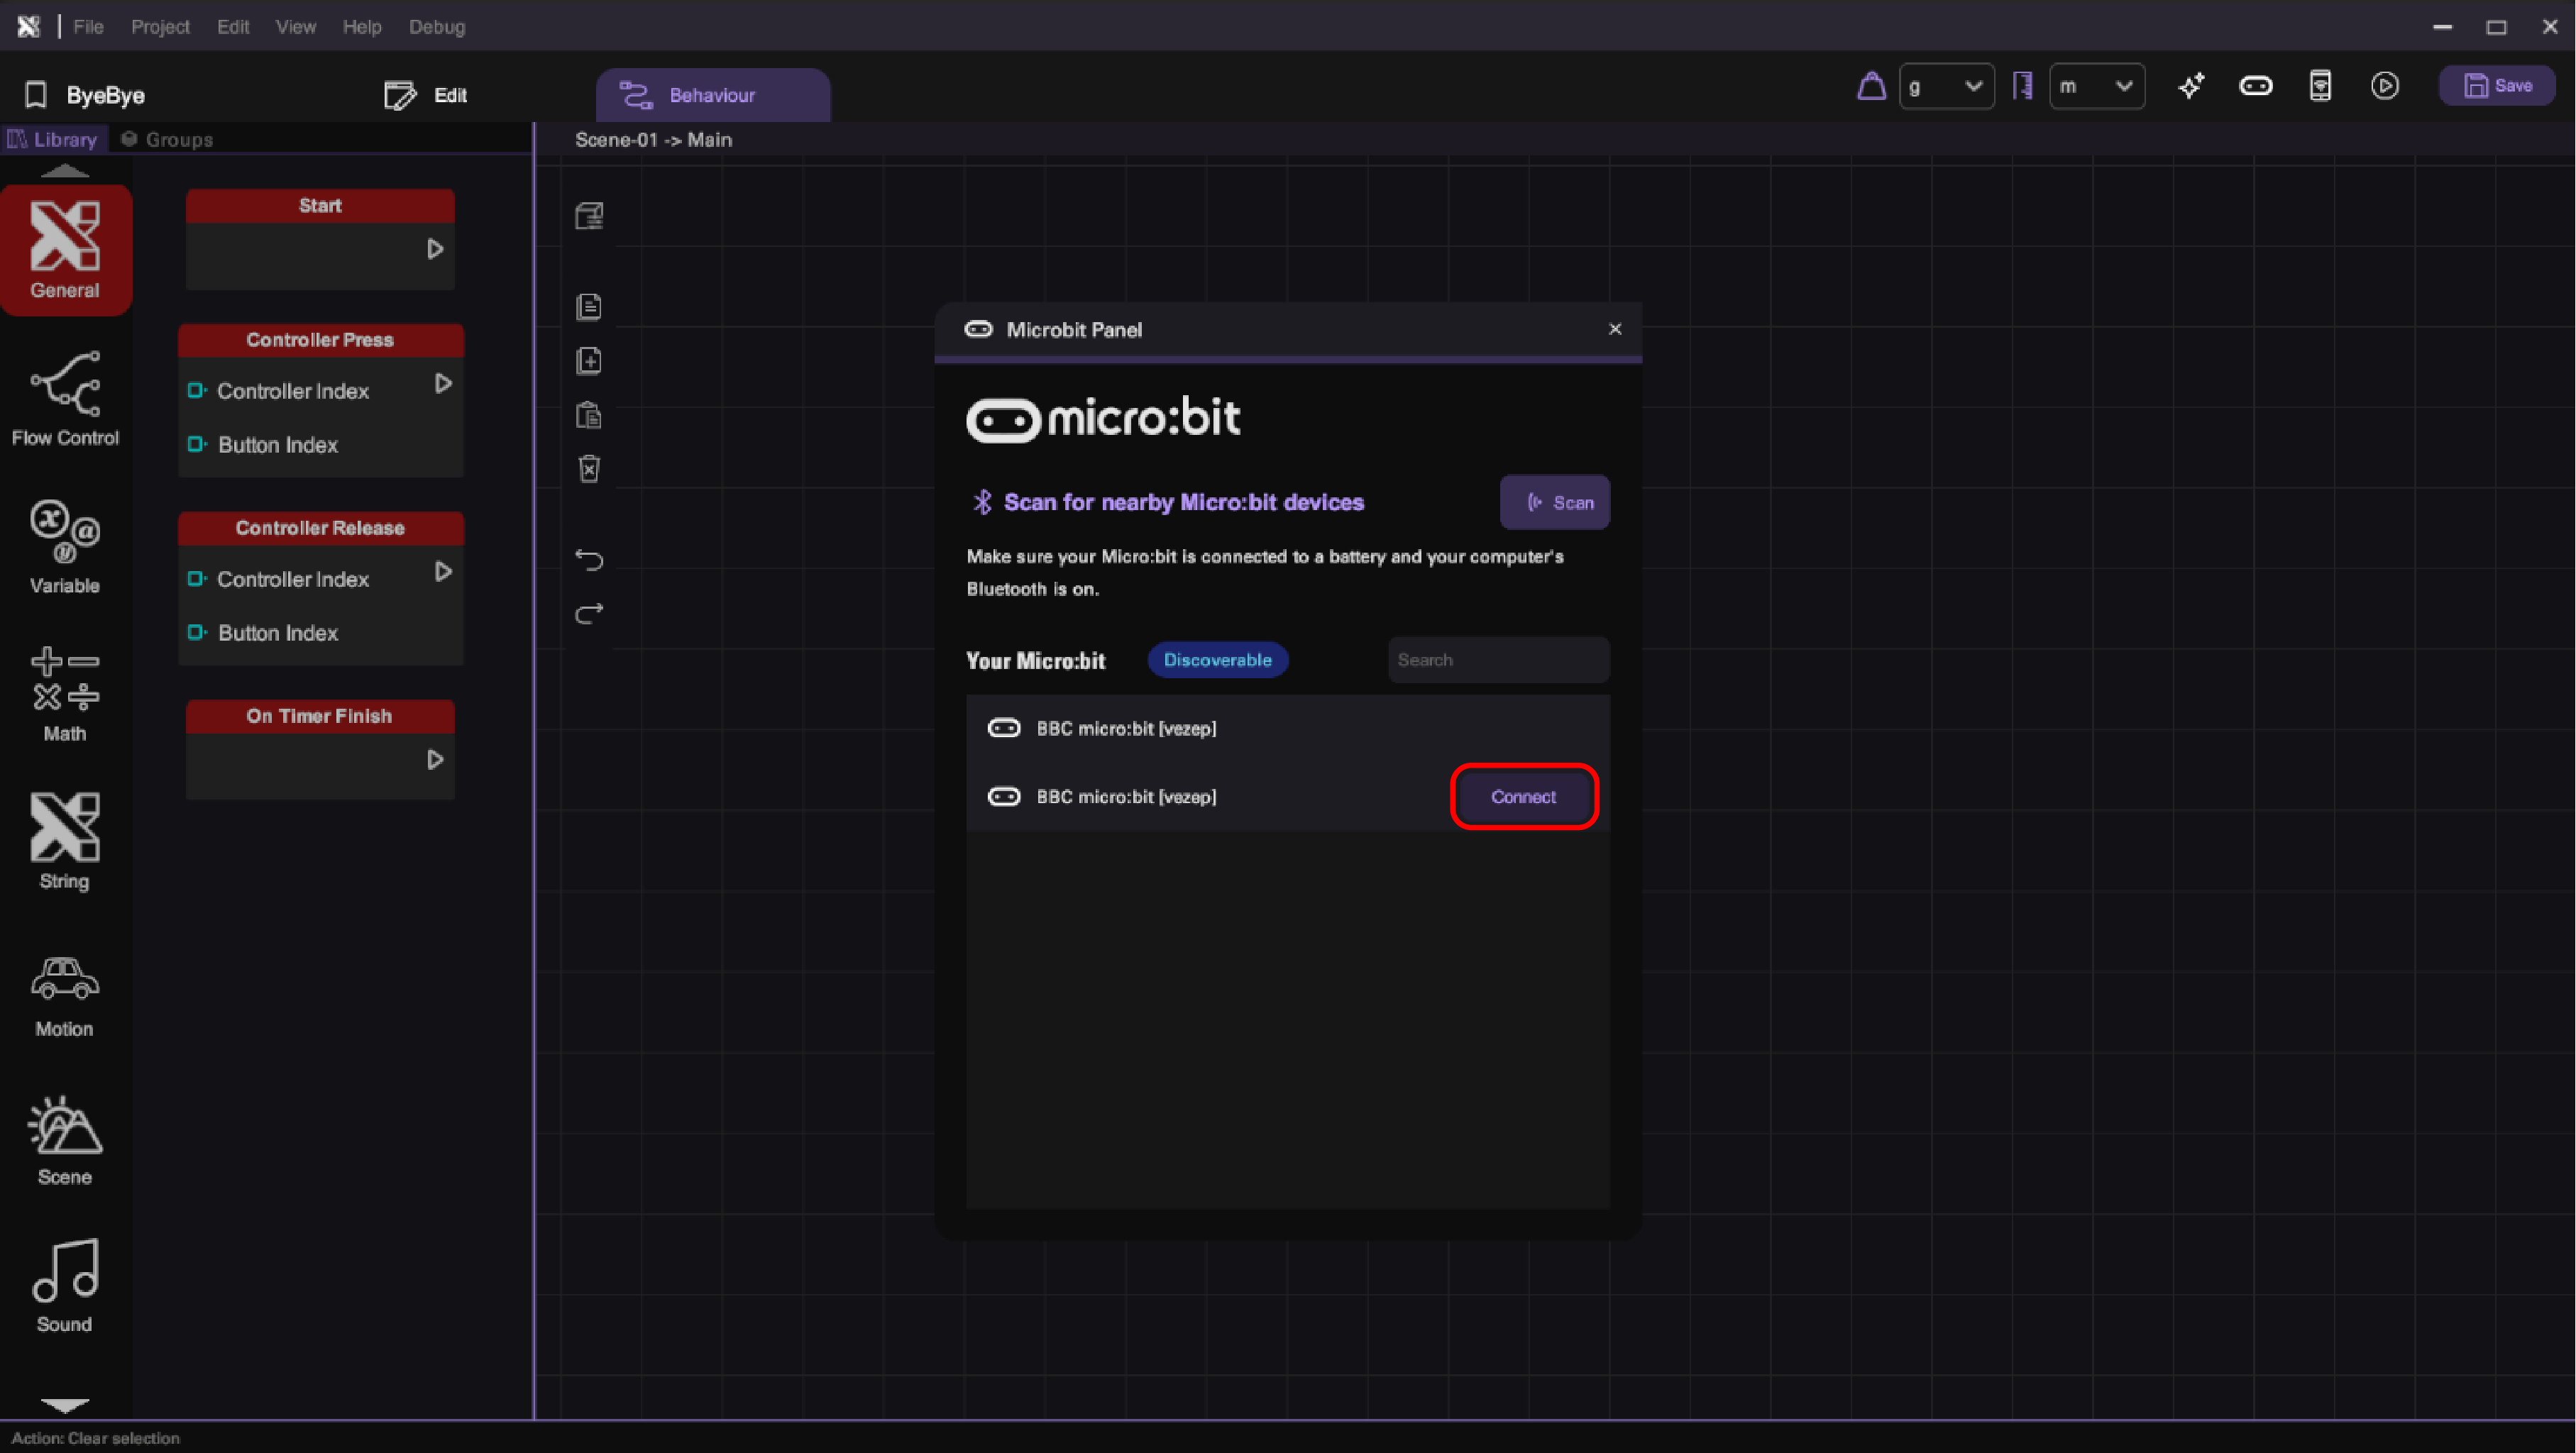
-
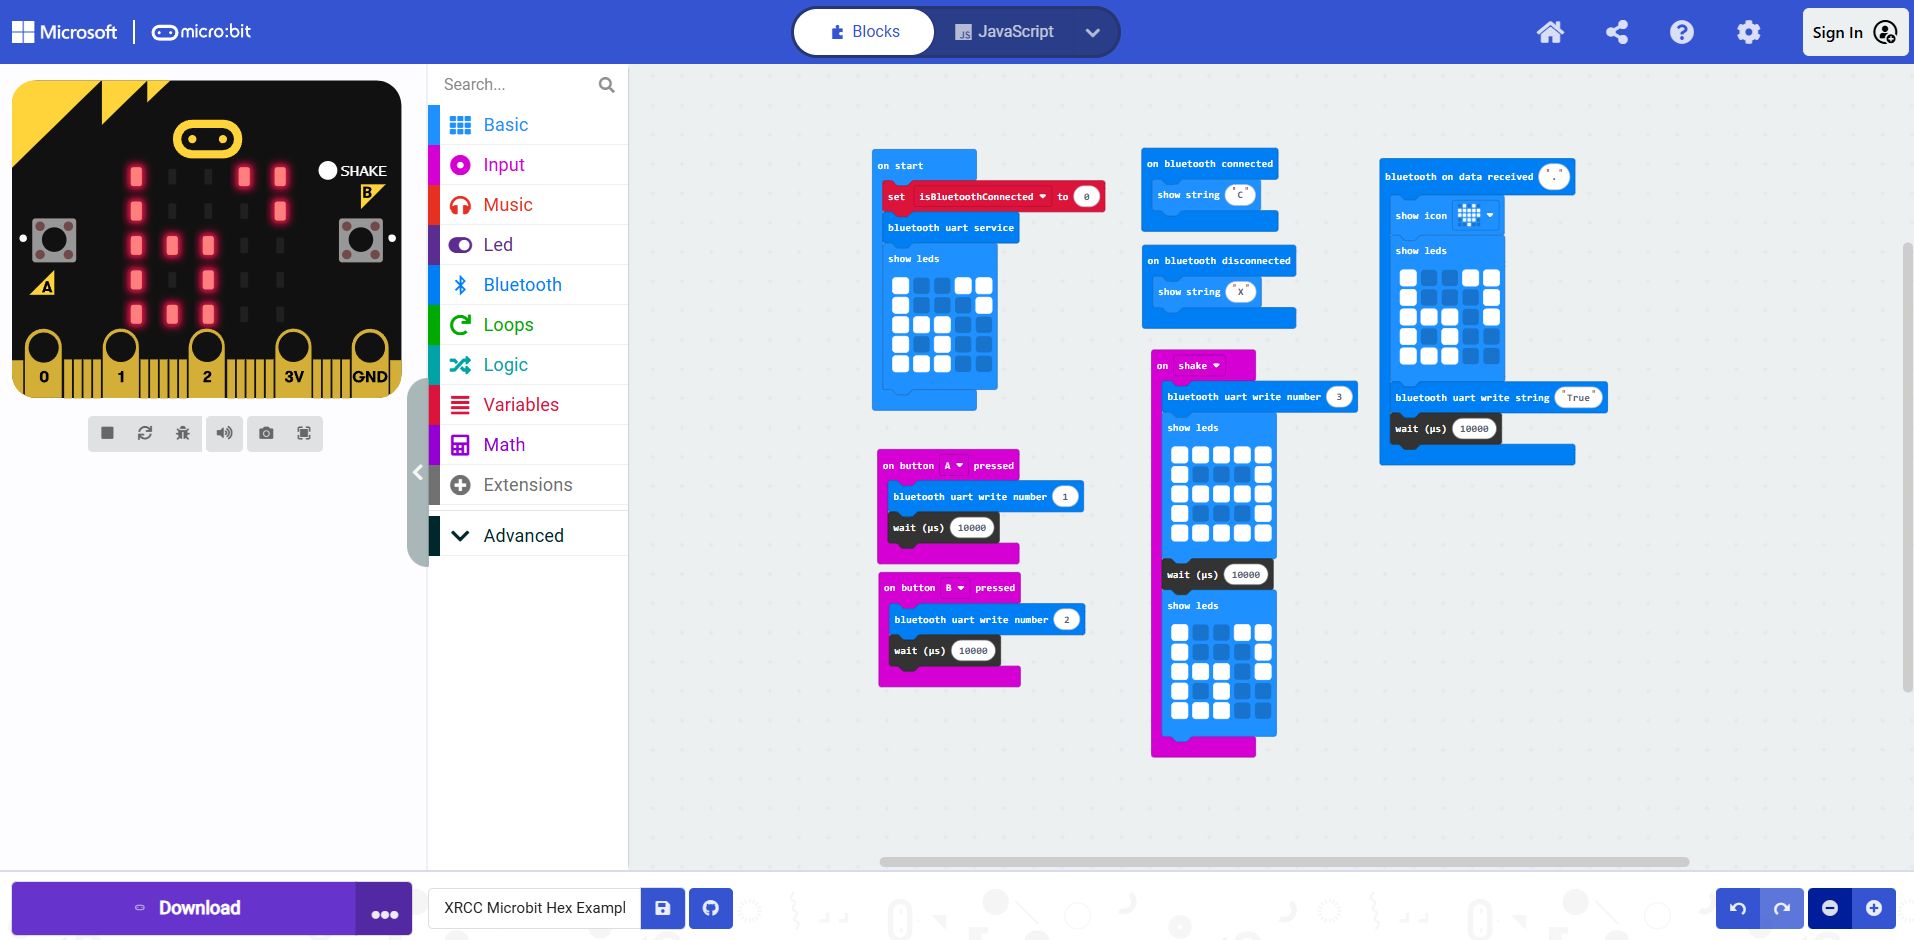
Connect successed! We can now test the microbit read and write interaction with Microbit Panel. In our example Hex file, the interaction will be:
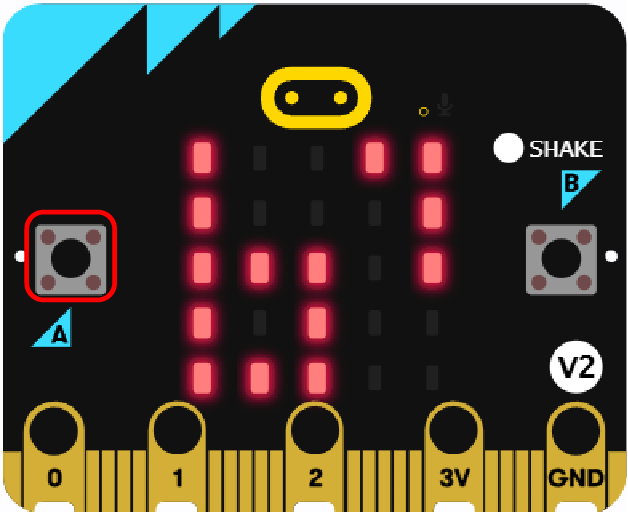
- When Microbit Button A is pressed -> Receive “1” in XRCC
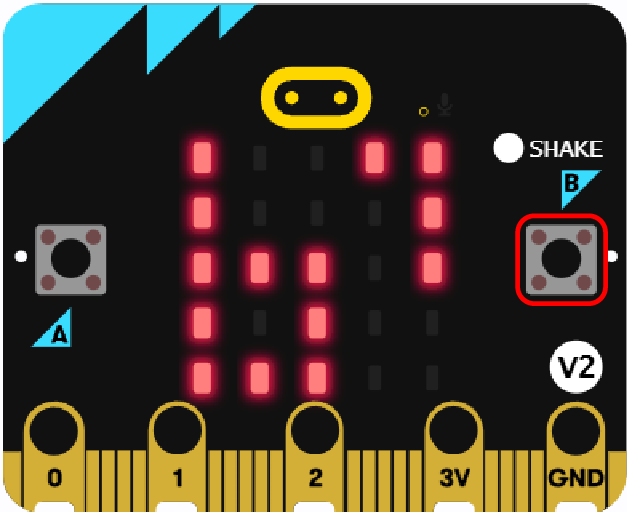
- When Microbit Button B is pressed -> Receive “2” in XRCC
-
When we shake Microbit -> Receive “3” in XRCC
-
When we send "." message to microbit, the microbit icon will change to heart.
3. Connect to Microbit in XRCC Play Mode
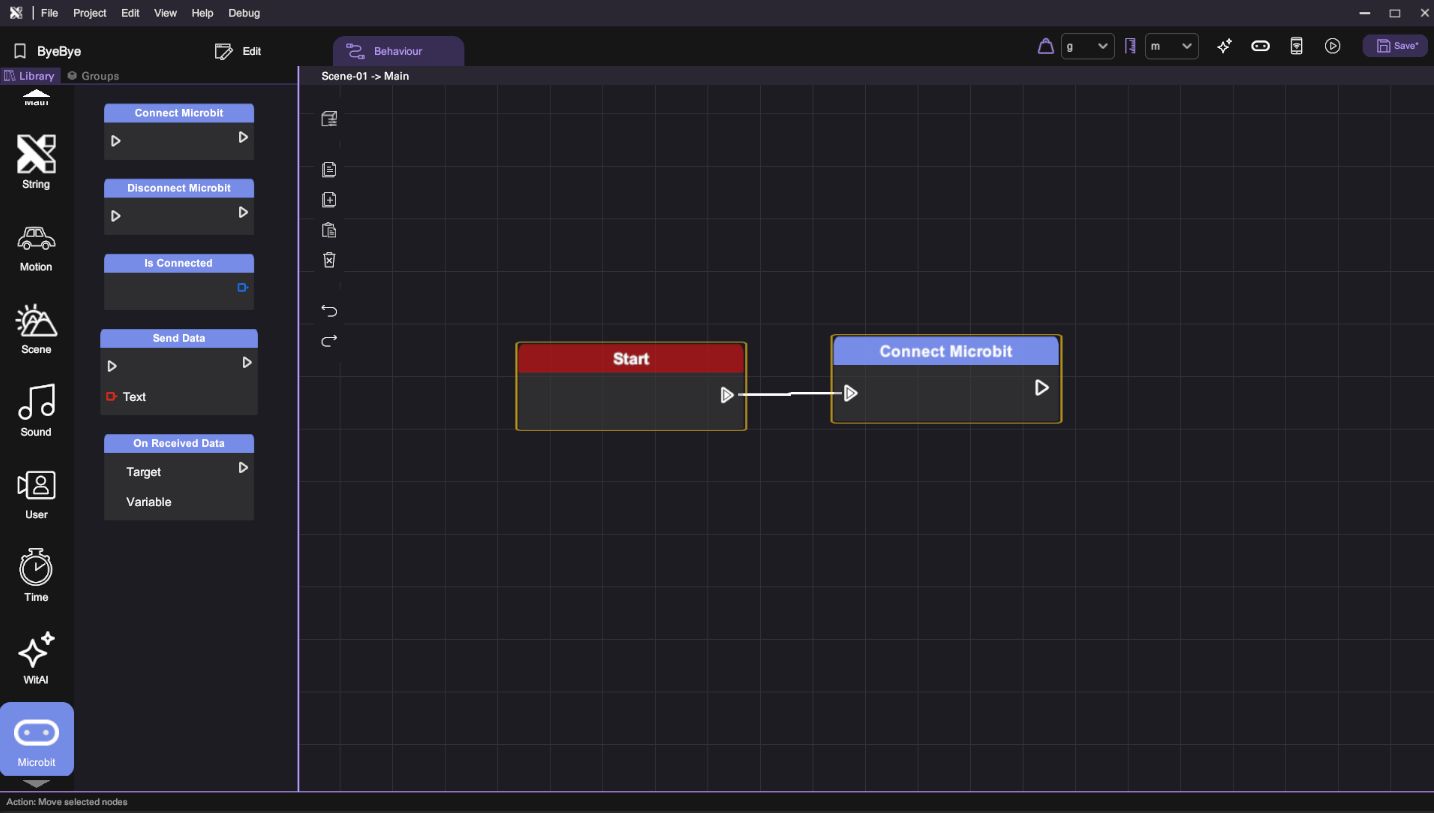
- Connect the Microbit successfully in microbit panel. XRCC will save the last connected device and connect it in Play Mode.
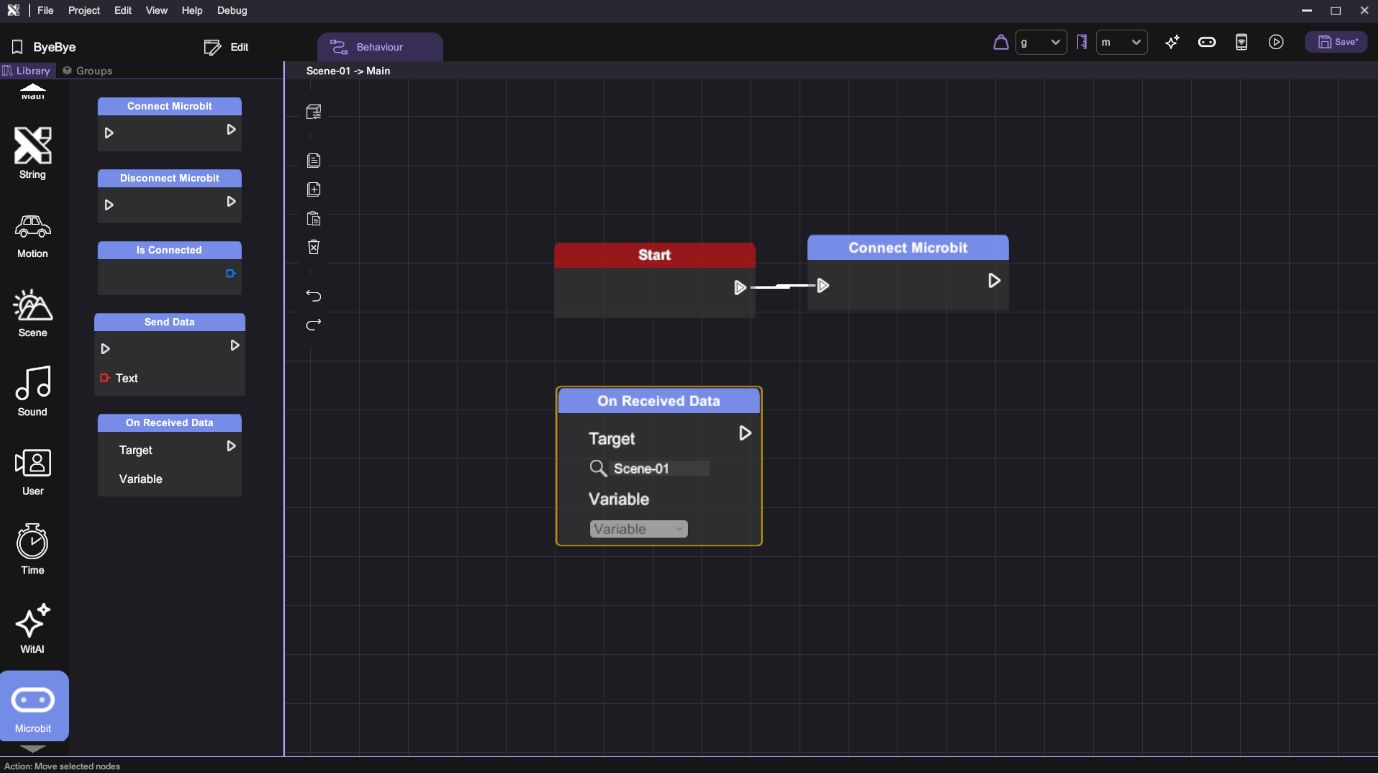
- Drag a "Connect Microbit" behaviour block.
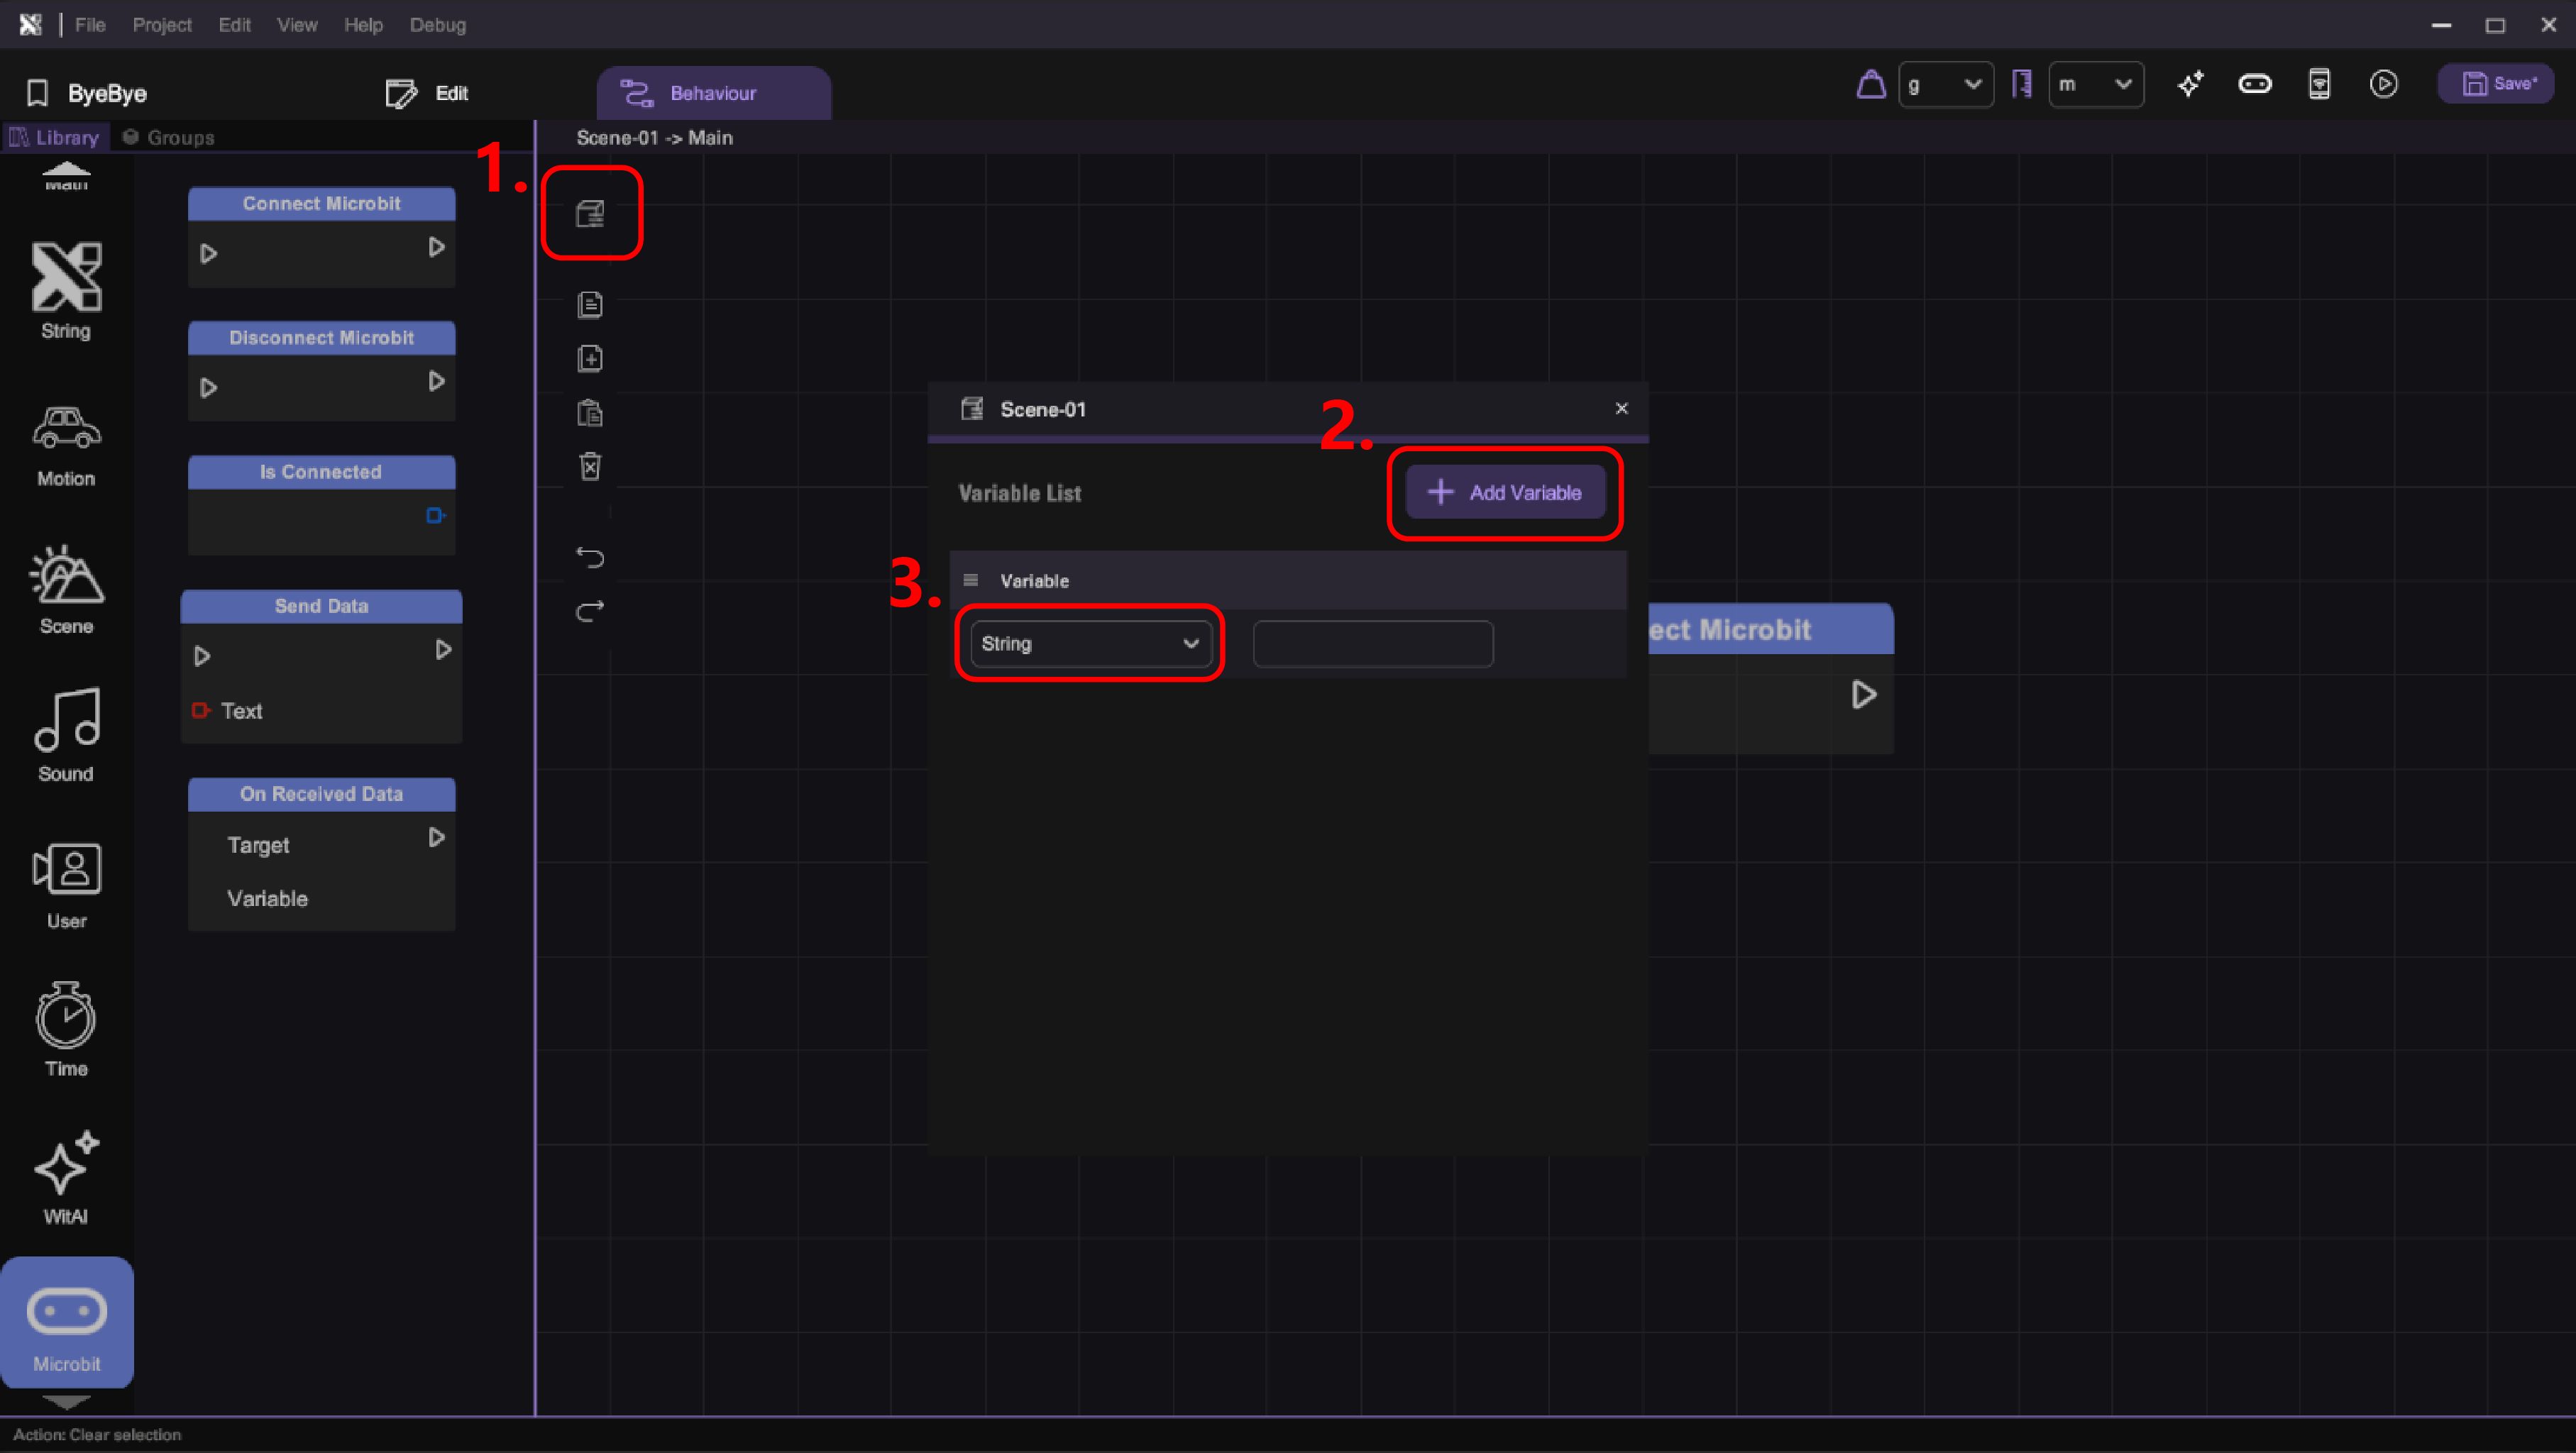
- Create a string variable to store the received data from Microbit.
- Get Microbit data by using "On Received Data" behaviour block in play mode. The received data will stored into the "variable" variable.
- Use the received data to trigger actions in our XRCC Project.
Example of Interaction of Microbit Received Data
1. Check Received Data with Text Object
- Spawn a Text Object.
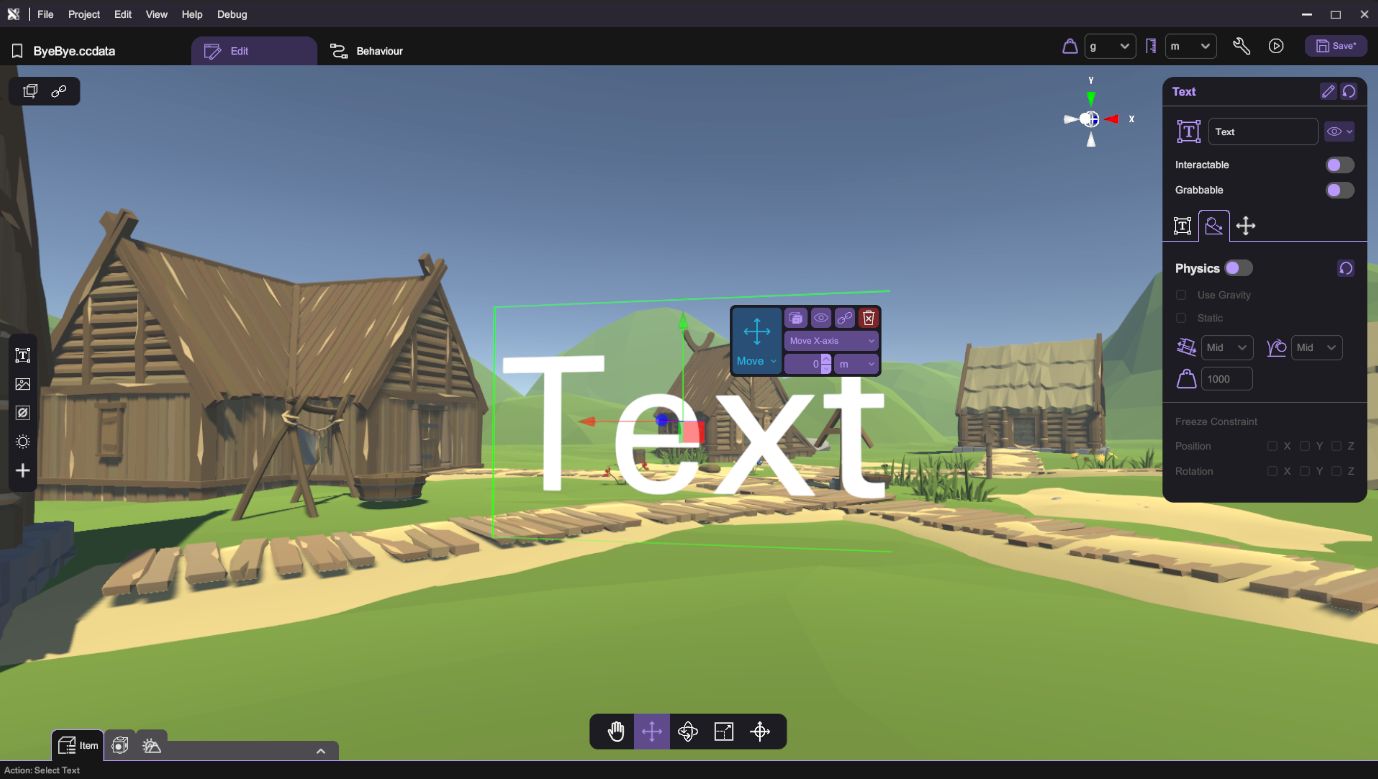
- Set its behaviour to the behaviour shown below:
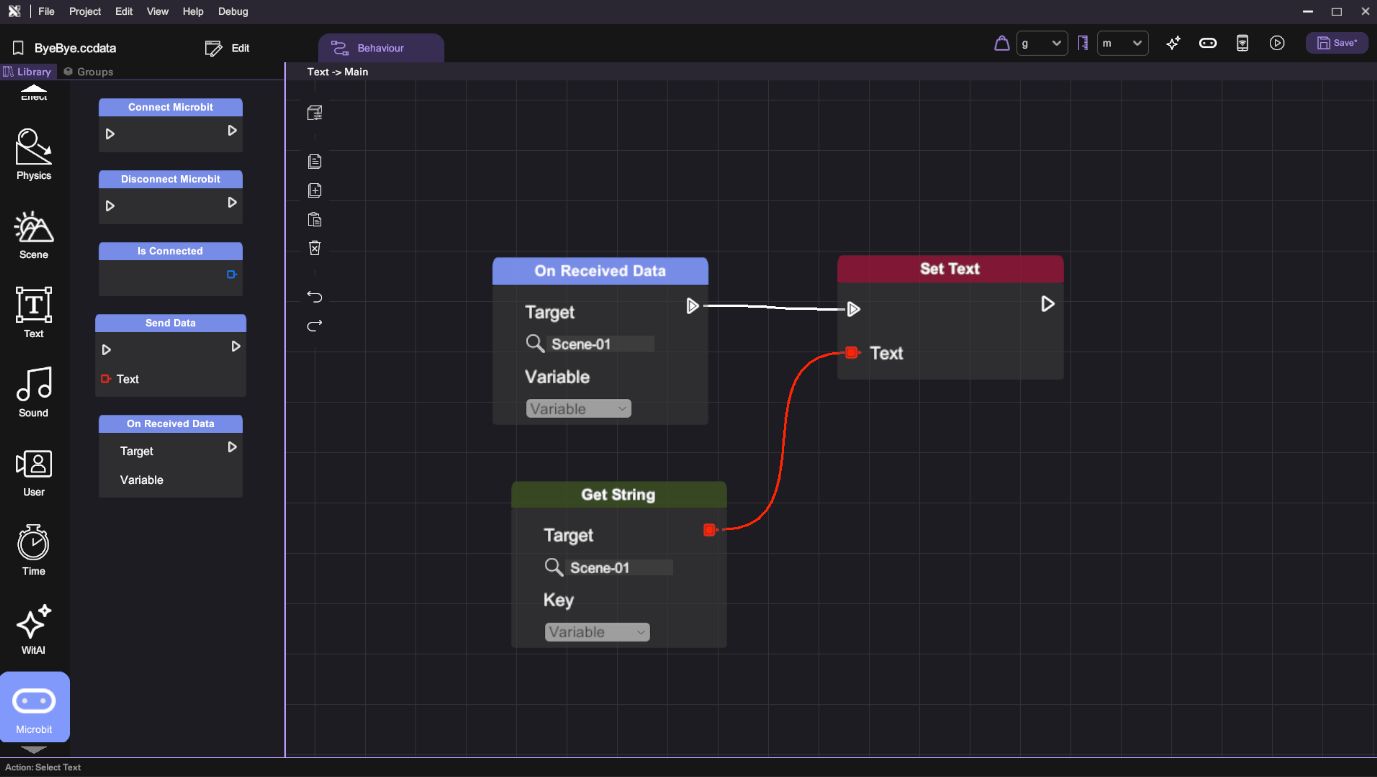
- Now, when XRCC receives Microbit data, the text object's text will change.
2. Move the Cube with Received Data
-
Ensure the "On Received Data" behaviour Block is called somewhere to store the microbit data to a variable. At this time, the block is called on the Text object if you have followed the above steps.
-
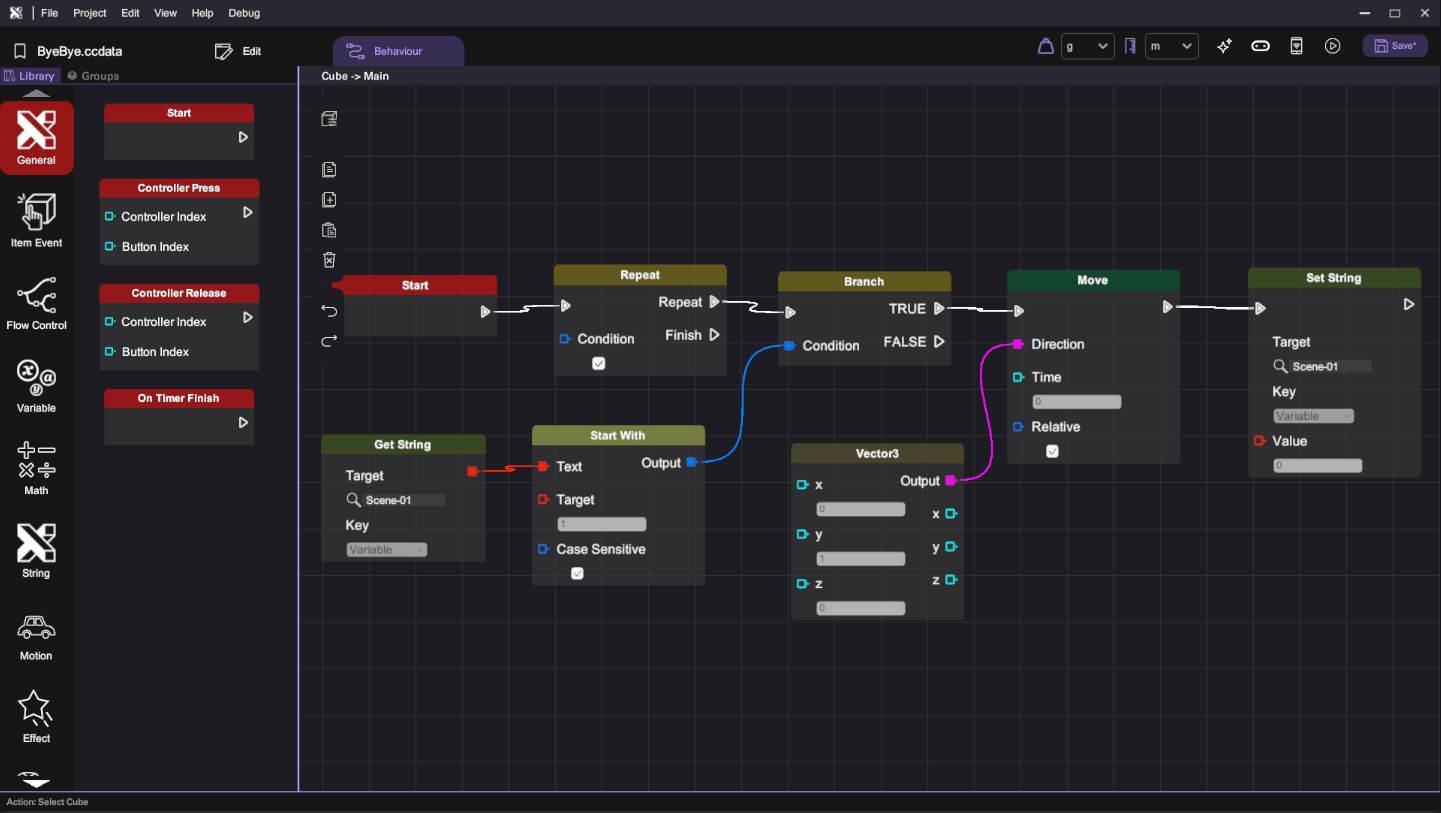
Spawn a Cube Object.
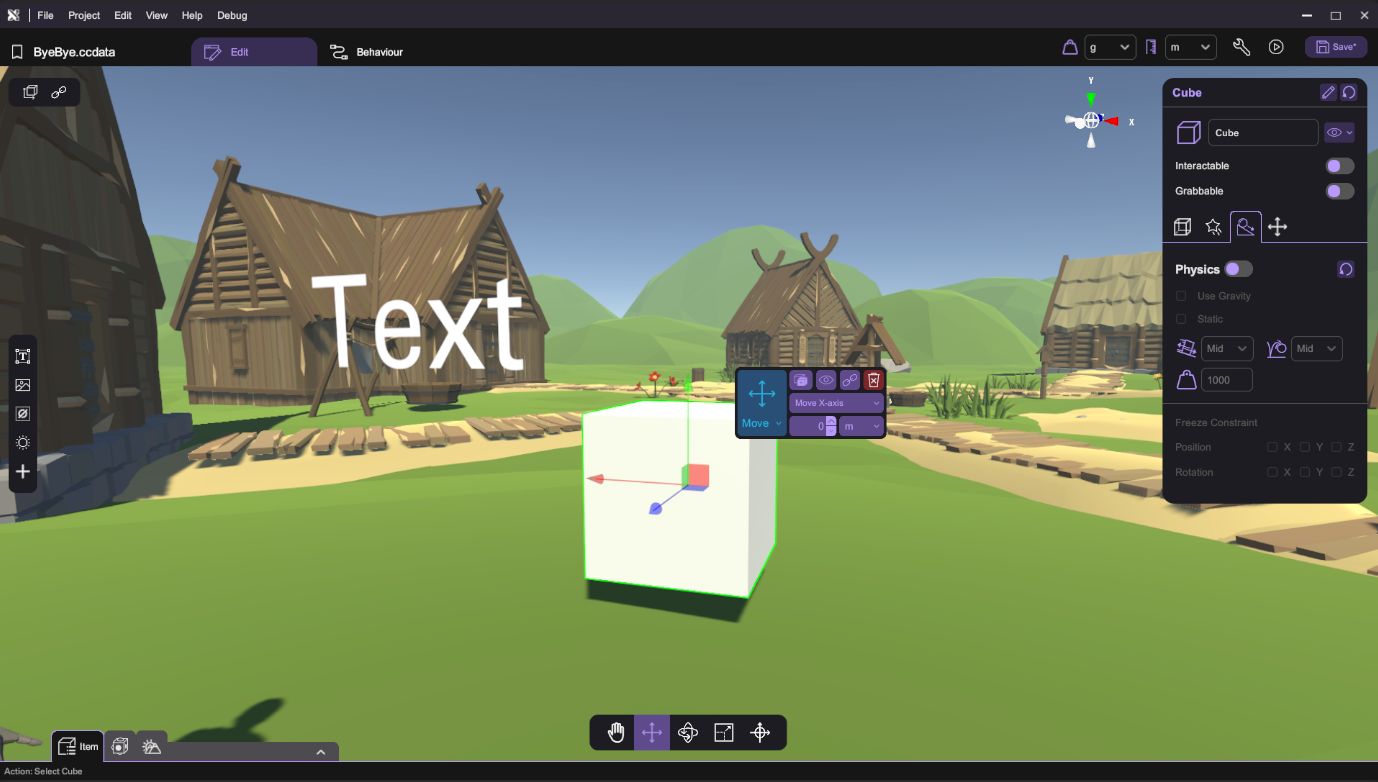
- Follow the image below to set the behaviour:
When the microbit press button A, the cube will move upwards by 1.
- Here will be the result:
Advanced Usage:
Customize Microbit Code
- Go to Microsoft Makecode website and import our example HEX file.
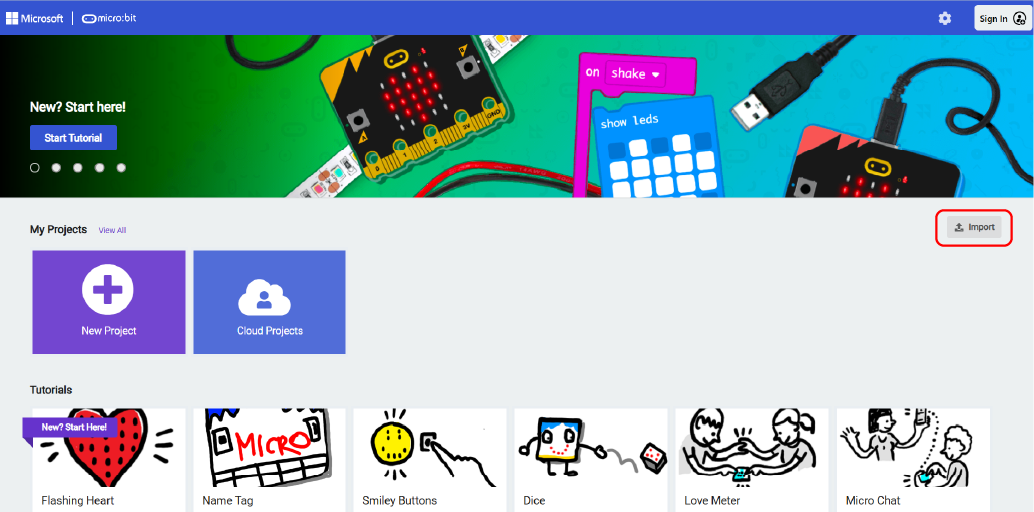
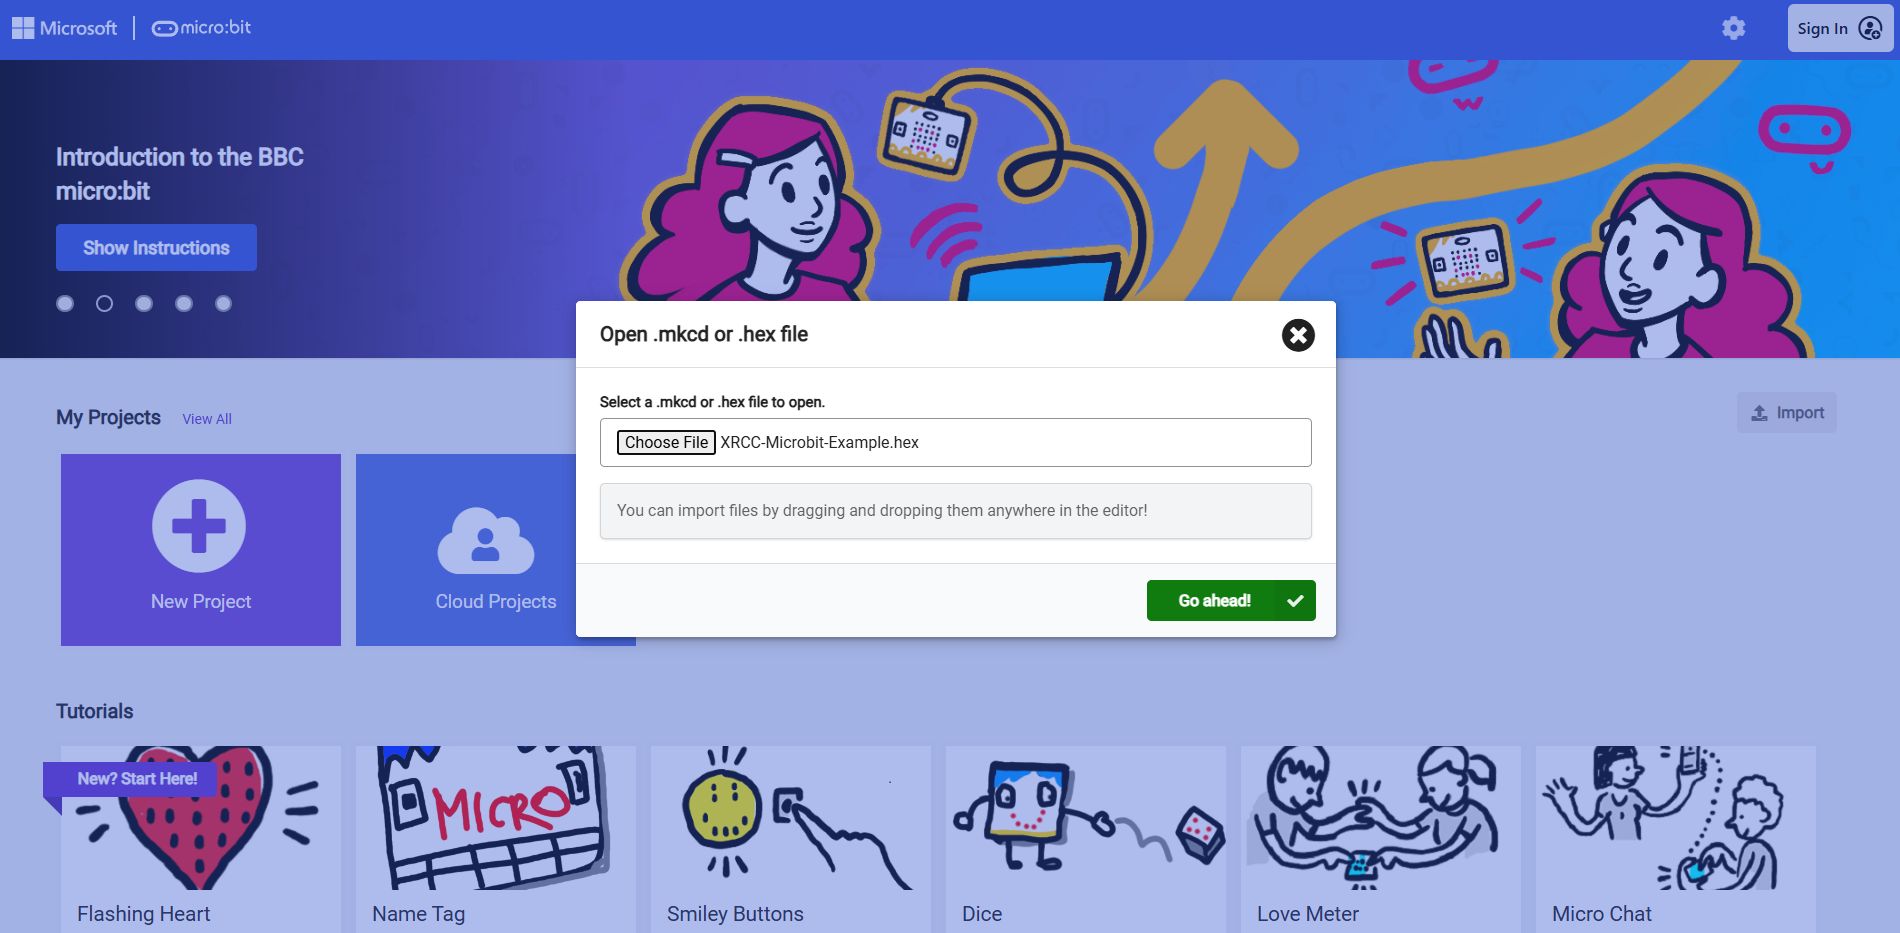
- Edit the HEX file using Makecode. You can take reference from Microbit's official website and play with other sensors that can interact with Microbit!
-
Export the code and burn it to your microbit.
-
Connect the microbit to XRCC, you can start to create your content!