Configure Multi-User Network in XRCC PC
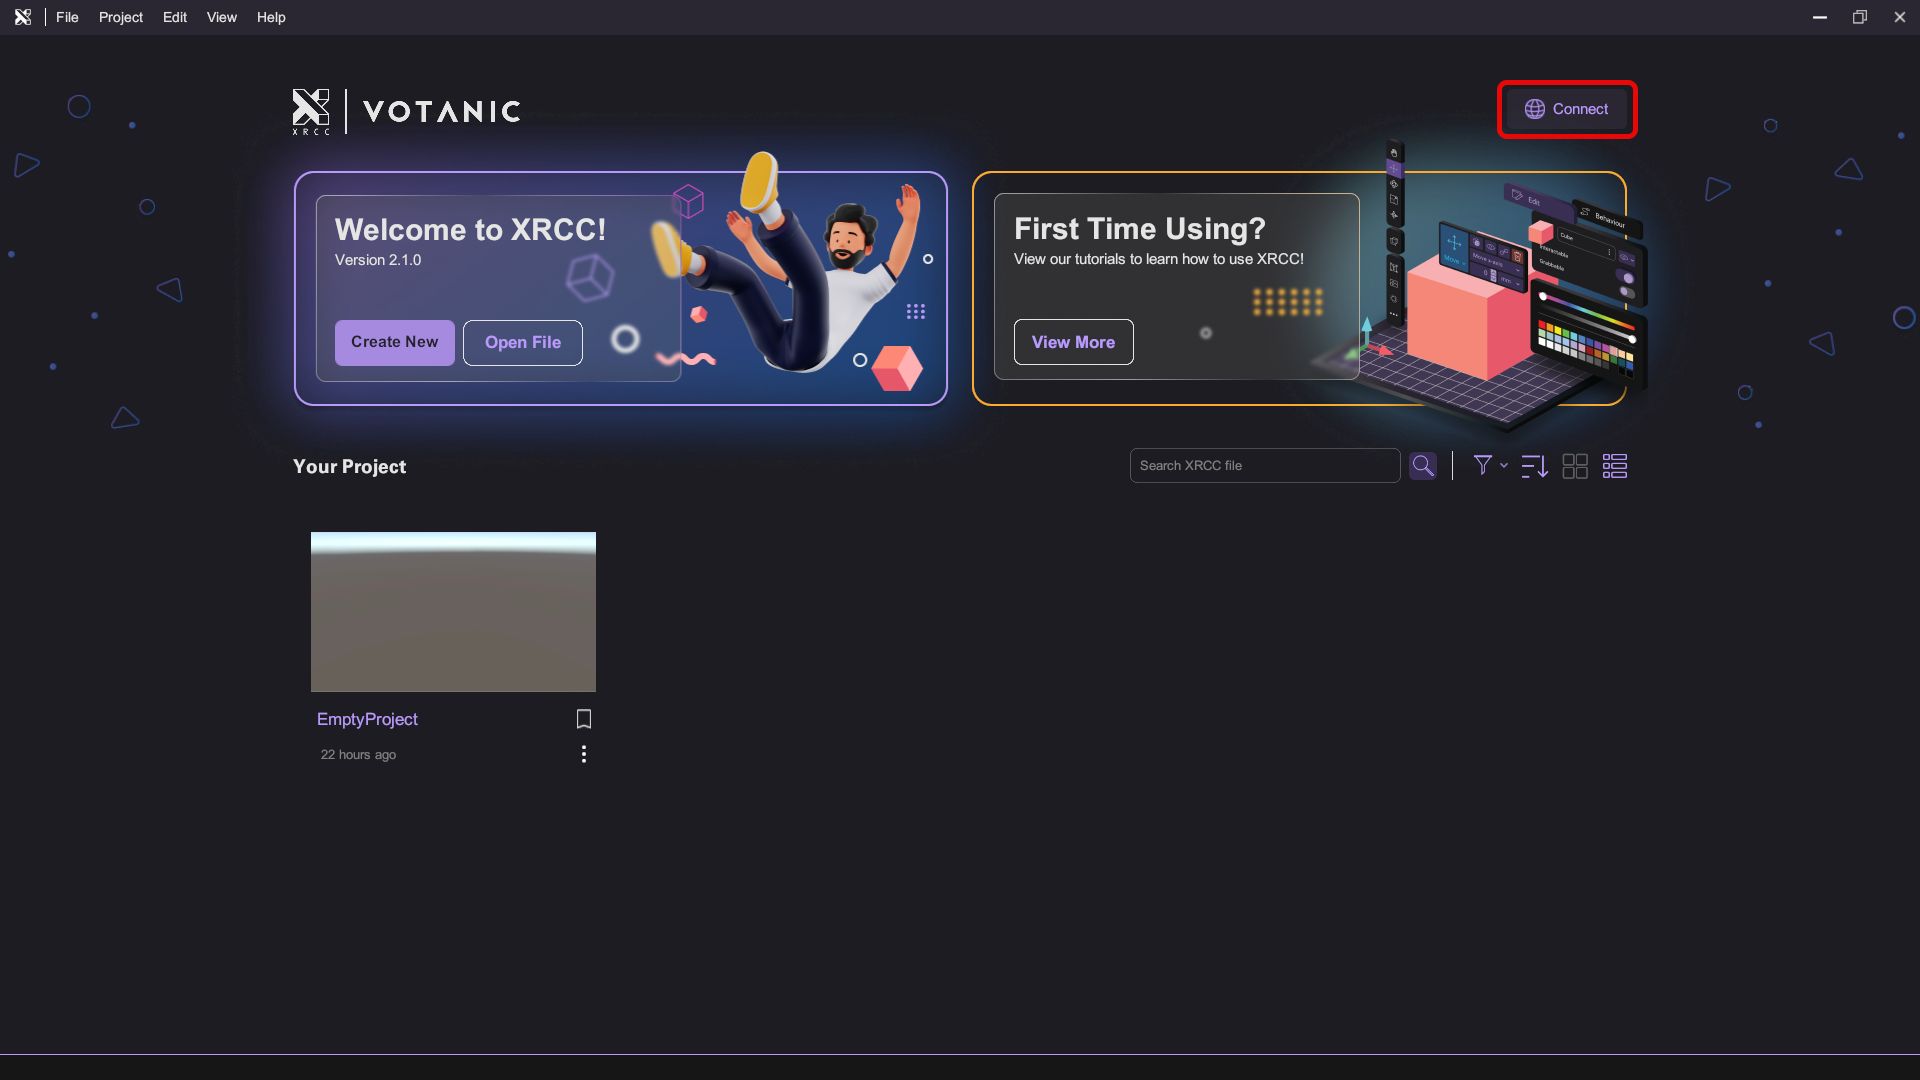
- Open the Networking Panel by selecting the Connect (N) button on the Home page.
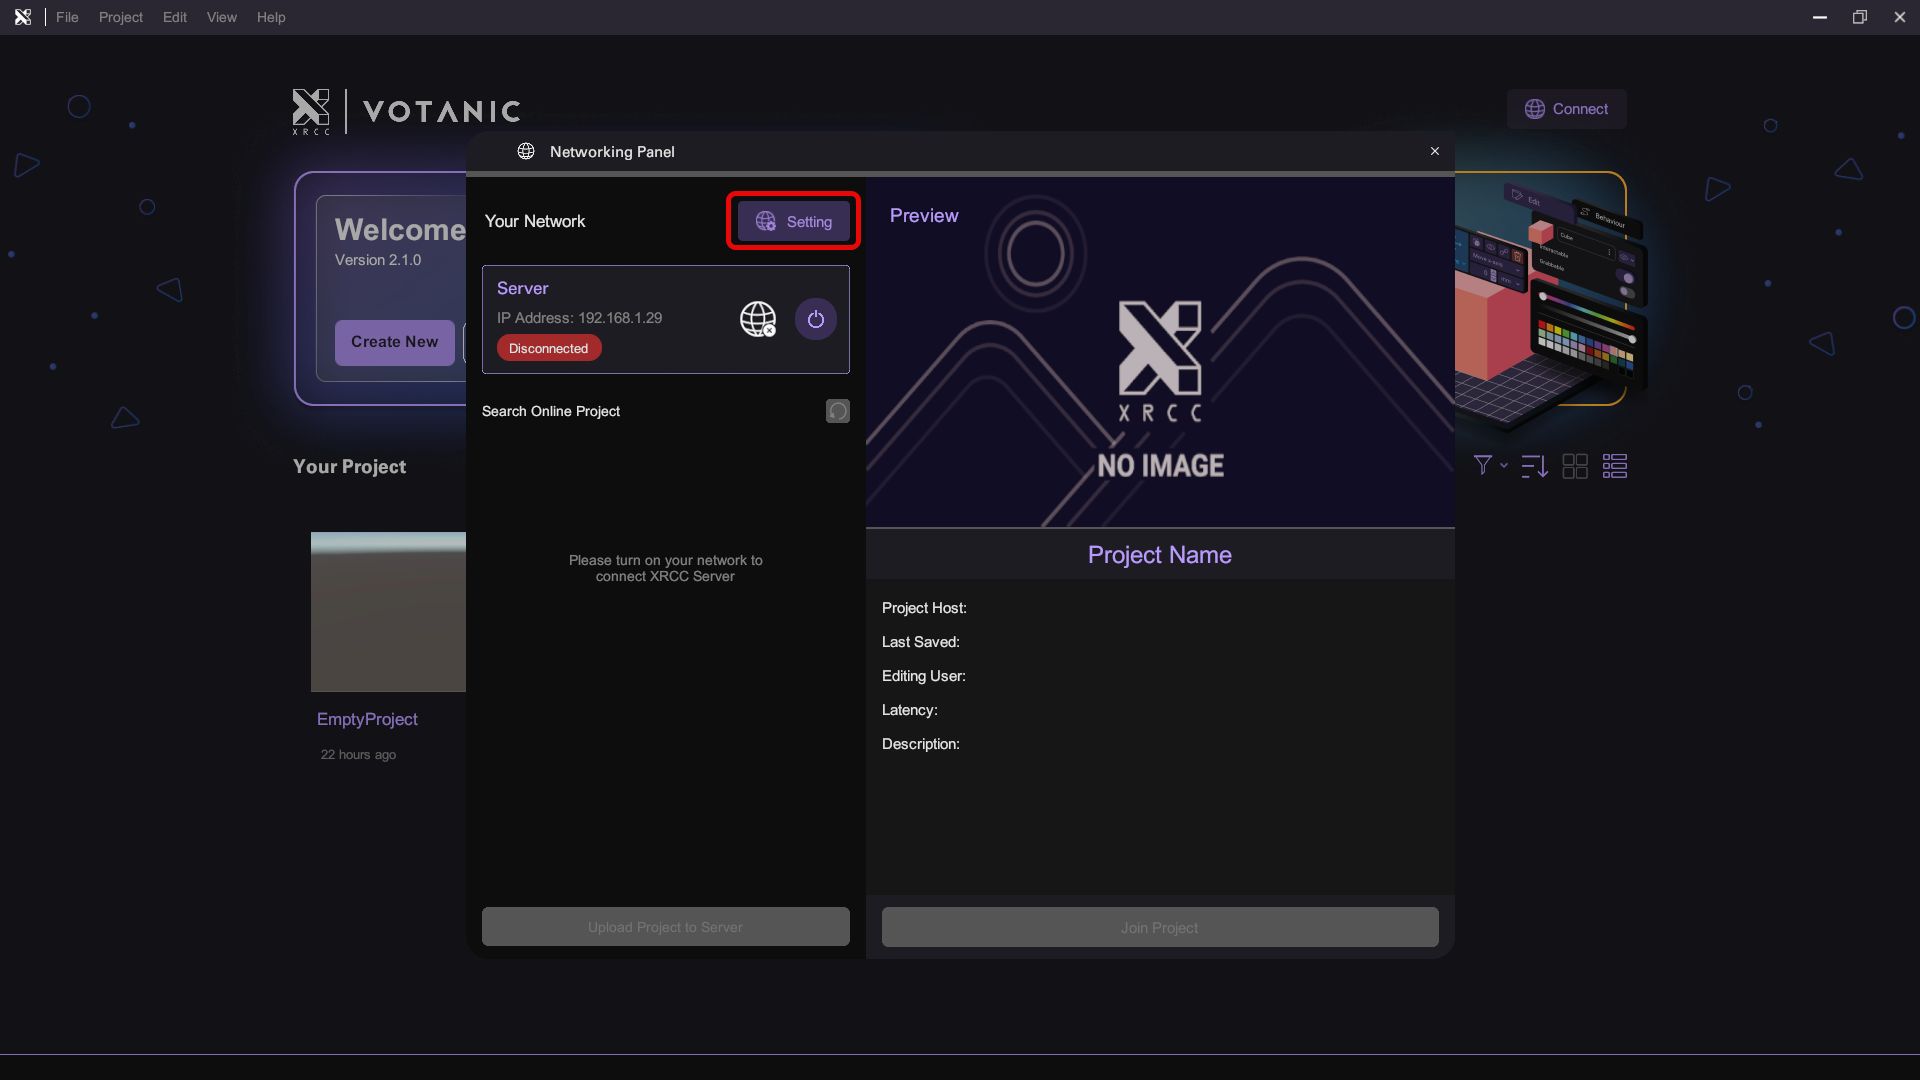
- In Networking Panel, click Setting to open Setting Panel to configure networking settings.
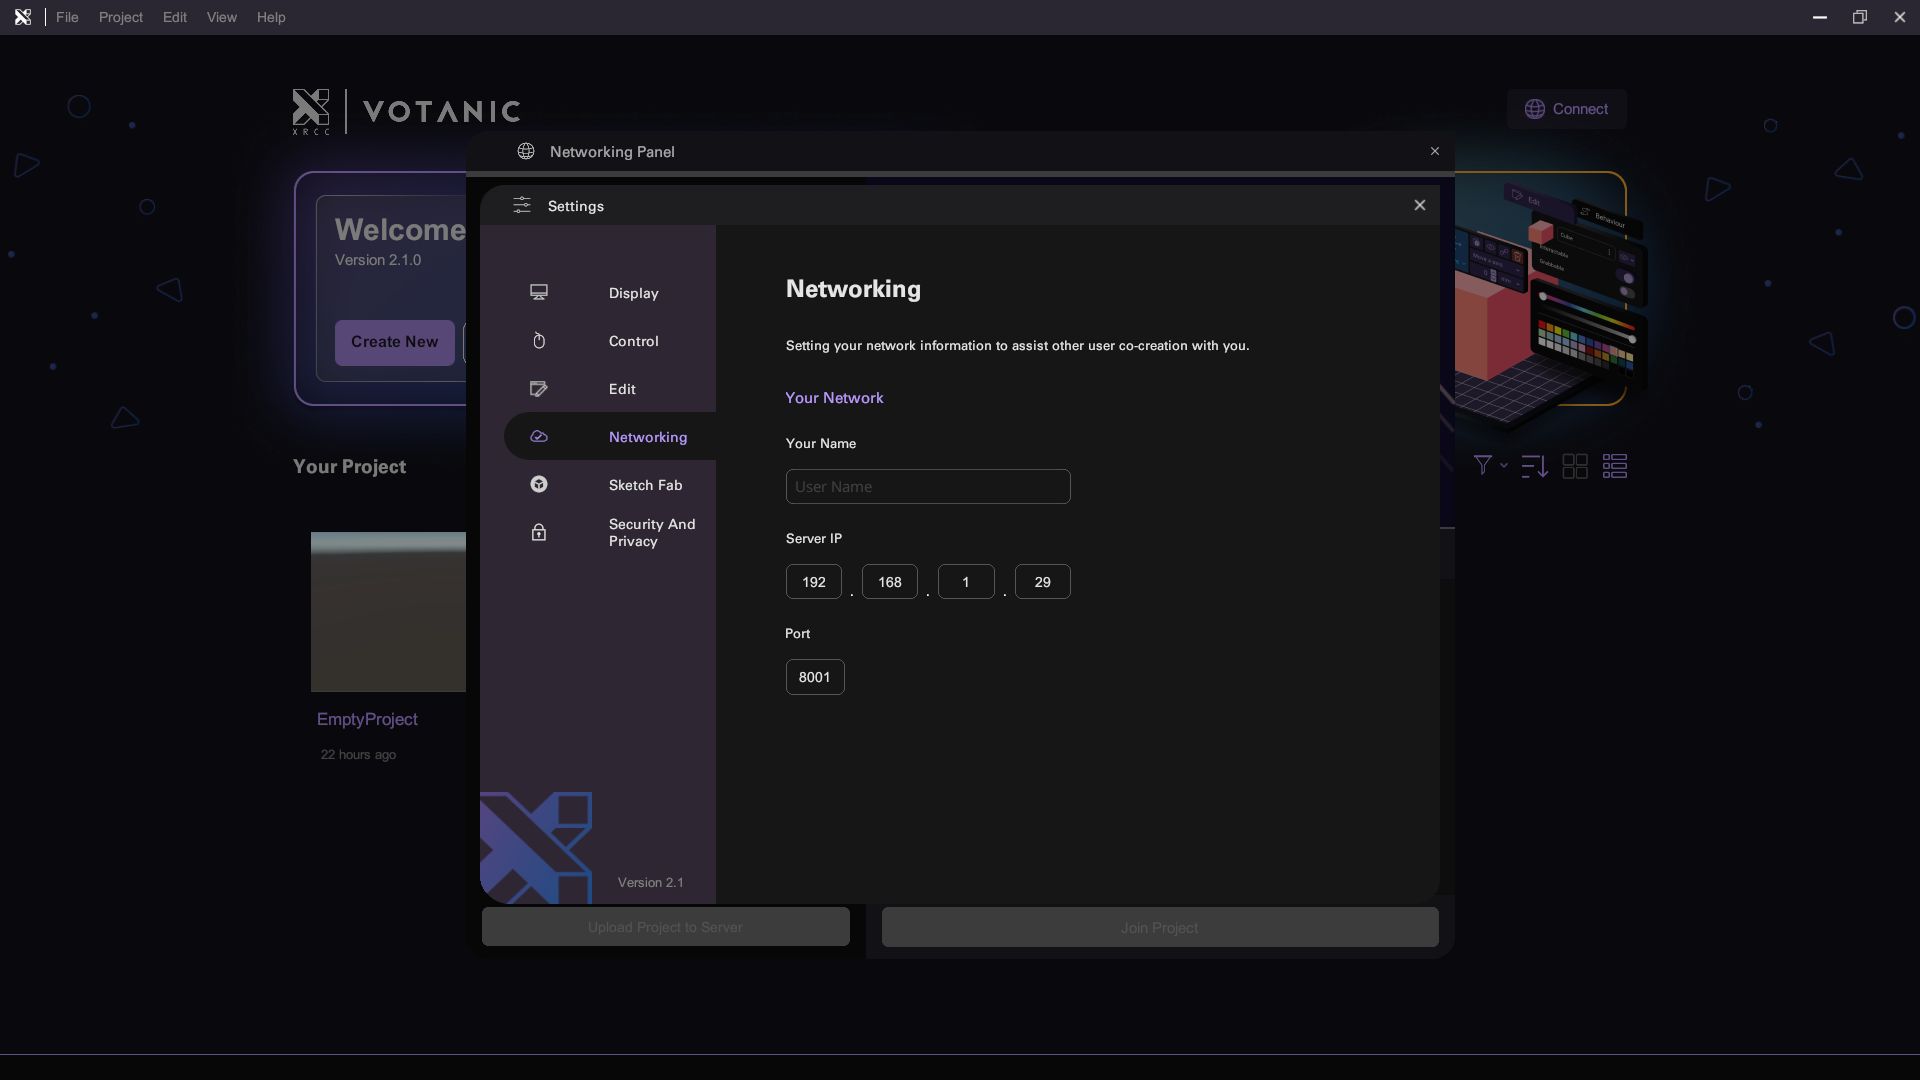
- Put down user information and Server IP, as for other users who want to edit the same project, they need to input the same Server IP.
- Close the panel and click Connect Button with icon to connect to server.
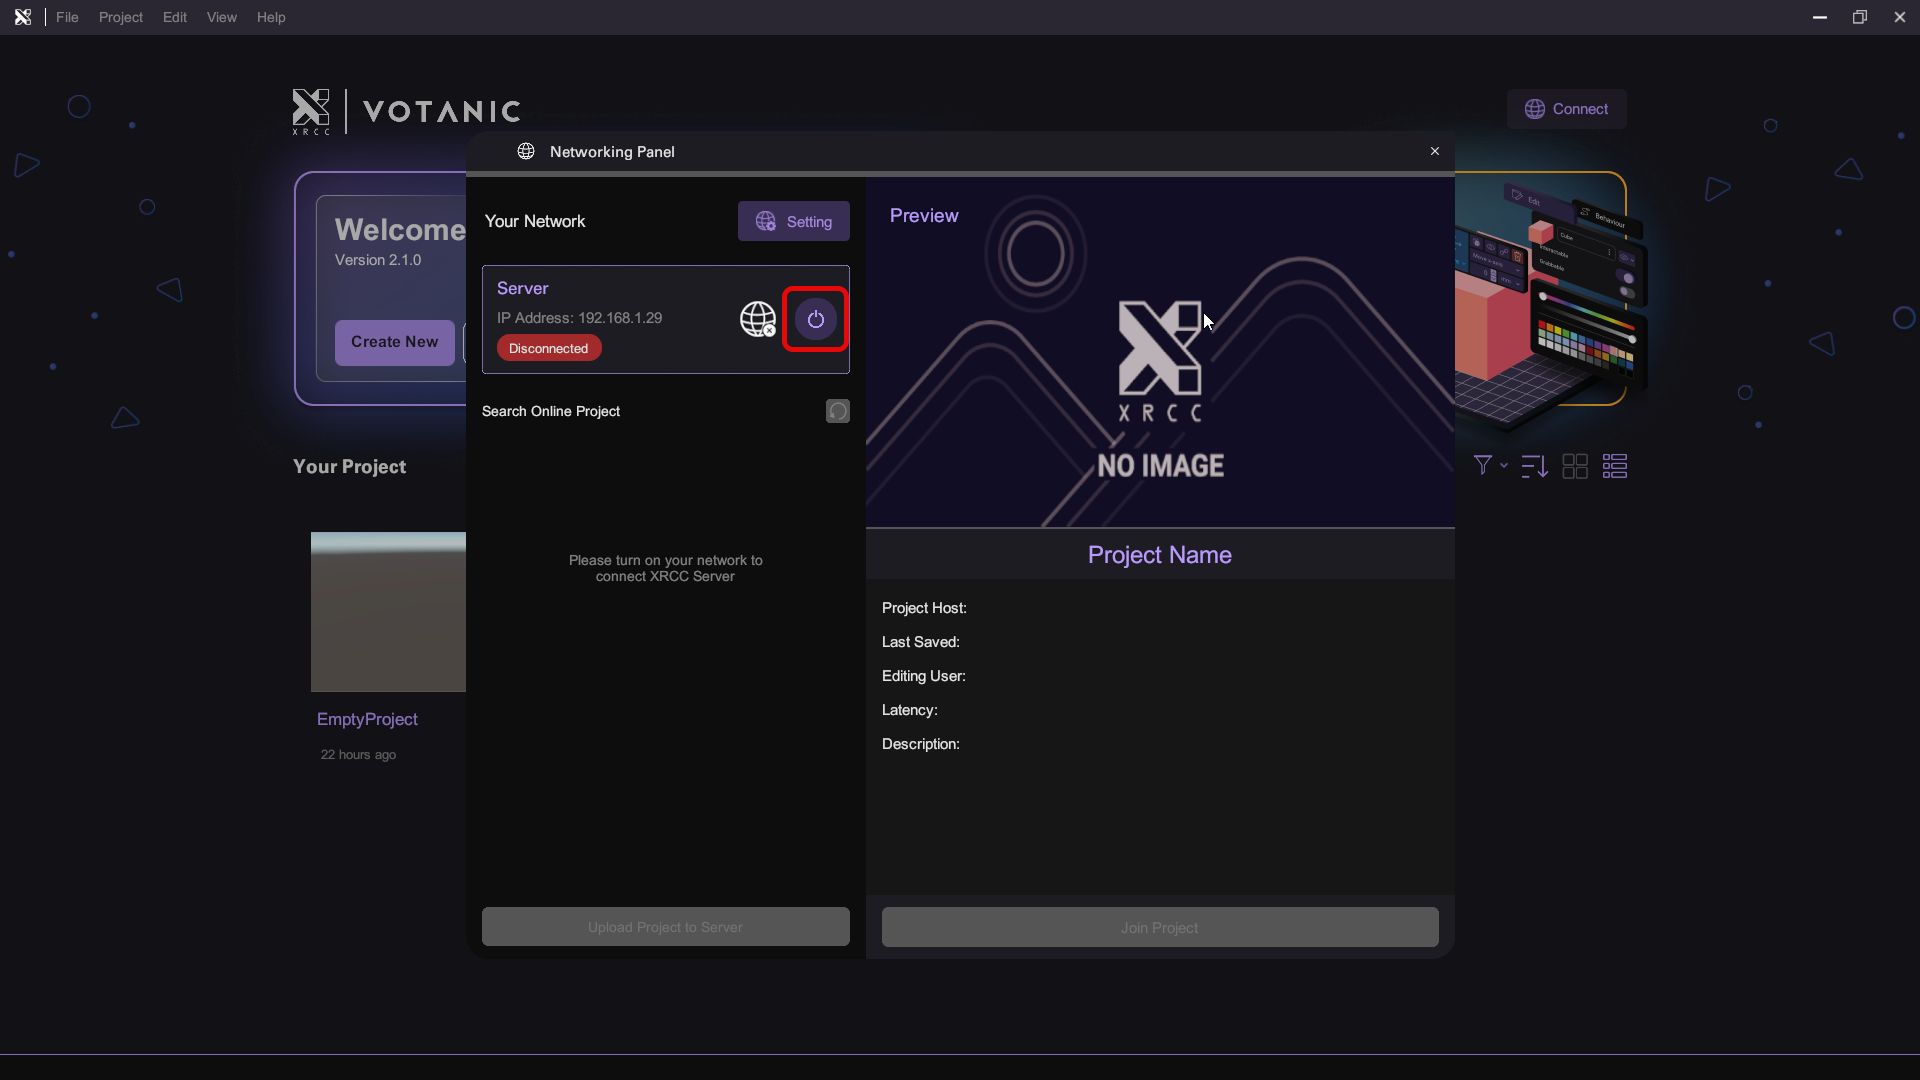
- After connected to server, the Networking Panel will shown the project information as below.
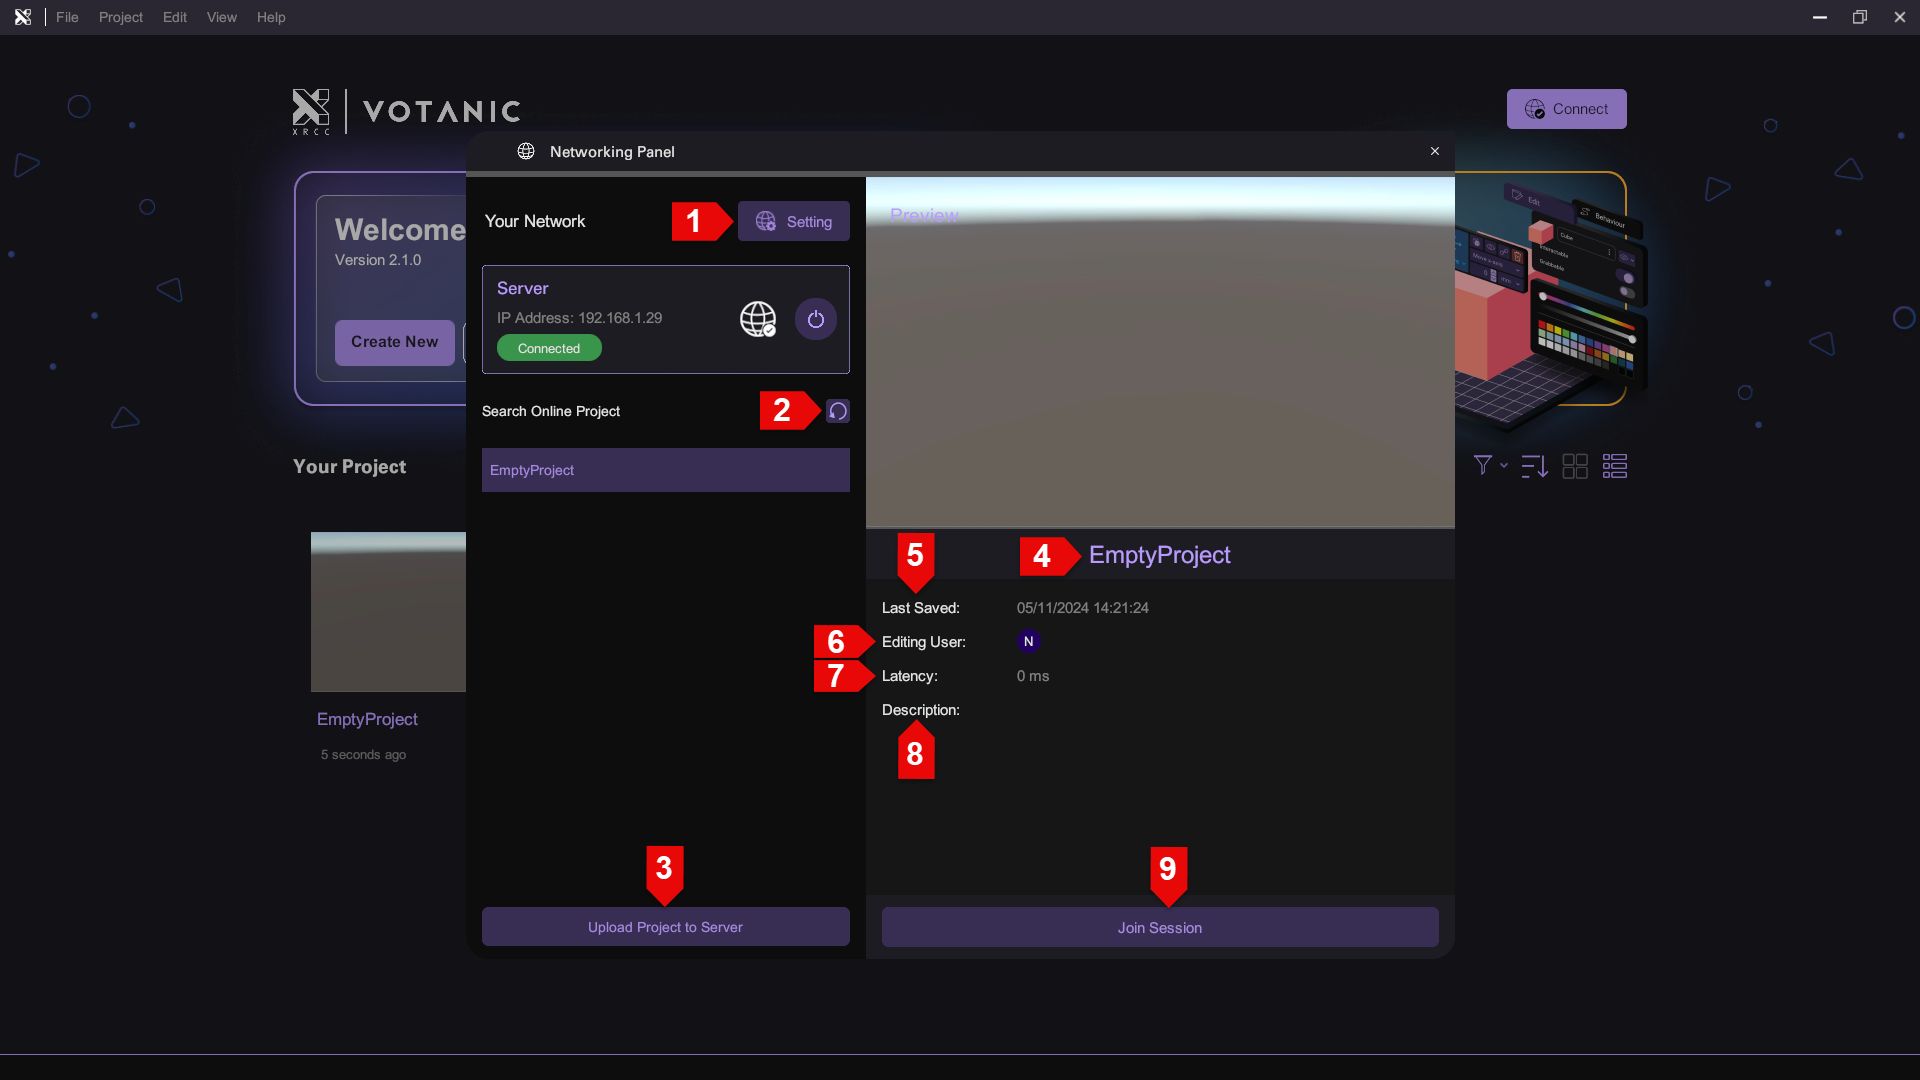
| Number | Description |
|---|---|
| 1 | Setting |
| 2 | Refresh |
| 3 | Upload Project |
| 4 | Project Name |
| 5 | Last Saved Time |
| 6 | User List |
| 7 | Latency |
| 8 | Description |
| 9 | Host/Join Session |
Network Connection Status
The Connect Button on the Home page will be different depends on the network connection status.
| Disconnected | Connected |
|---|---|
 |  |