Using Multi-User Editing
Upload project to Network Server (First Time only)
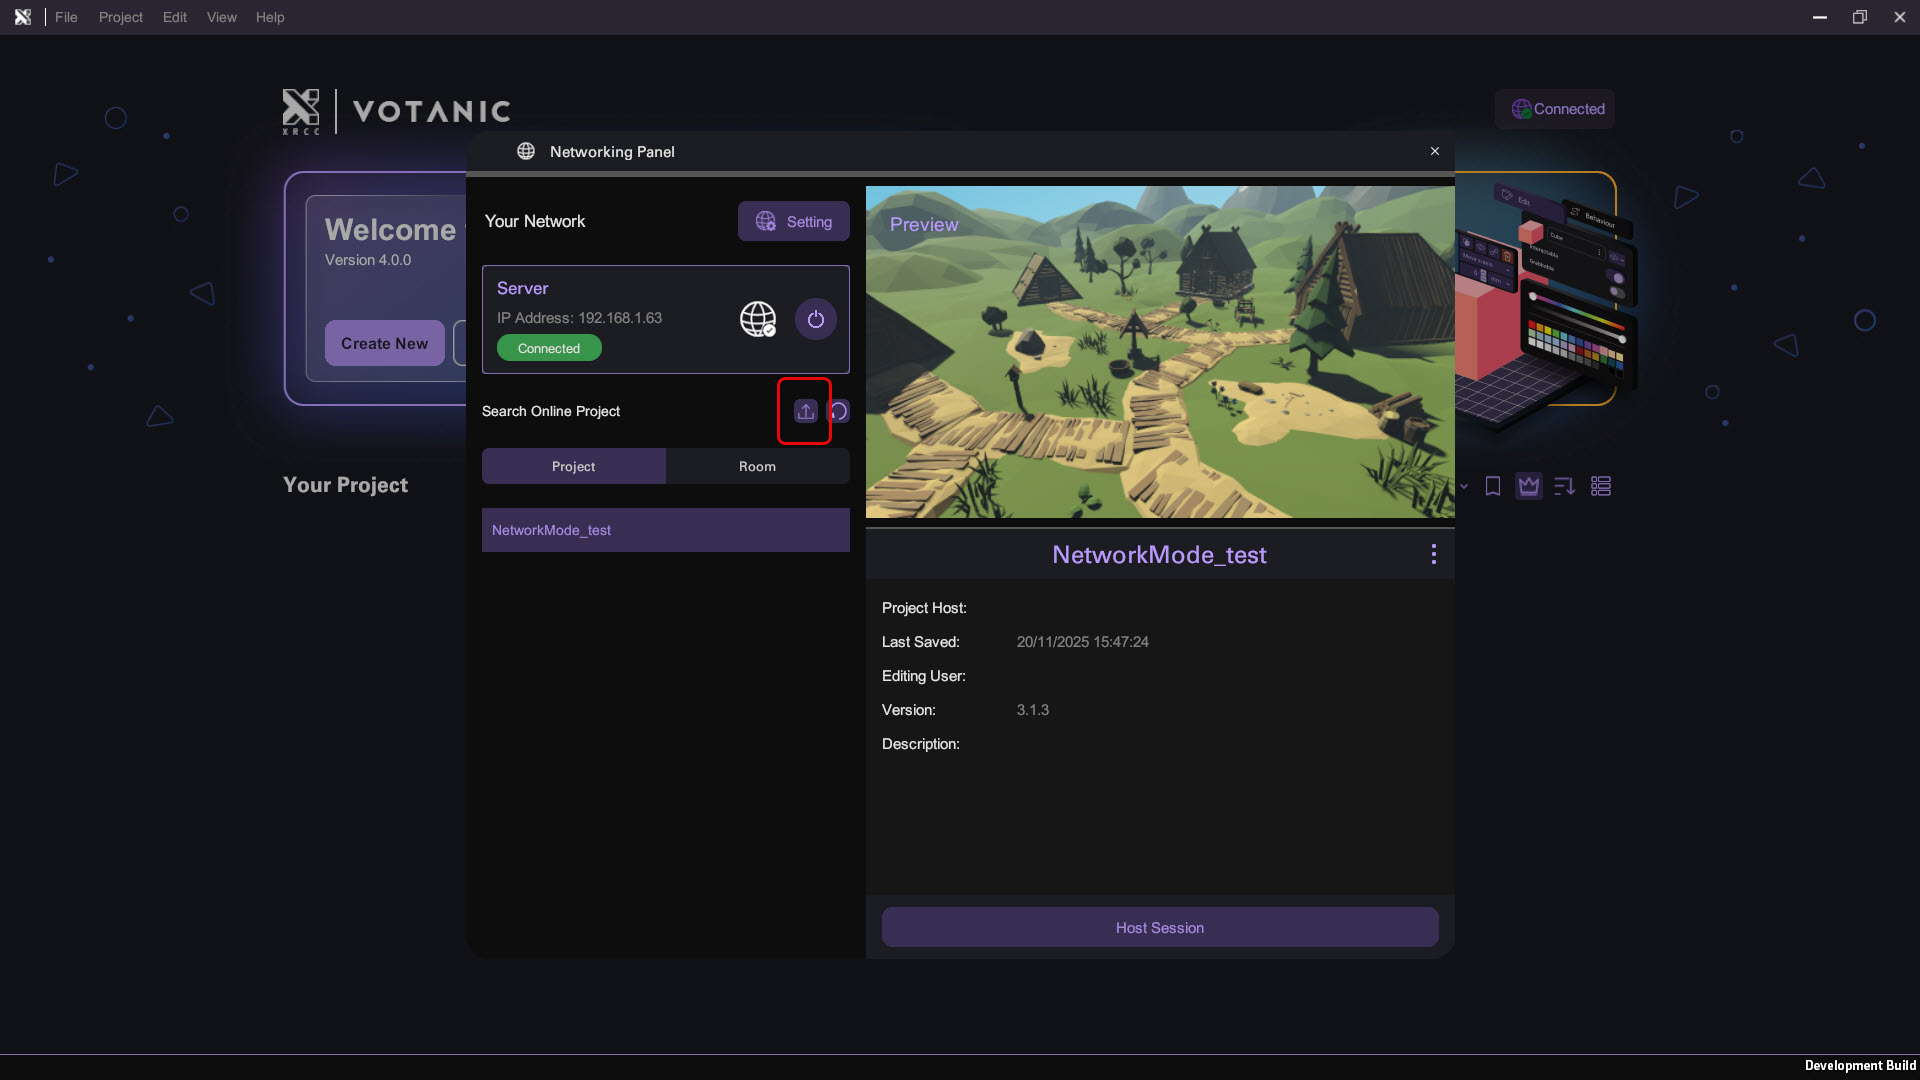
In order to let your team get into your project, you need to upload the project first.
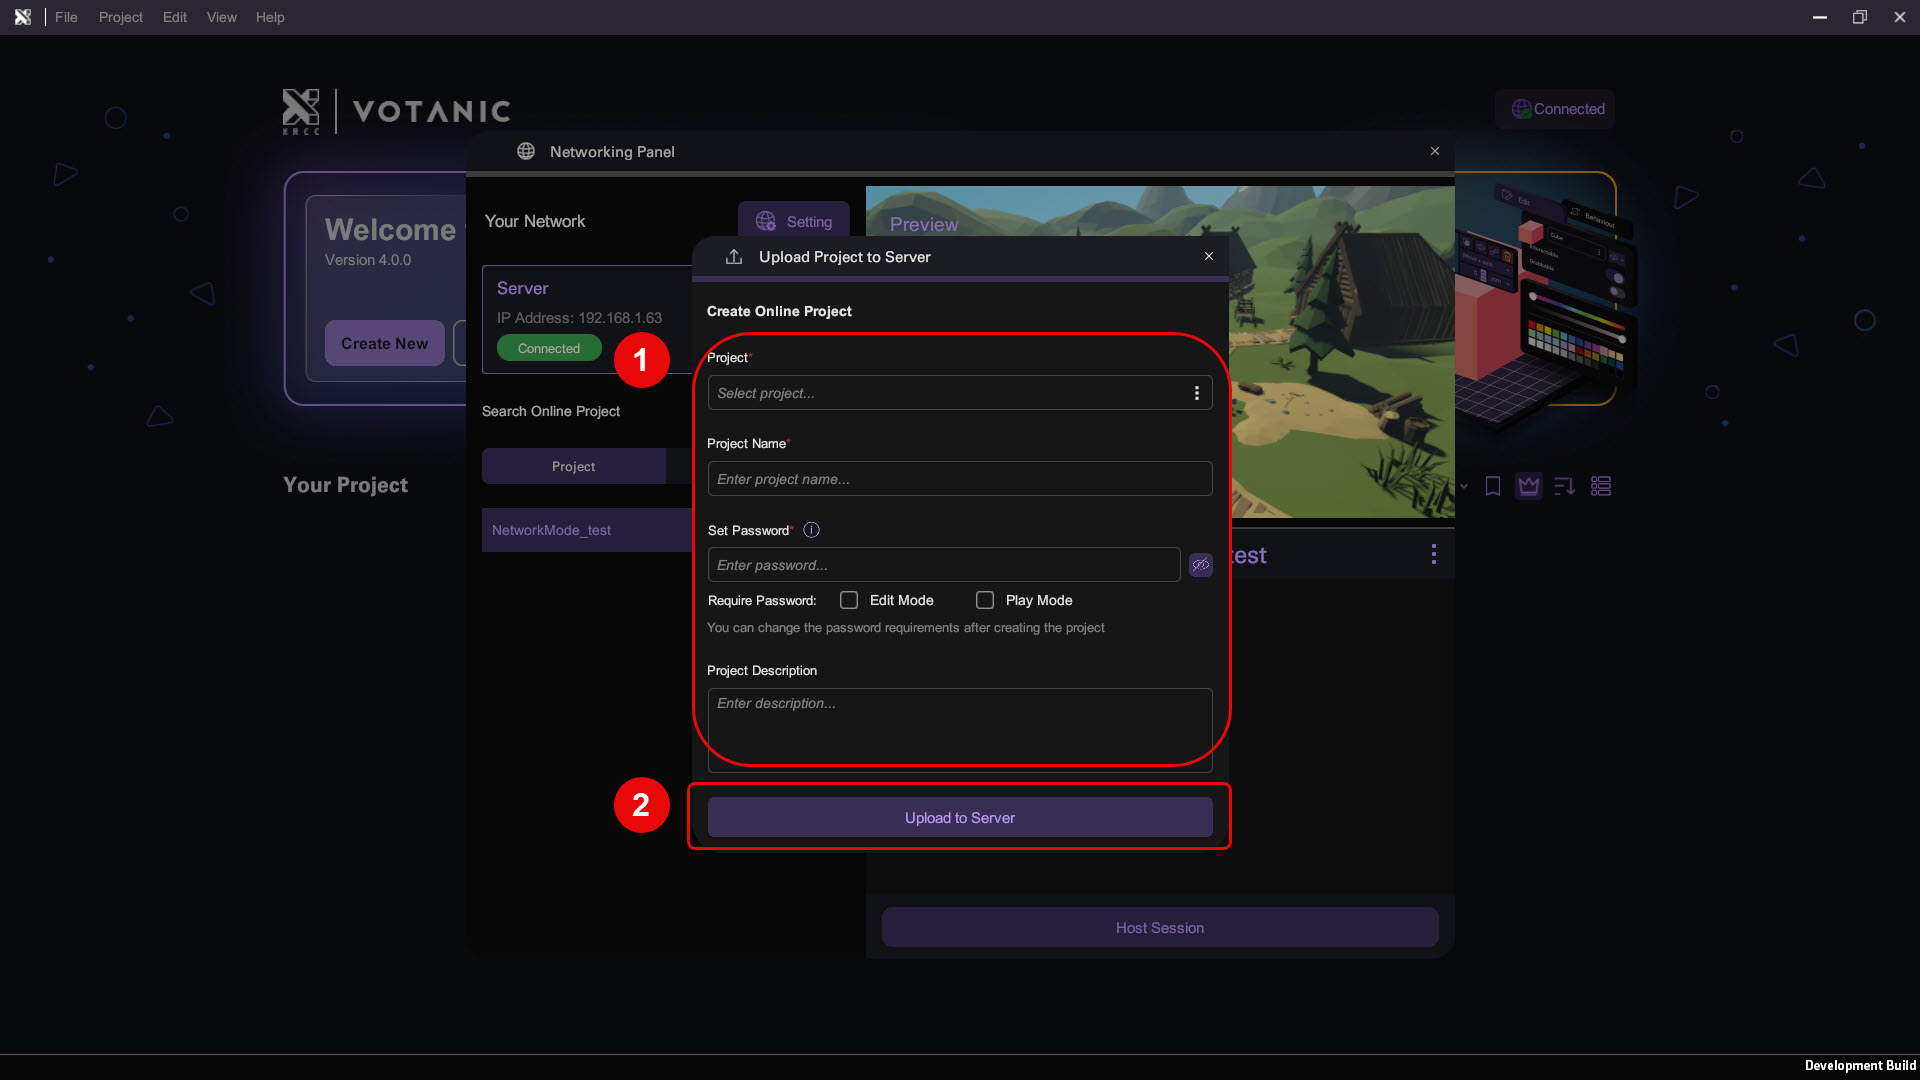
On the Networking Panel, click Upload to launch the Create Online Project panel where you can select an existing local project to the network server and input the infomation of the online project.
After the project is selected and the information are filled, click Upload to Server to upload the project to server. Optionally, you can set a password for the project to restrict unauthorized access of your project on the network server.
Editing projects on Network Server
Before you go into multi-user editing, it's good to know that there are a few ground rules in multi-user editing:
- All changes in the scene and behaviour are synchronized across all users in real time
- Importing assets and managing packages are disabled
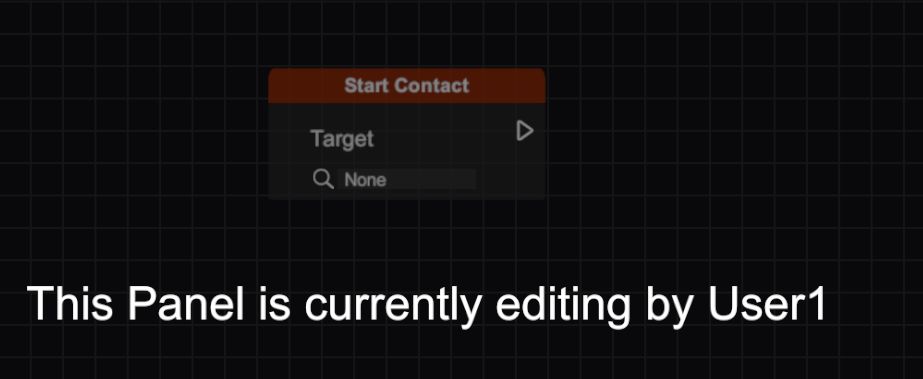
- Users cannot simultaneously edit an object or a behaviour, the first user making the edits will have authority of the object
Follow the steps below to start multi-user editing.
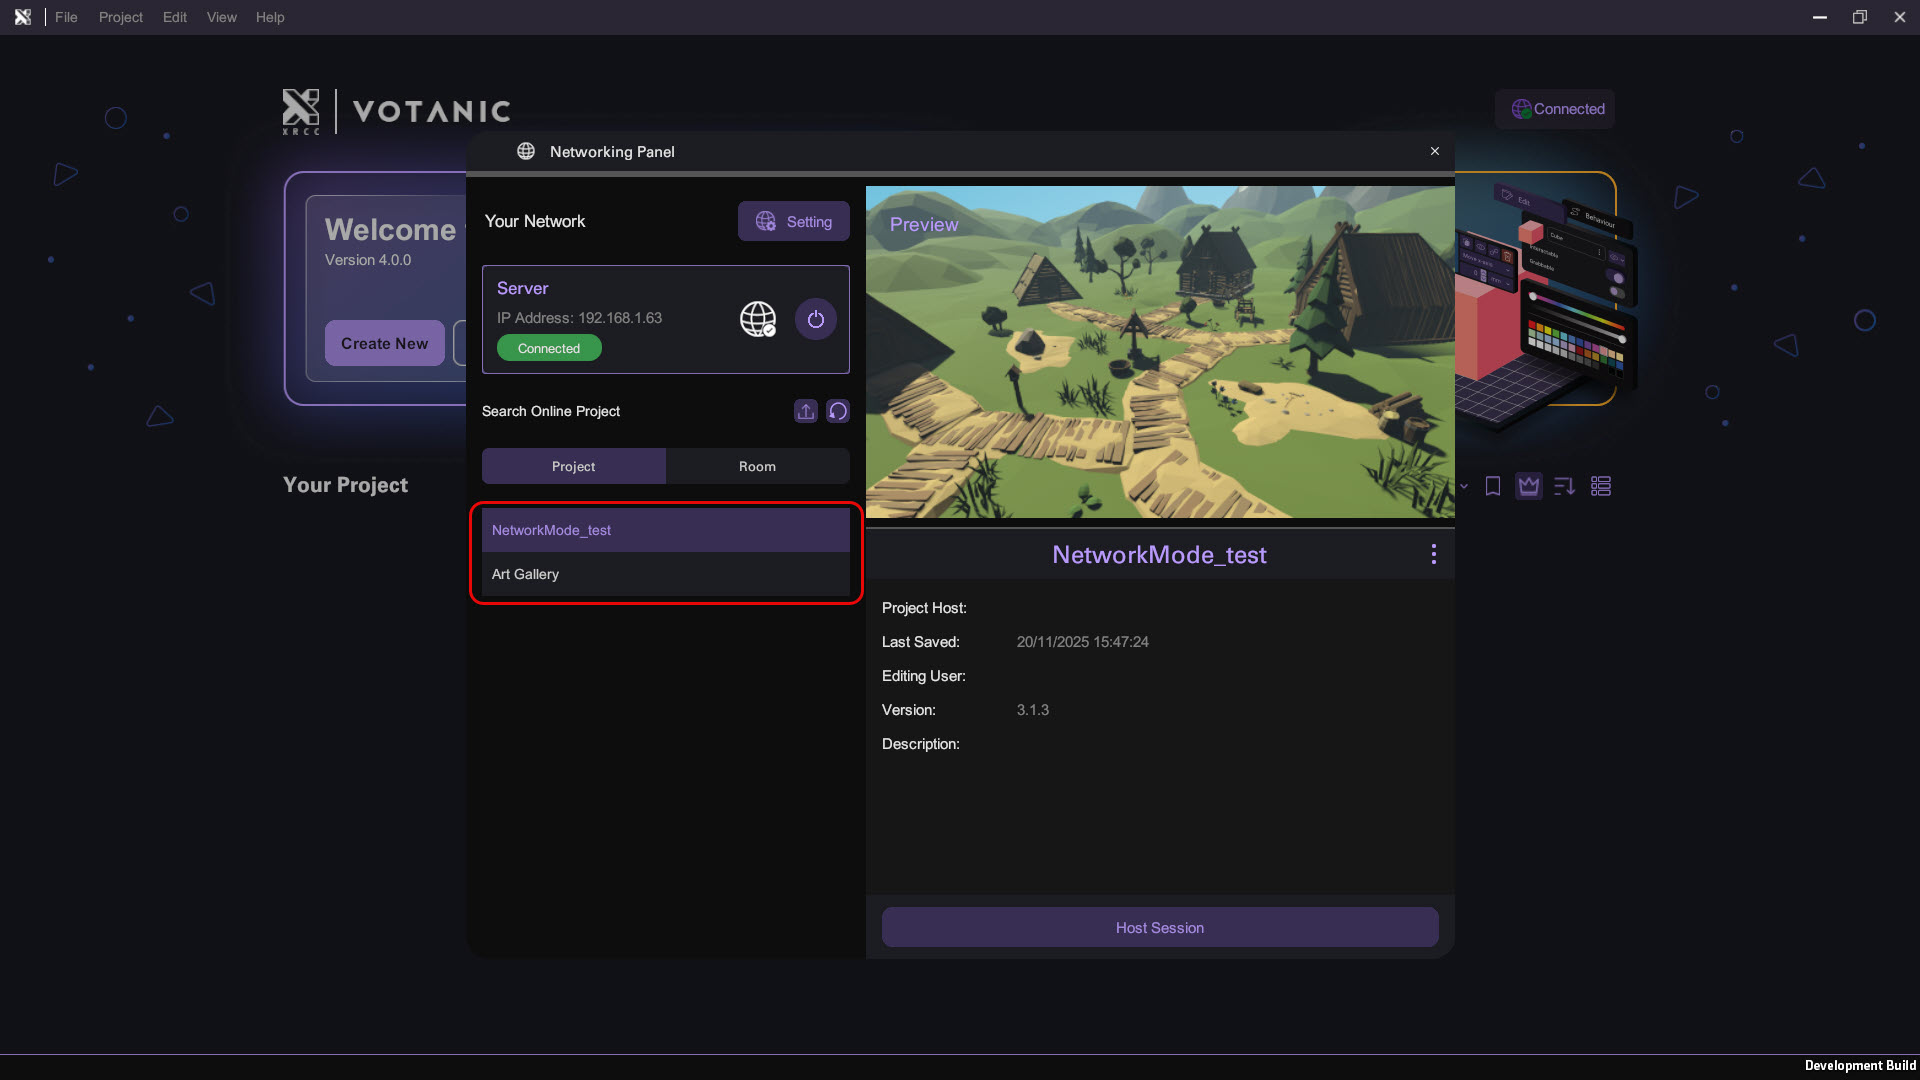
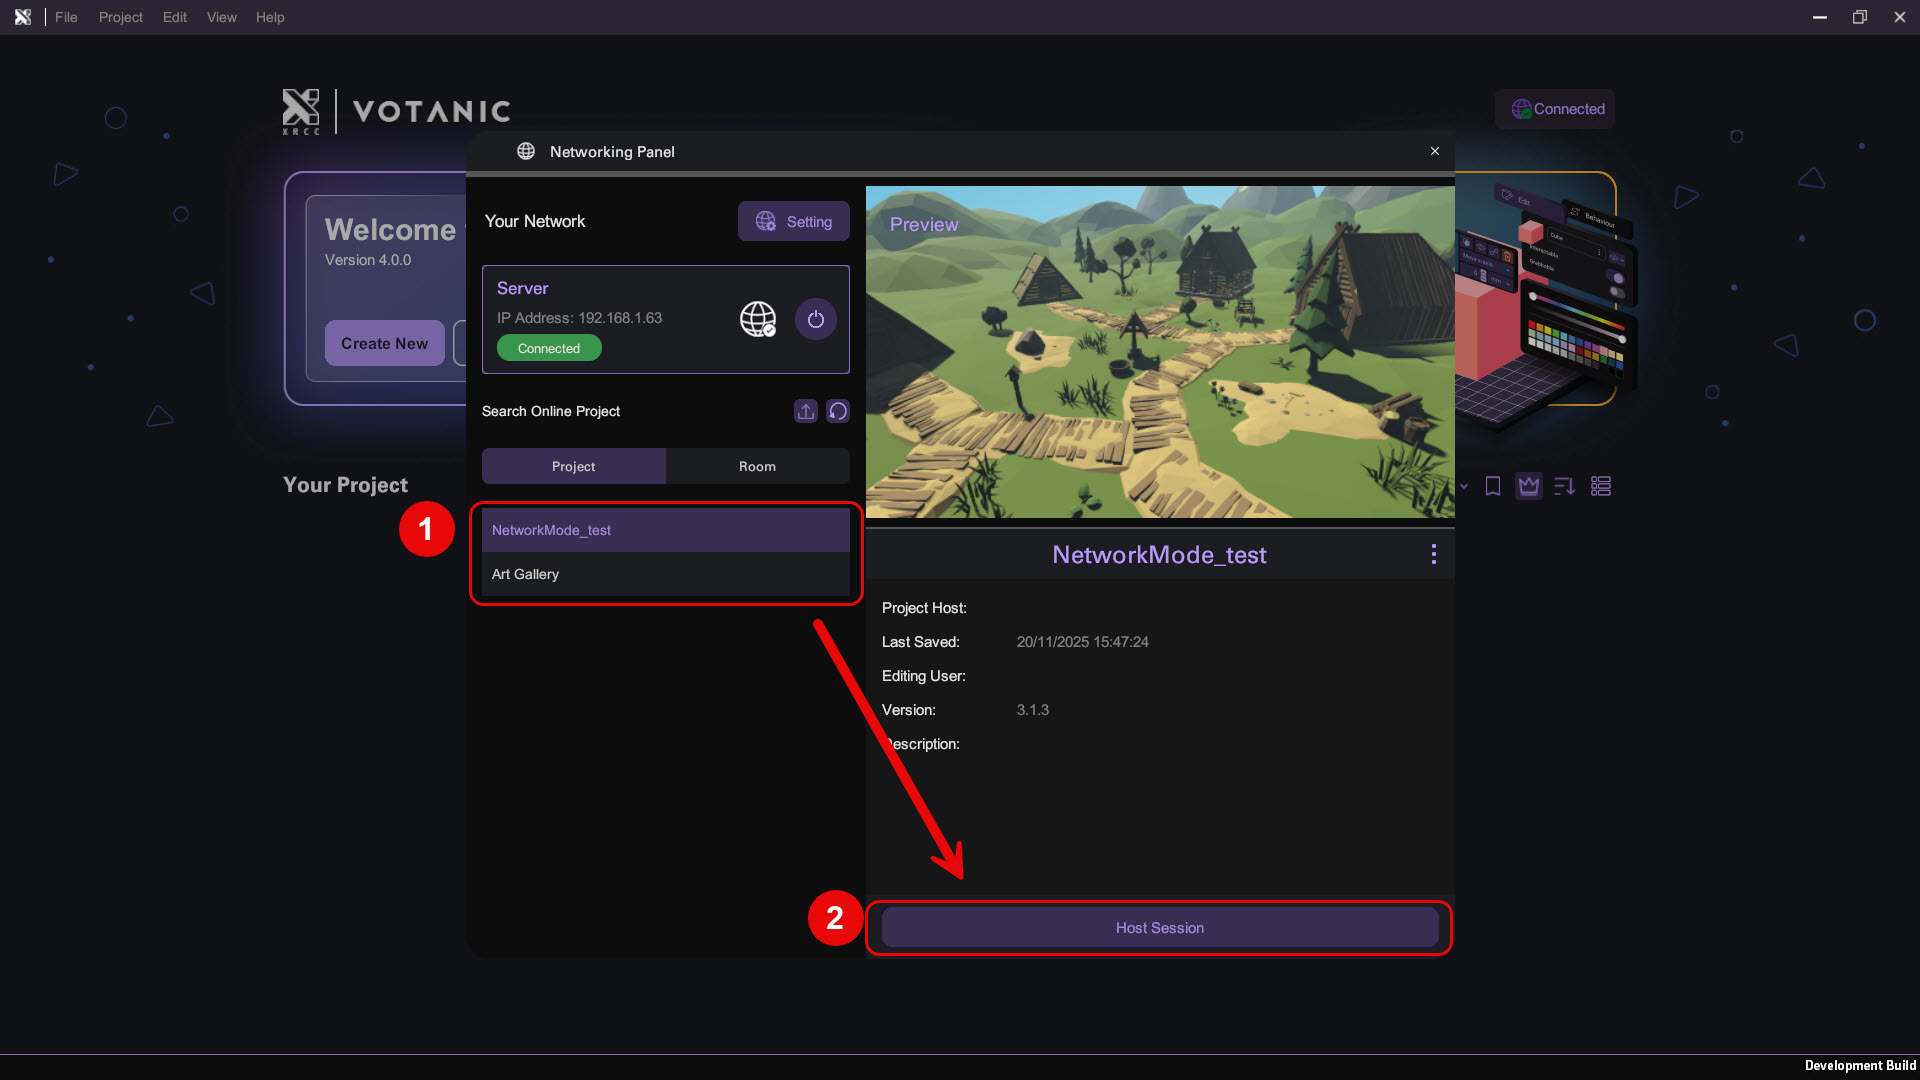
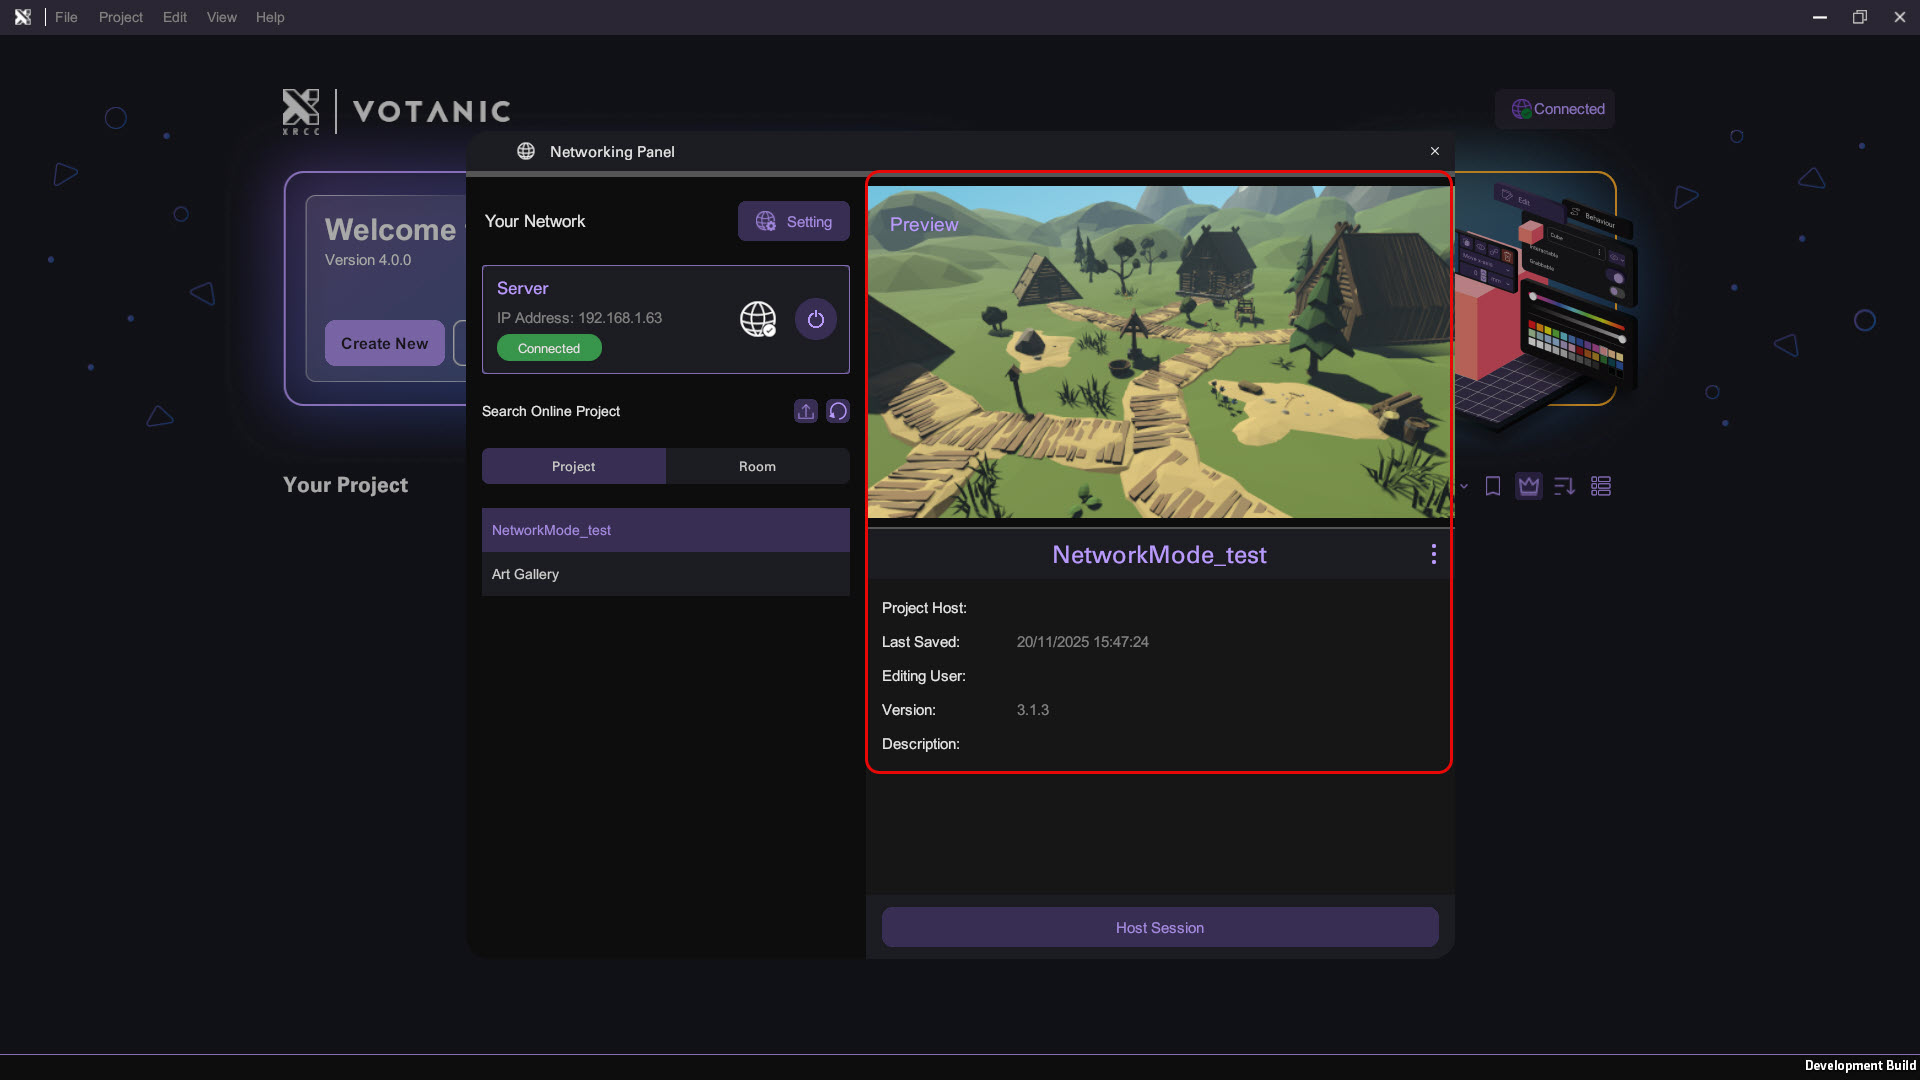
- Select project from the project list.
- Select project and click Host/Join Session to enter multi-user edit. The first user joining the project will see "Host Session" and all users that follows will see "Join Session".
- The Networking Panel will display the project details, including project name, current list of users in the network session and description.
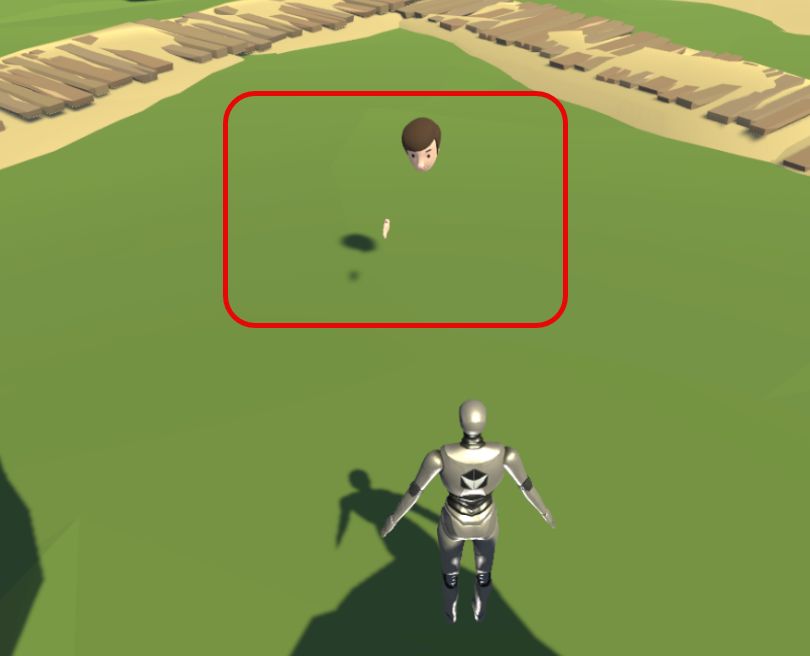
- When the networked scene is loaded, you will see another users in the scene. Each user is represented by a head and a hand model in the scene, allowing you to see where that person is doing the editing.
- User can edit together in the scene (including the configuration and behaviour of an object) but cannot edit the same object or behaviour simultaneously. You will see which user is currently editing a given object / behaviour when you access it.
User cannot use the asset management features in Networked Project.
Debug networked project in Play Mode
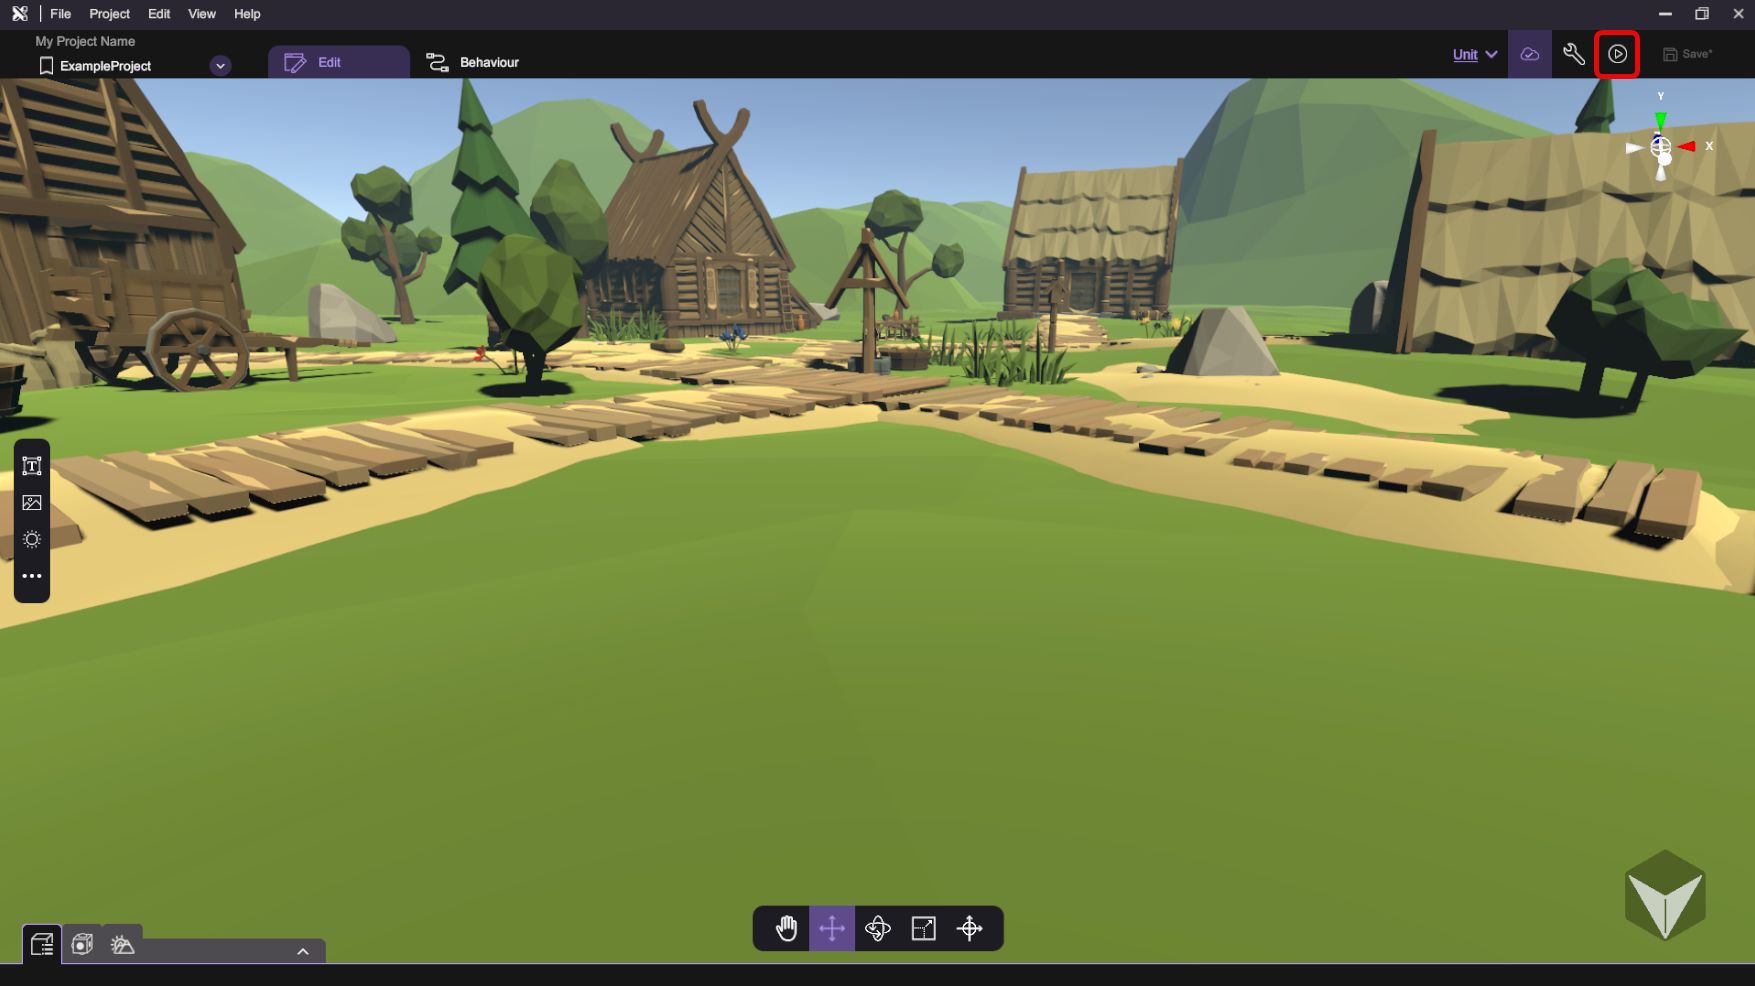
User can click the play button to debug the project in similar way to a local project.
Multi-user is not available in XRCC PC play mode, user will need to use the XRCC XR's Play Session to perform multi-user playback.
Start Multi-User Debugging
Press debug button to start play mode .
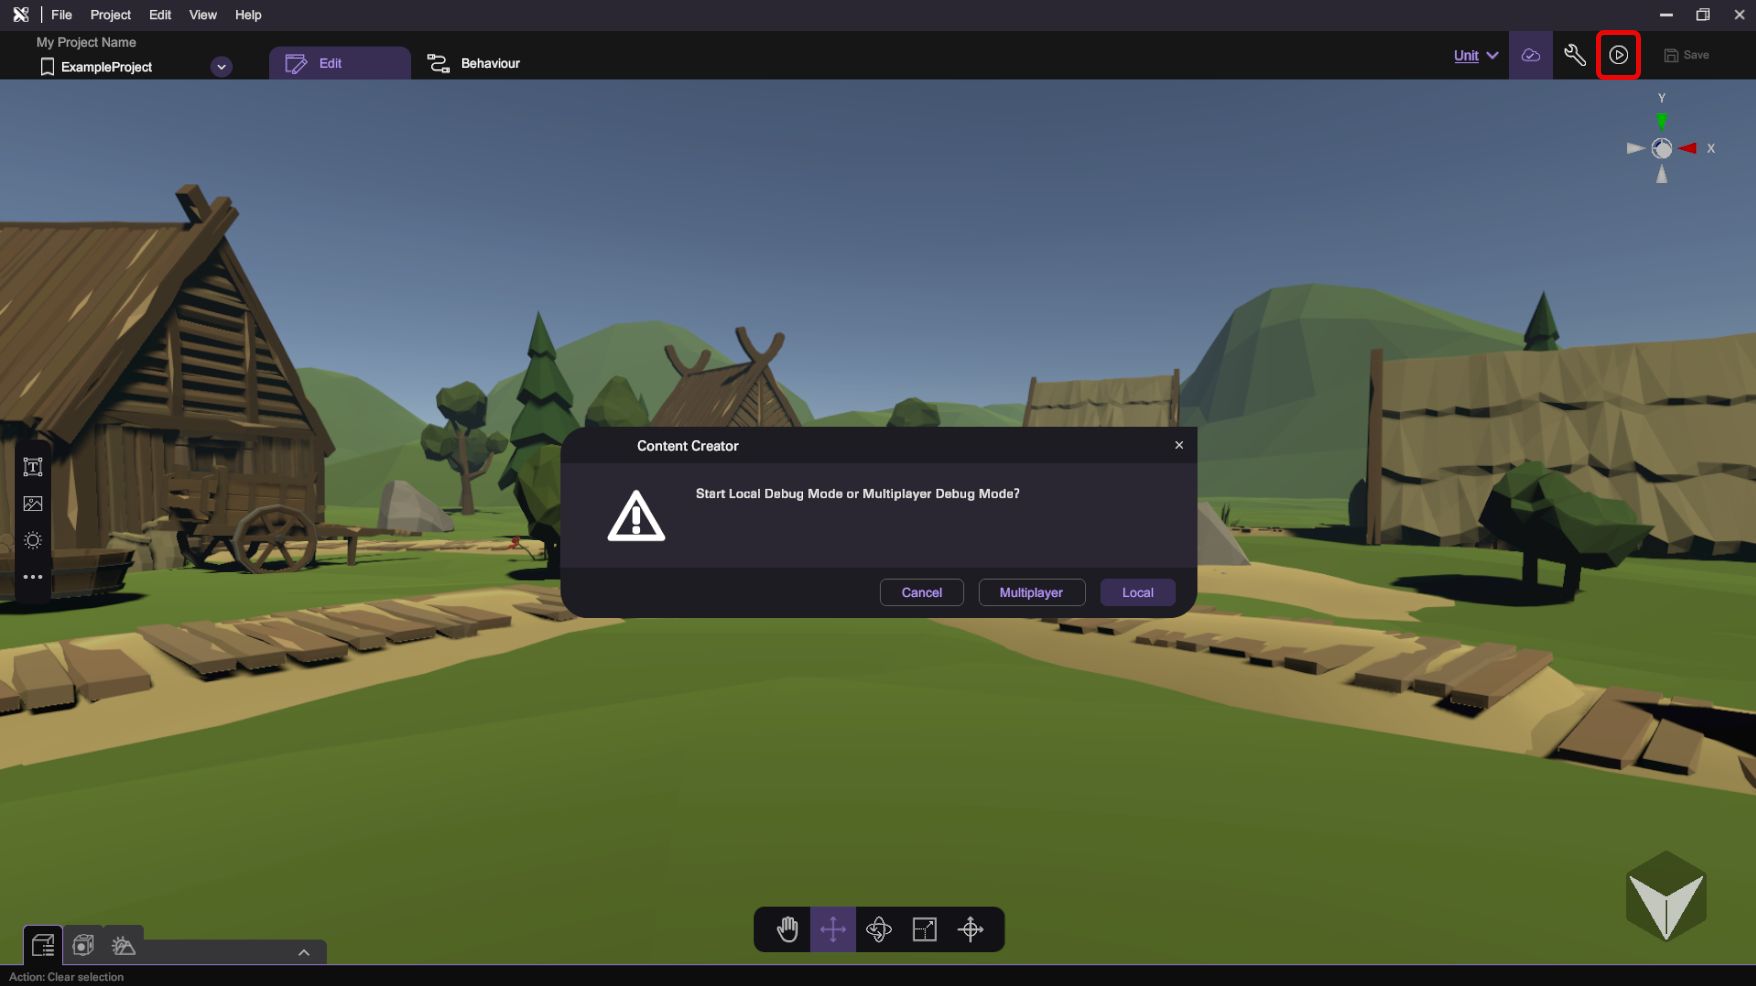 In network mode, users have the option to debug their project in either Local or Multiplayer mode. Multiplayer mode allows for debugging with all connected players in real time, while Local mode enables individual debugging.
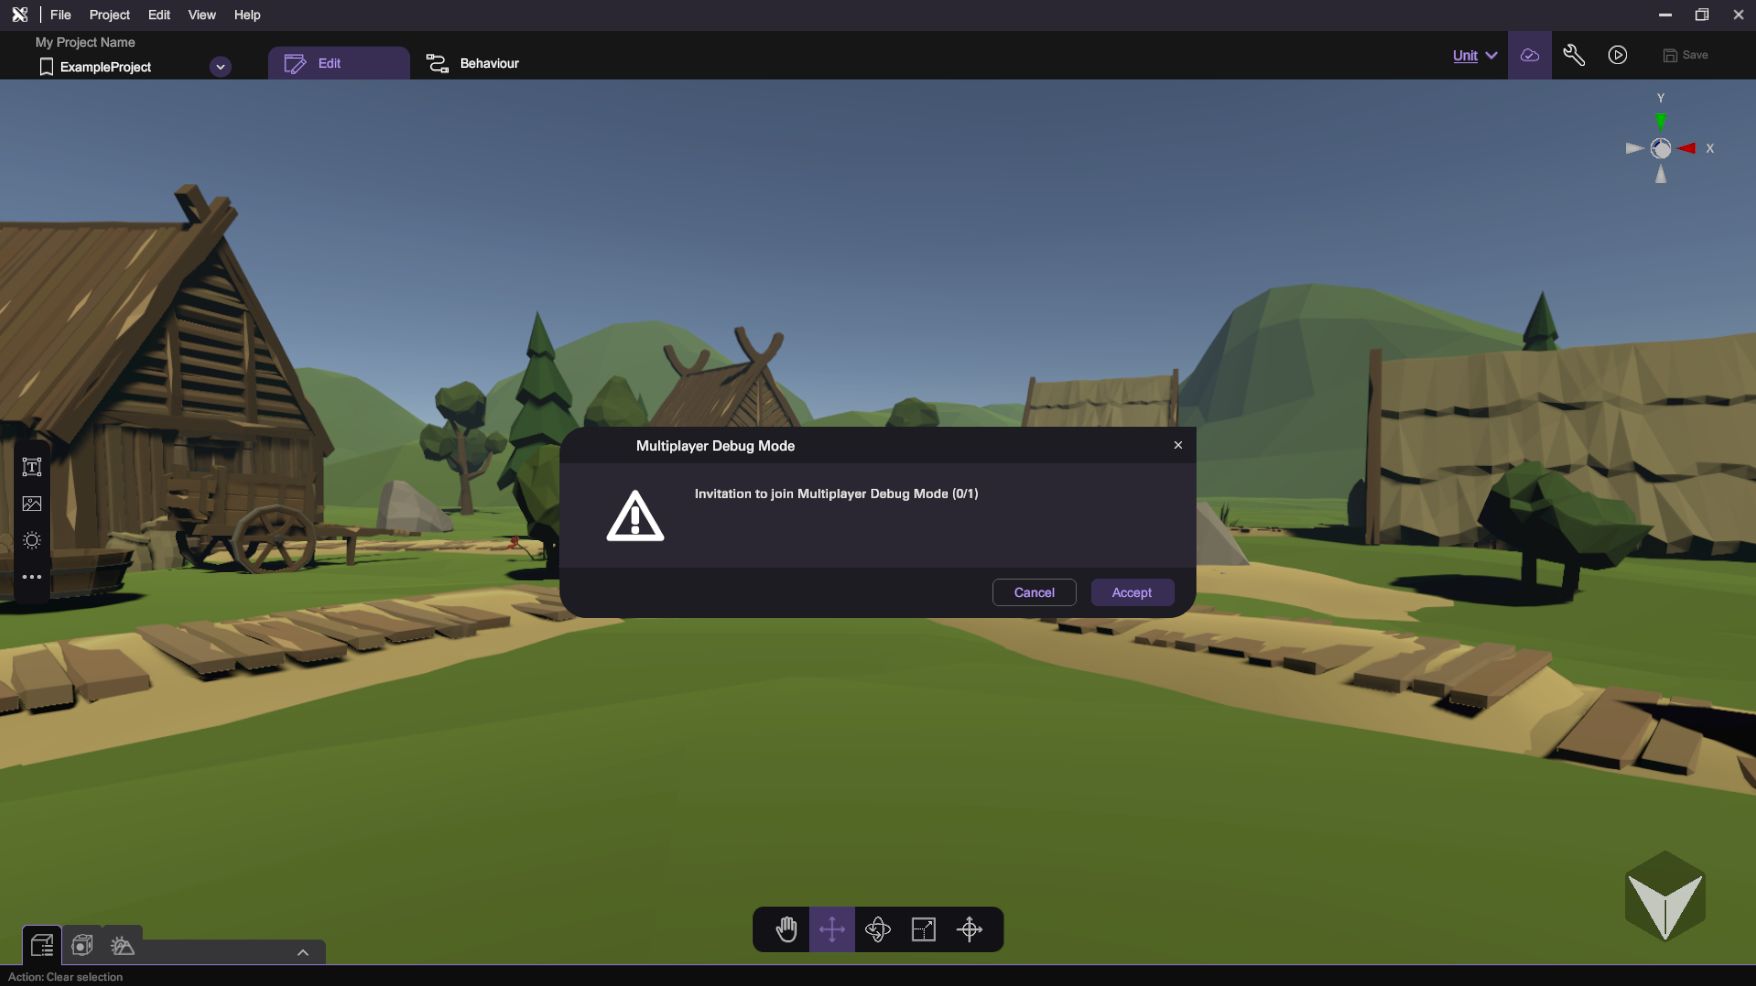 When the first user try to start mutiplayer debugging, an invitation of mutiplayer debugging will be sent to all player. All user can choose to accept or cancel the invitation.
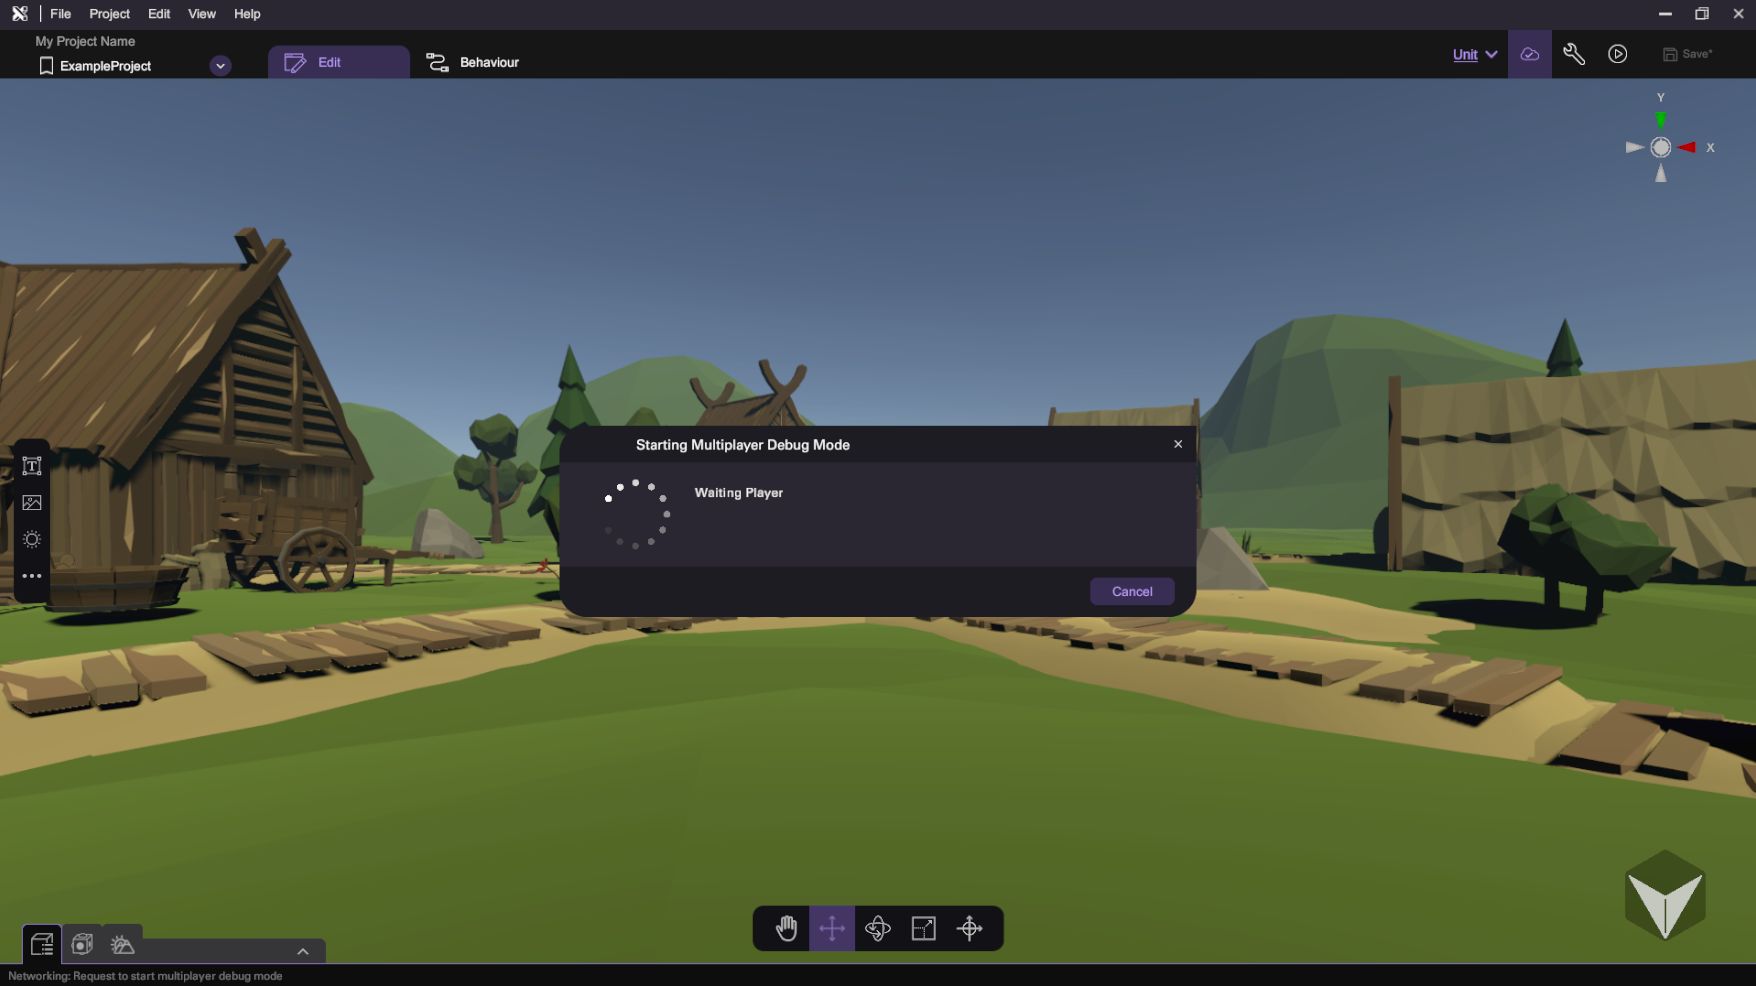 Before all user press the accept button, the user who send the invitation will wait until other users make a decision.
Export Networked Project
The networked project is auto-saved and there's no need to manually save the project. However, if you need an offline or individual copy, you can select "Project -> Save As" in the Main Menu to export a copy of the project to your file system.
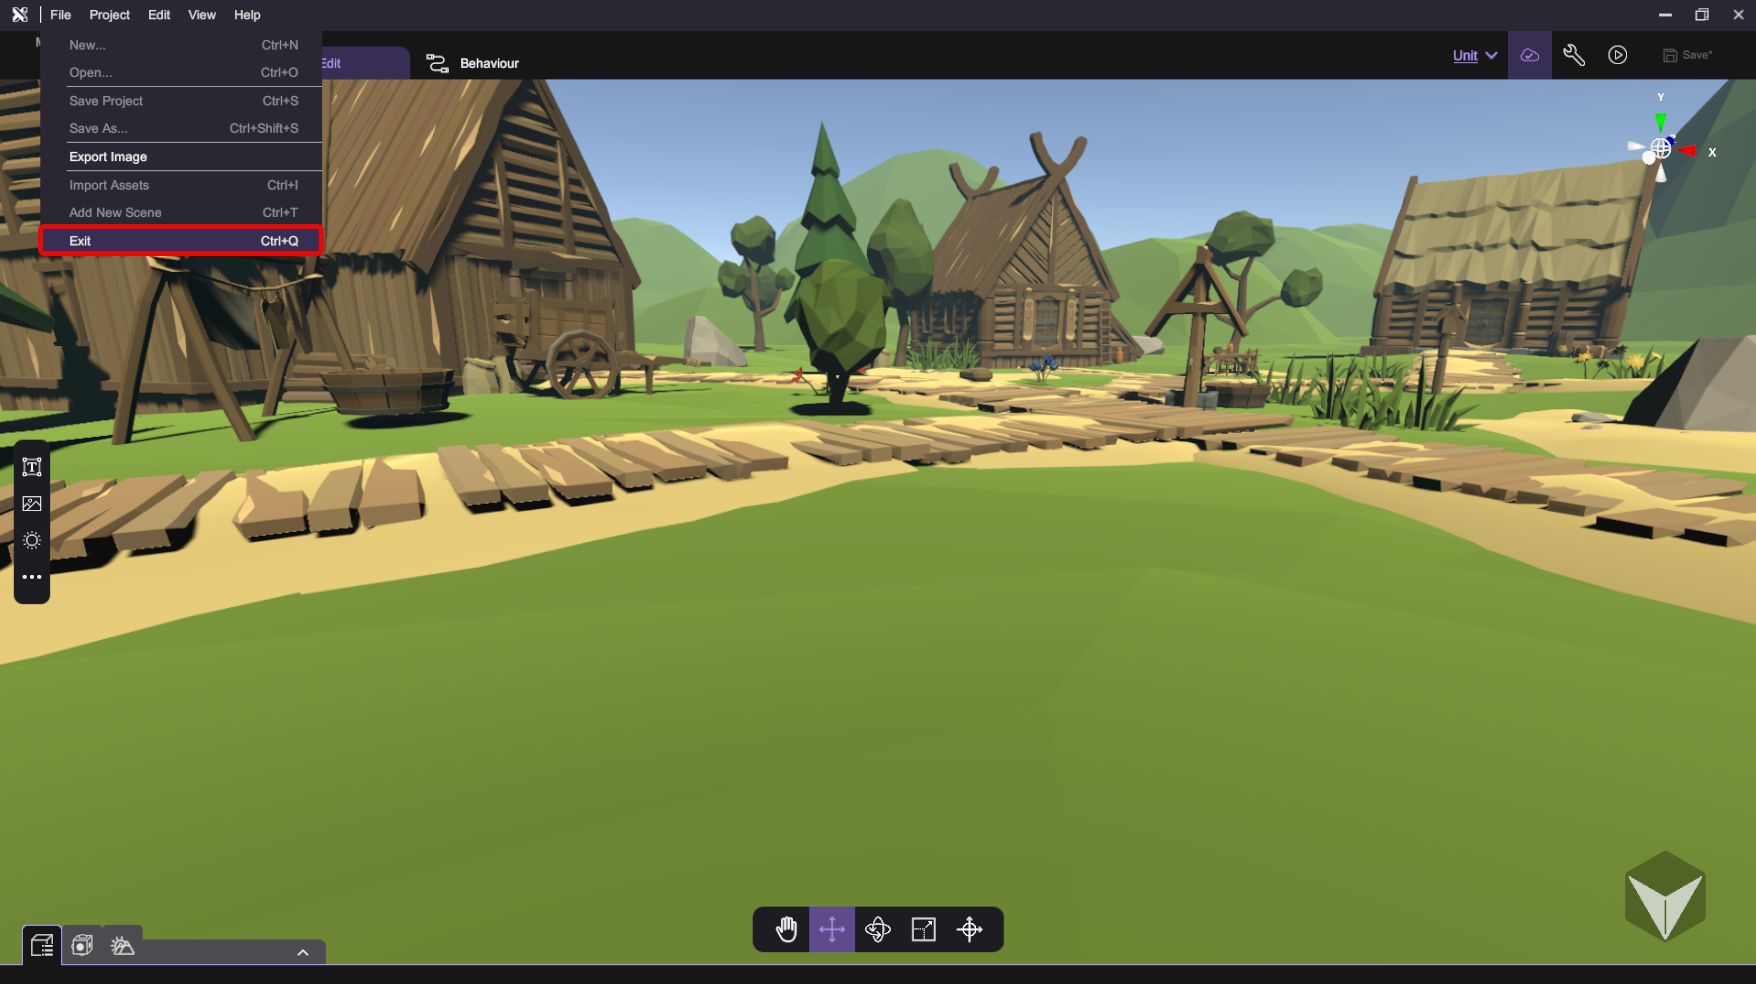
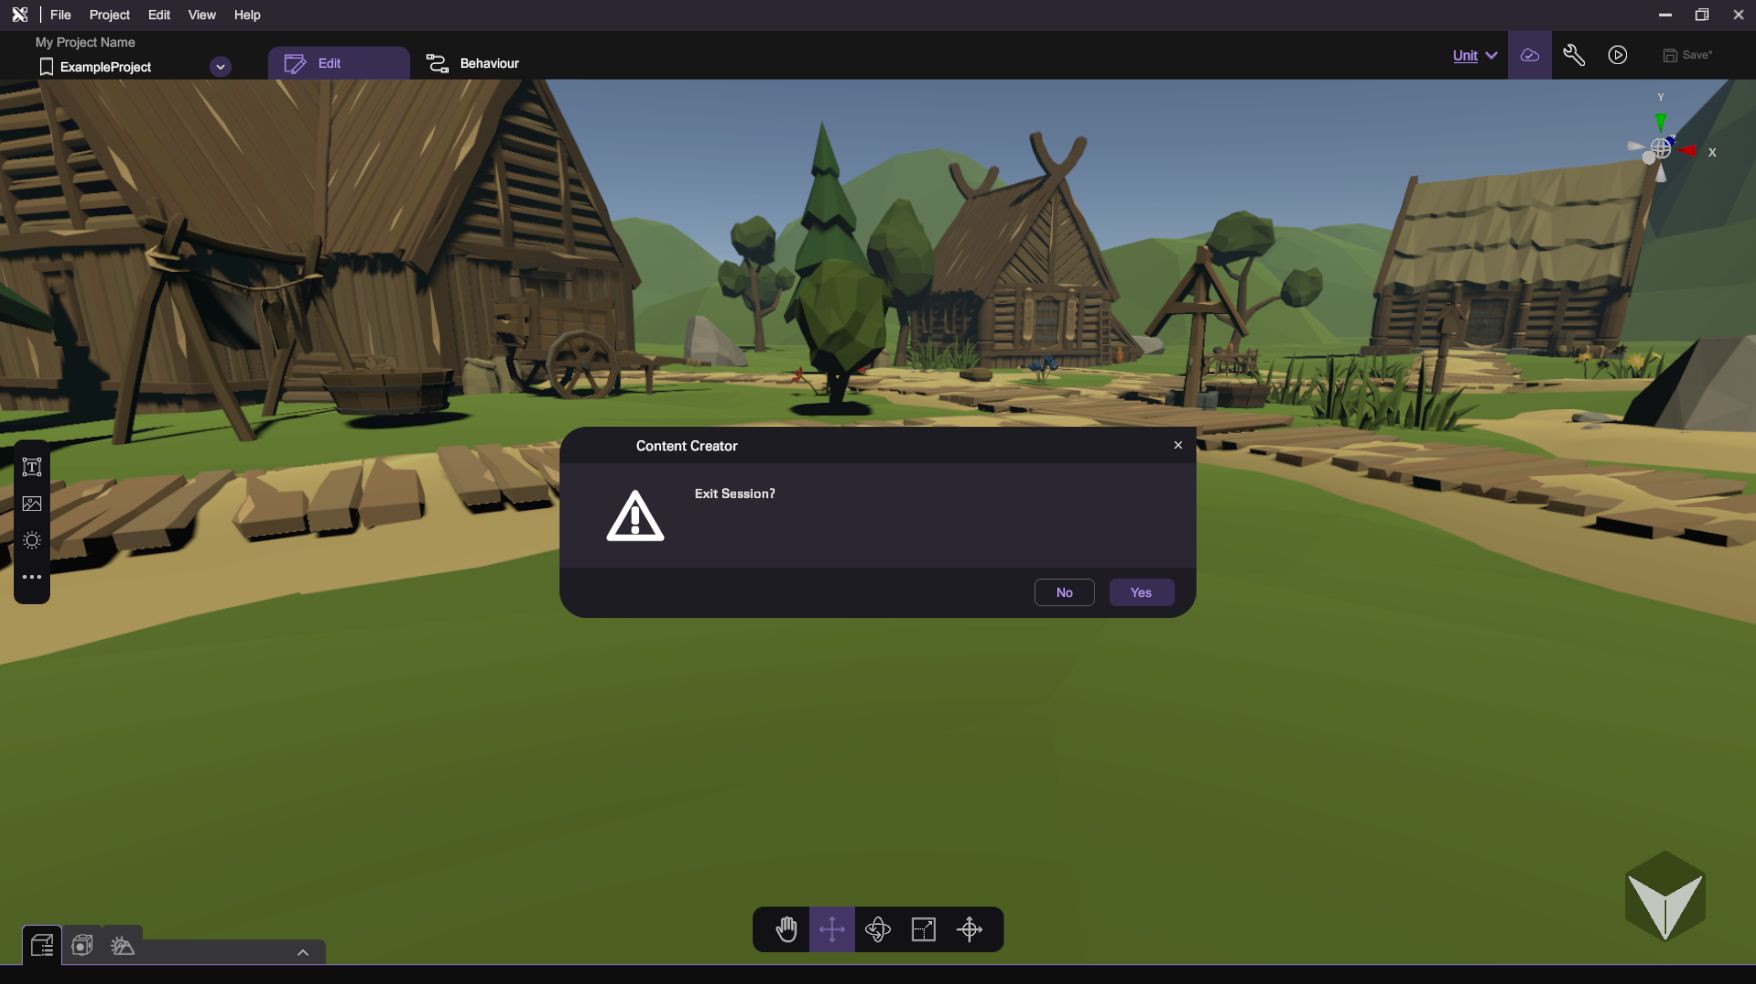
Exit Multi-User Editing
Select "Project -> Exit" (Ctrl + H) to quit the networked project.
User is encouraged to keep the network server running while there is still user in the networked project, otherwise unexpected issue may occur.