Scene Management
When a new project is created, one scene is created automatically using the Start Scene selected for the project. Further scene management features are available in the XRCC to perform more advanced scene-related operations.
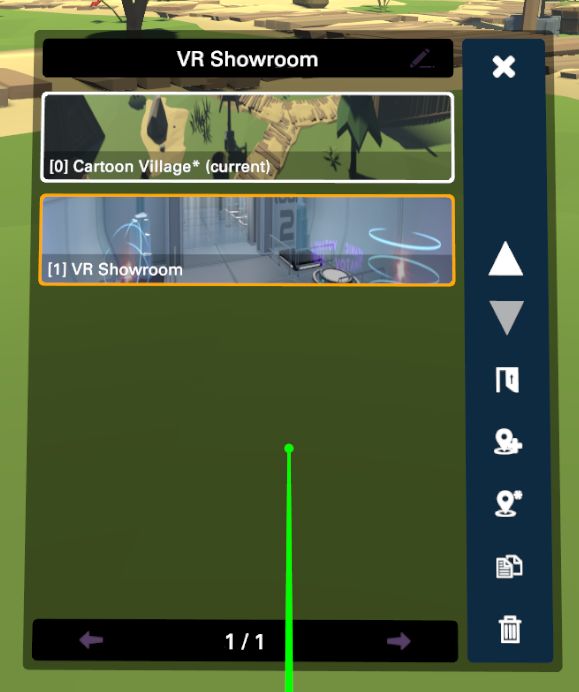
Scene List
The Scene Menu allows you to view and manage different scenes in the project. To access the Scene Menu, open the main menu, and click "Scene List". The scene menu panel will appear in front of your view.
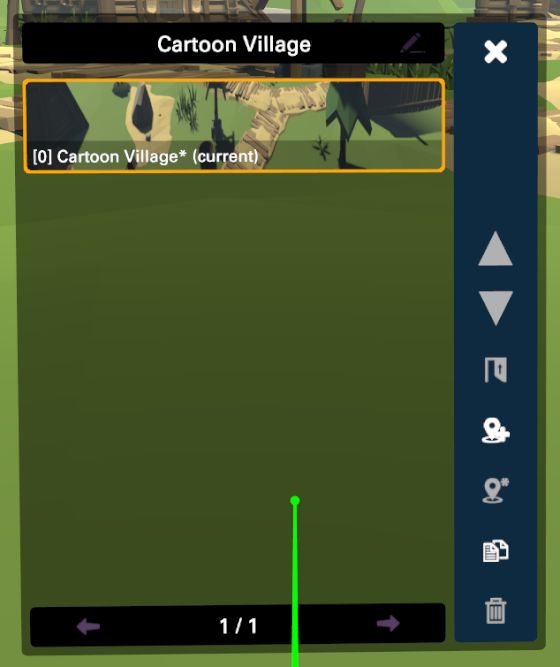
The Scene List will display all the scenes in the project with their name and preview. You can only edit or play one scene at a time; the active scene is identified by the (current) label behind the scenes name and the start scene is identified by an asterisk (*).
Create New Scene
You may create new scenes from the Scene List by clicking the option in the menu "Add New Scene".
Choose a scene template from the scenes panel by clicking on the scene's picture. Click "Confirm"in the main menu to confirm the scene creation.
The new scene will be added to the scene list in the Scene List.
Change Scene
To change the current scene, open the Scene List and click on the scene you would like to switch to.
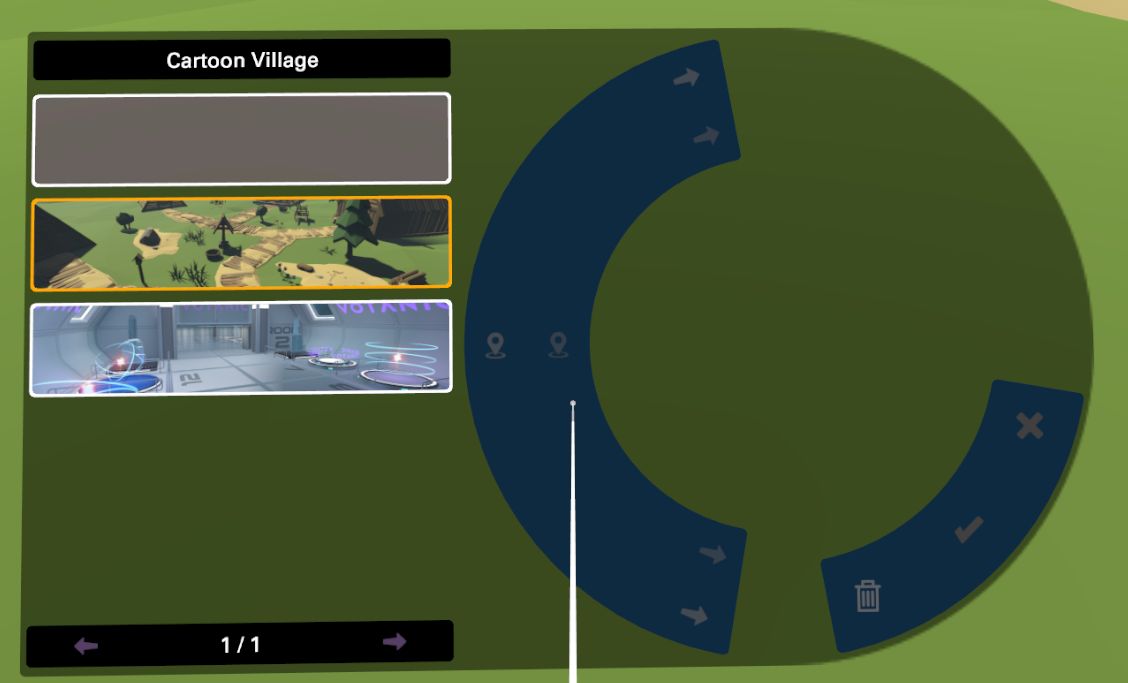
The Scene Action Menu will show up. Click "Goto Scene".
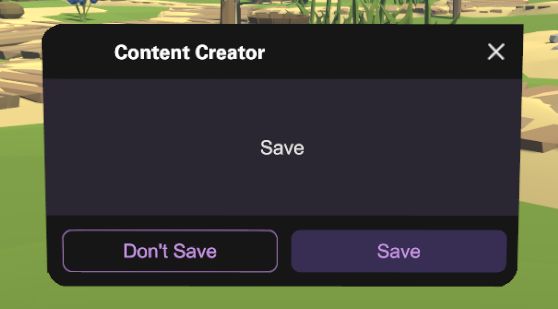
You will be prompted to confirm the change scene operation. If your active scene has unsaved changes, you will be prompted to save those changes before proceeding to change the scene. Click "Save" to save the current scene before changing to the selected scene, or click "Don't Save"![]() to discard all unsaved changes in the current scene and load the selected scene.
to discard all unsaved changes in the current scene and load the selected scene.
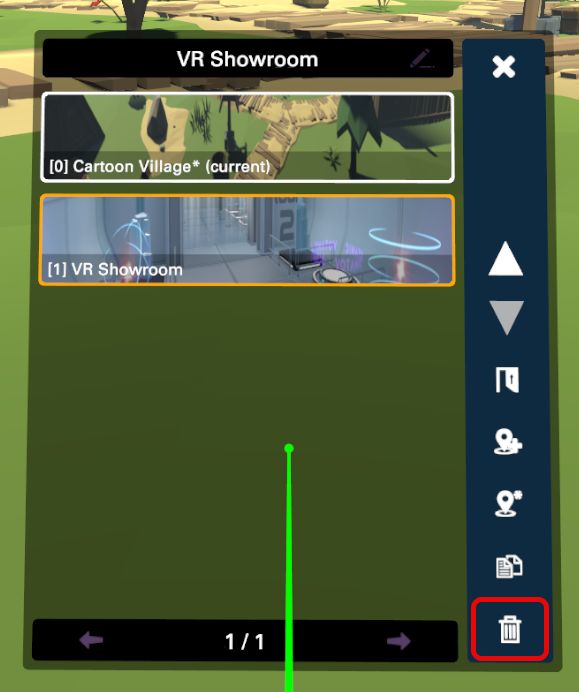
Delete Scene
To delete a scene, open the Scene List and click on the scene you would like to delete.
Note that you cannot delete the Start Scene (identified by an asterisk) or the scene that is currently opened.
The Scene Action Menu will show up. Click "Remove Scene" and then "Confirm".